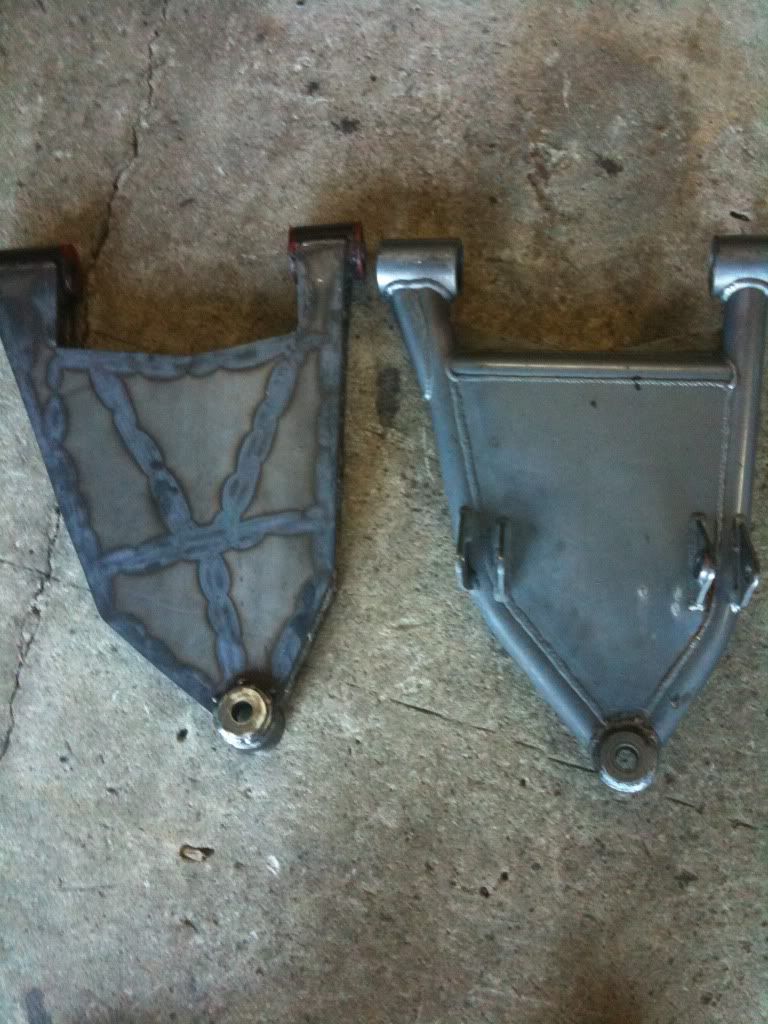
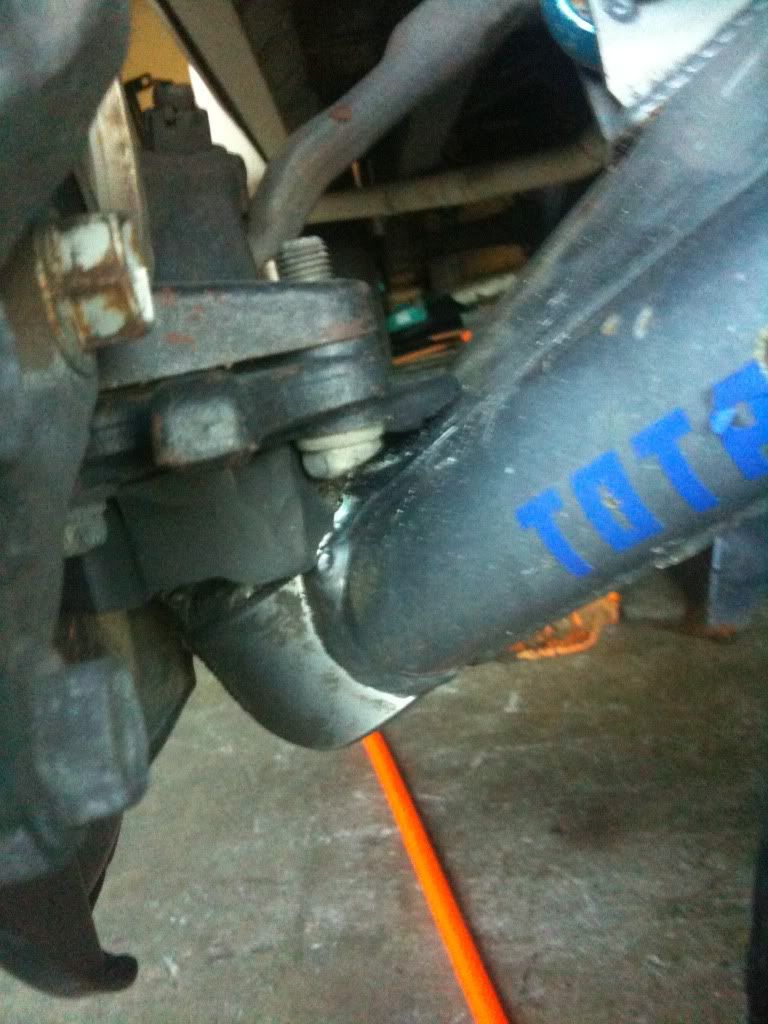
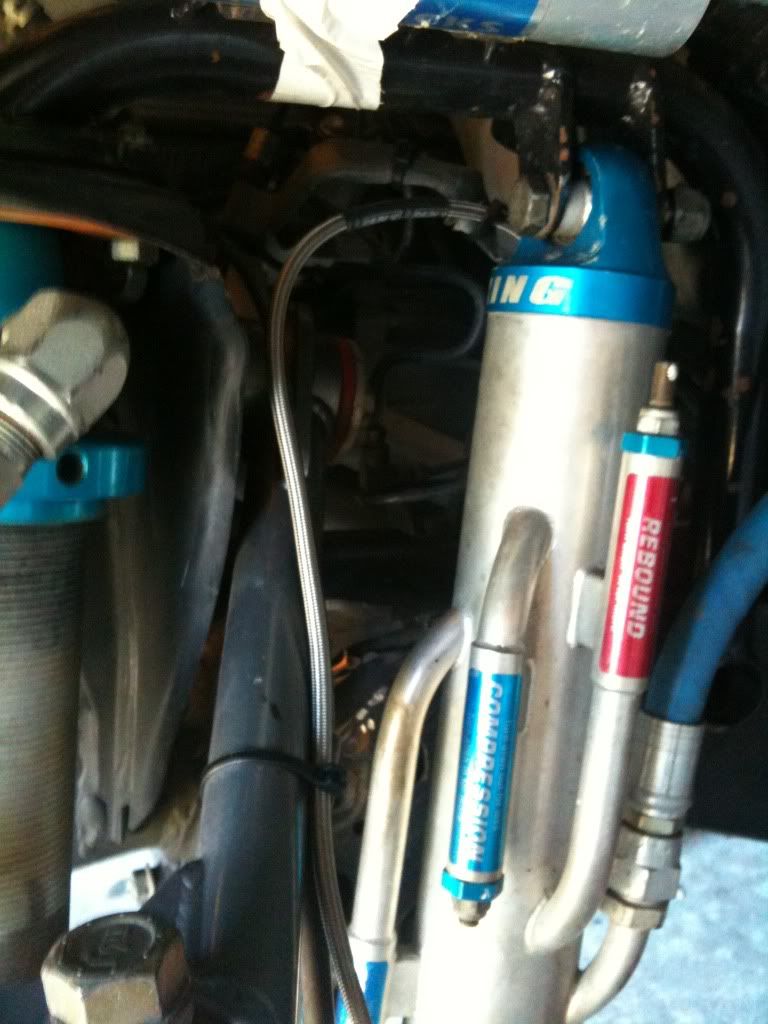
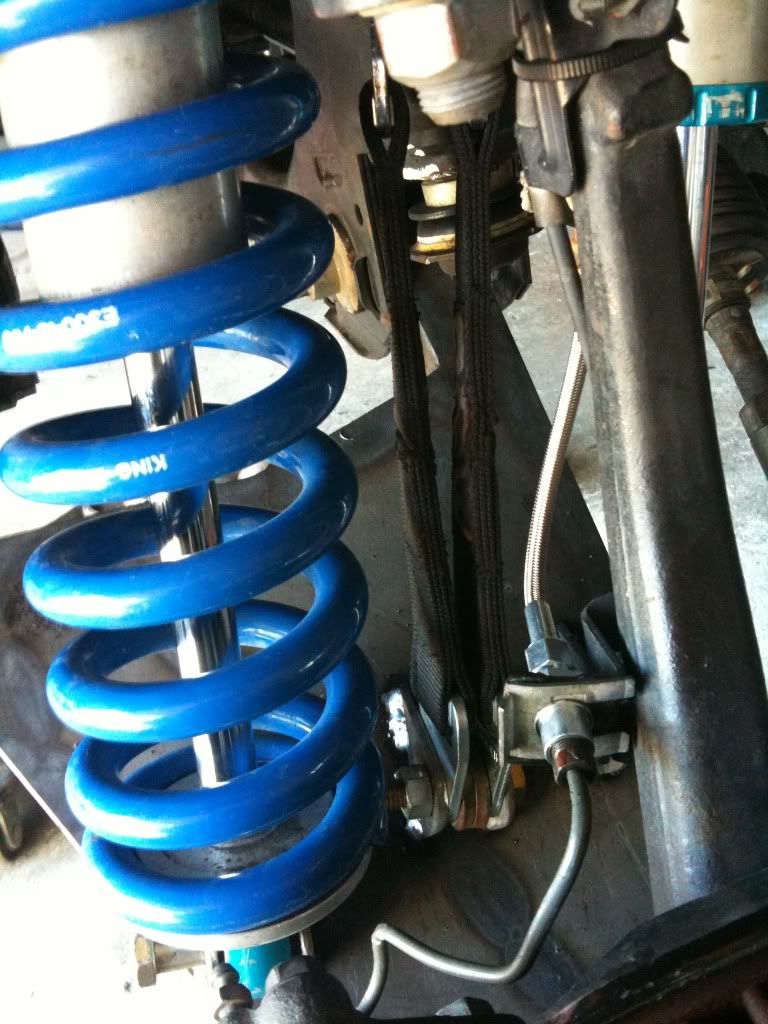
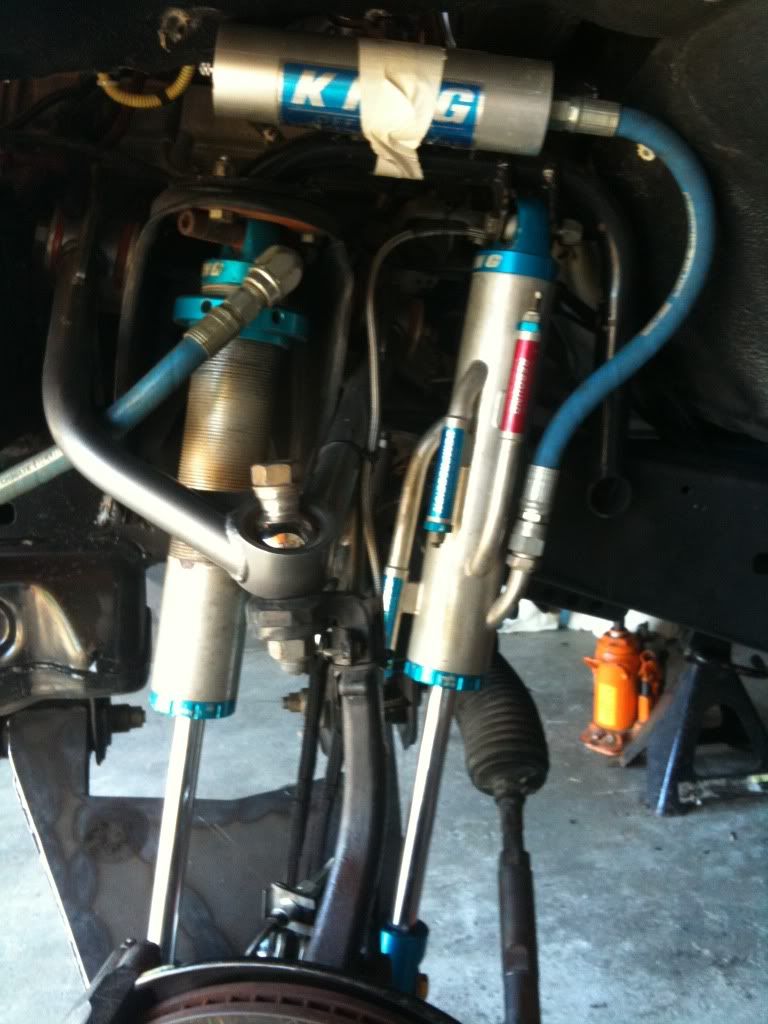
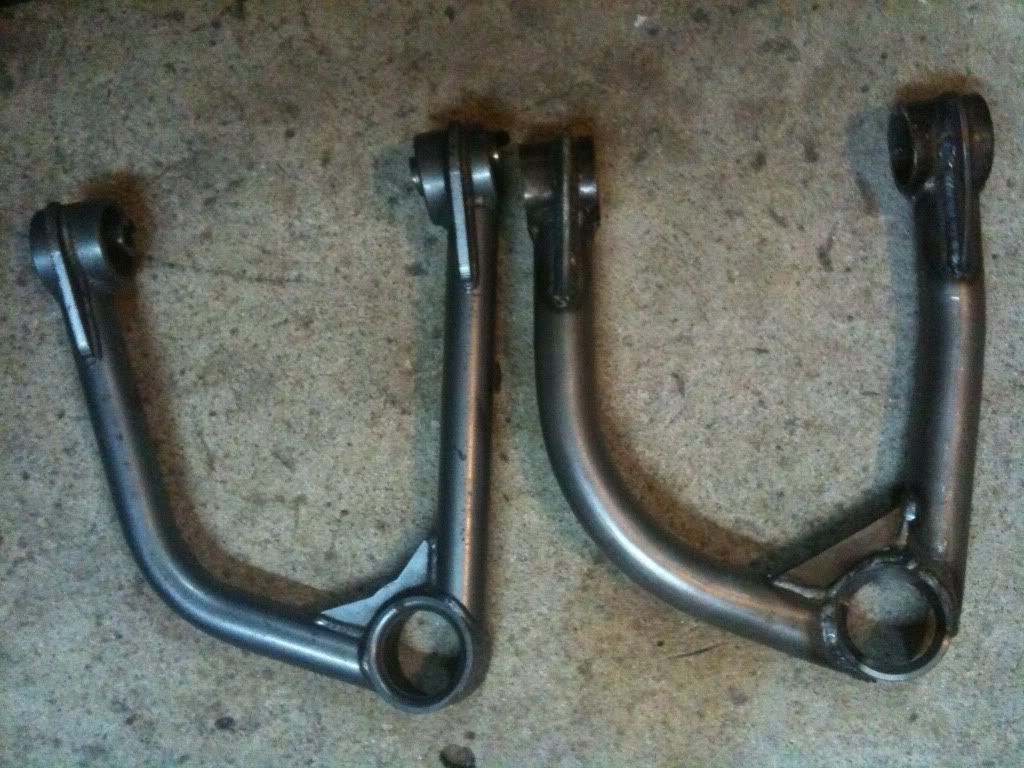
I've broken my driver side lower arm twice, and passenger once, I'm building these to keep it from happening anymore, it's gotten pretty annoying
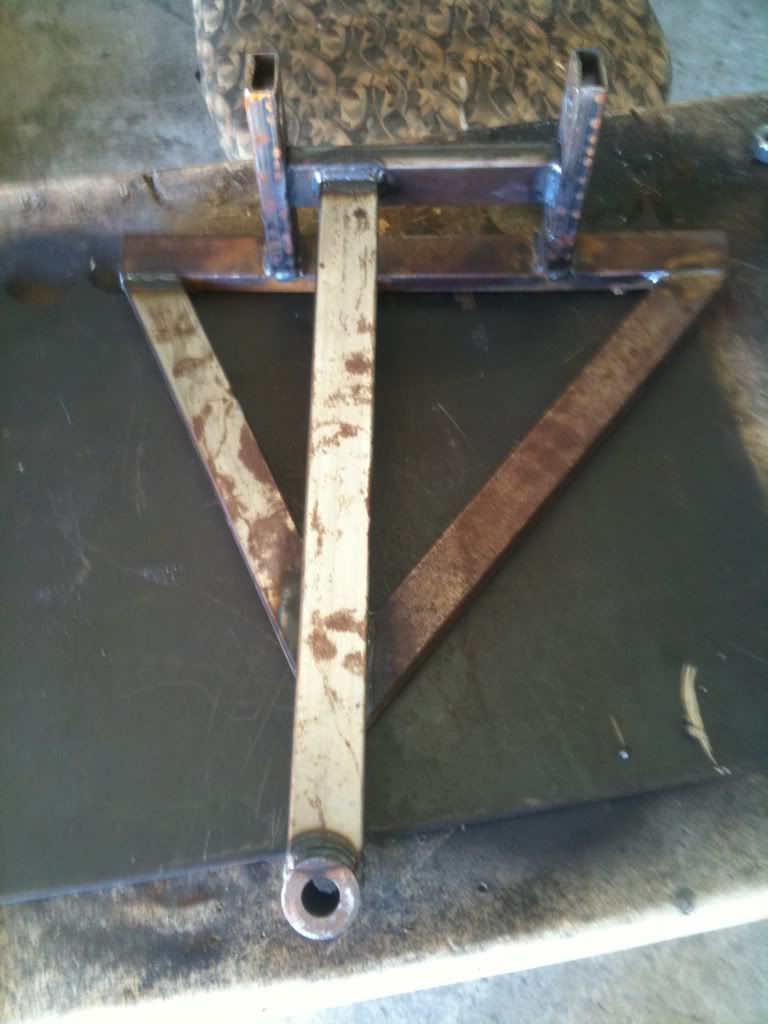
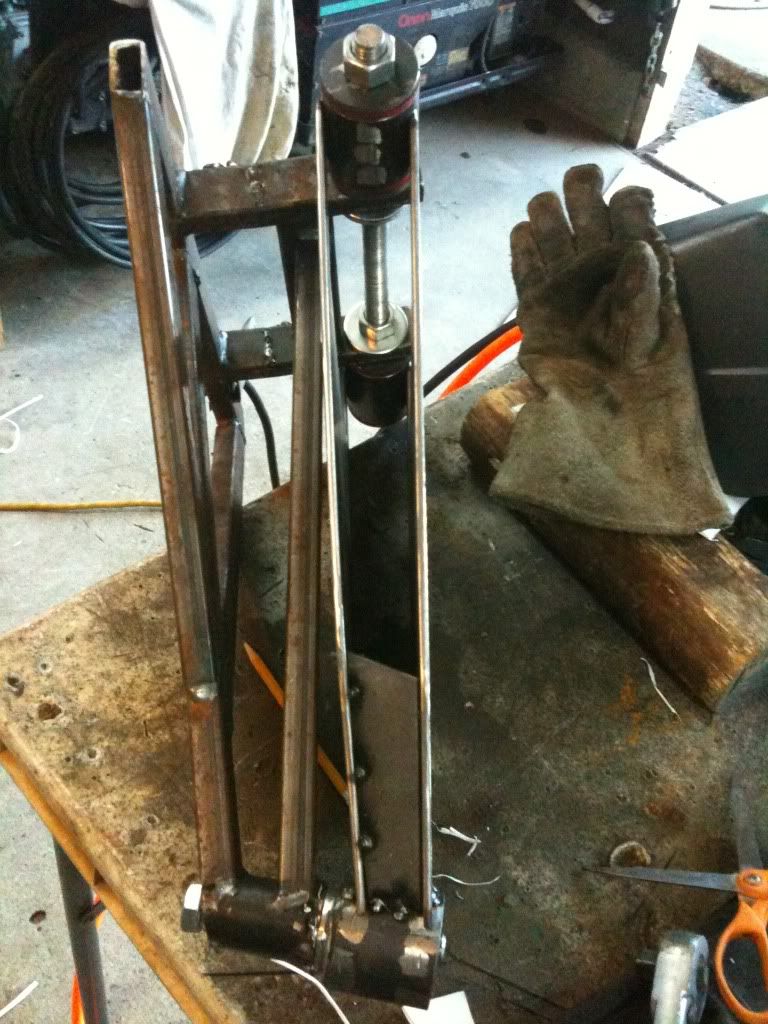
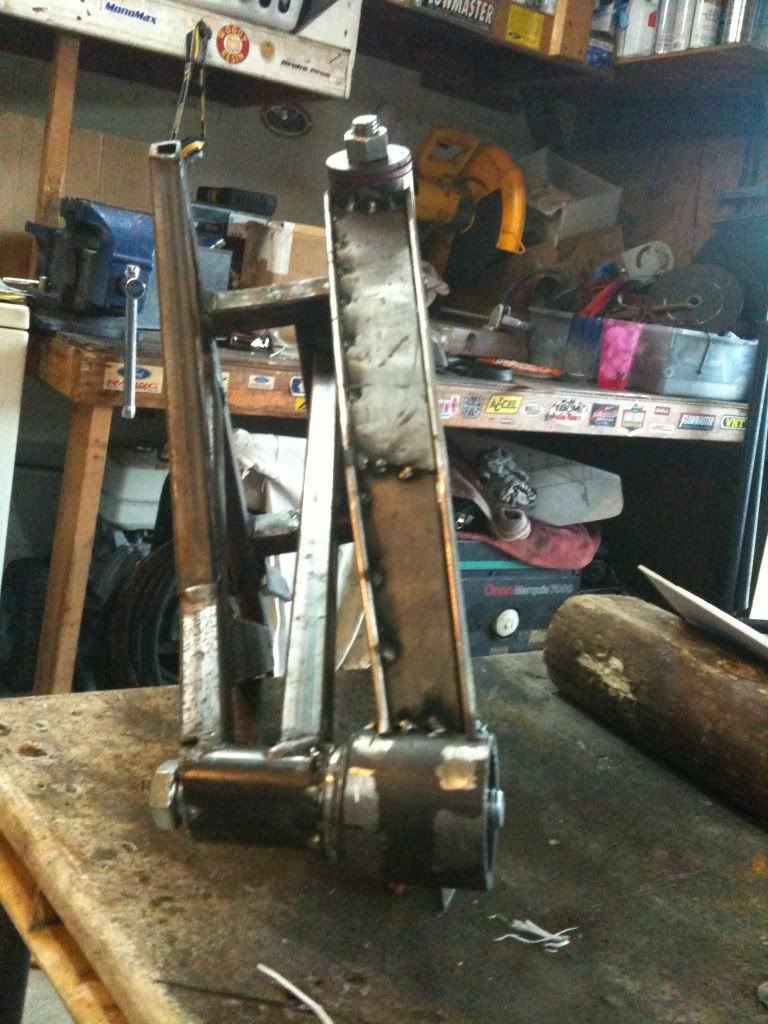
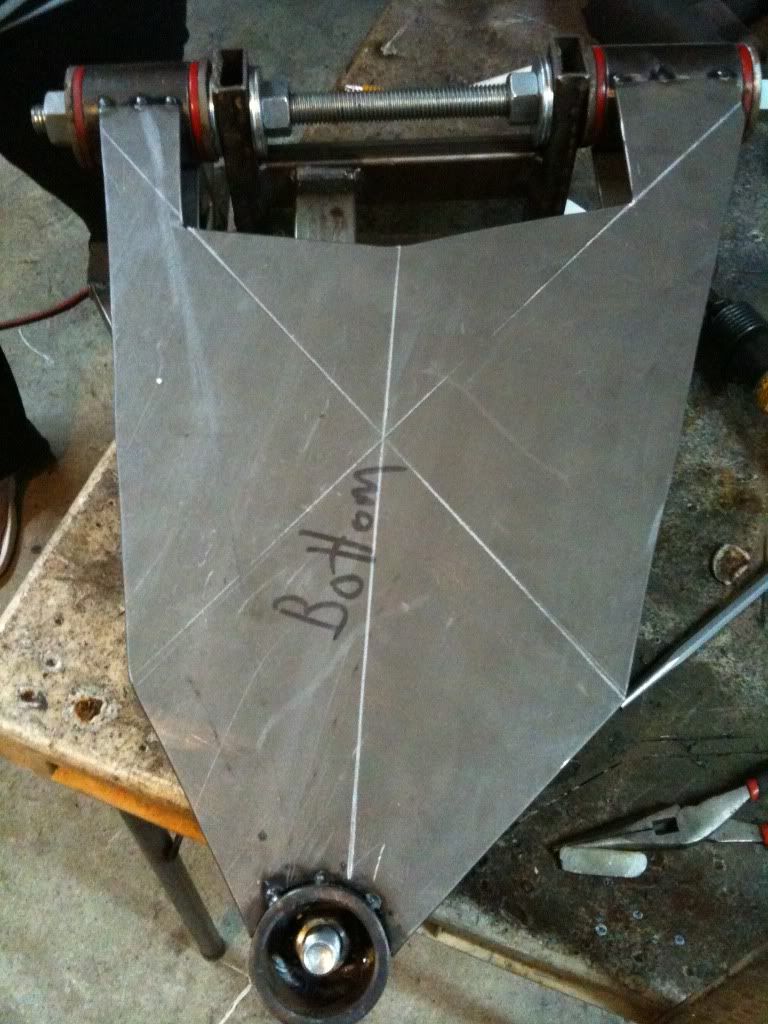
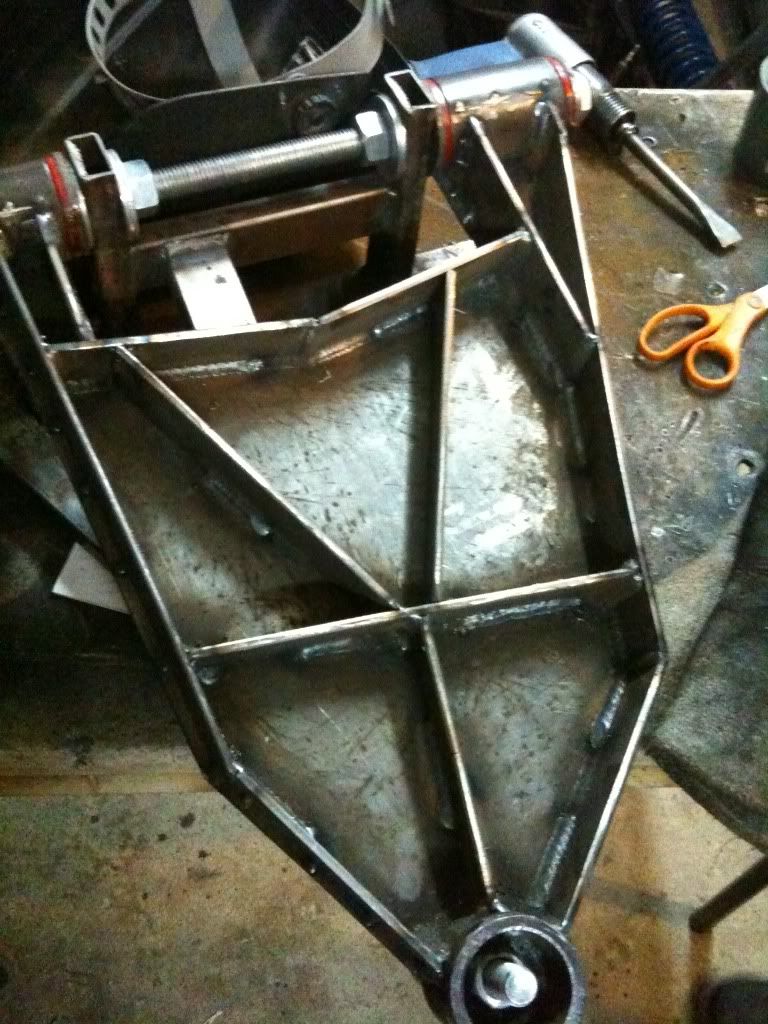
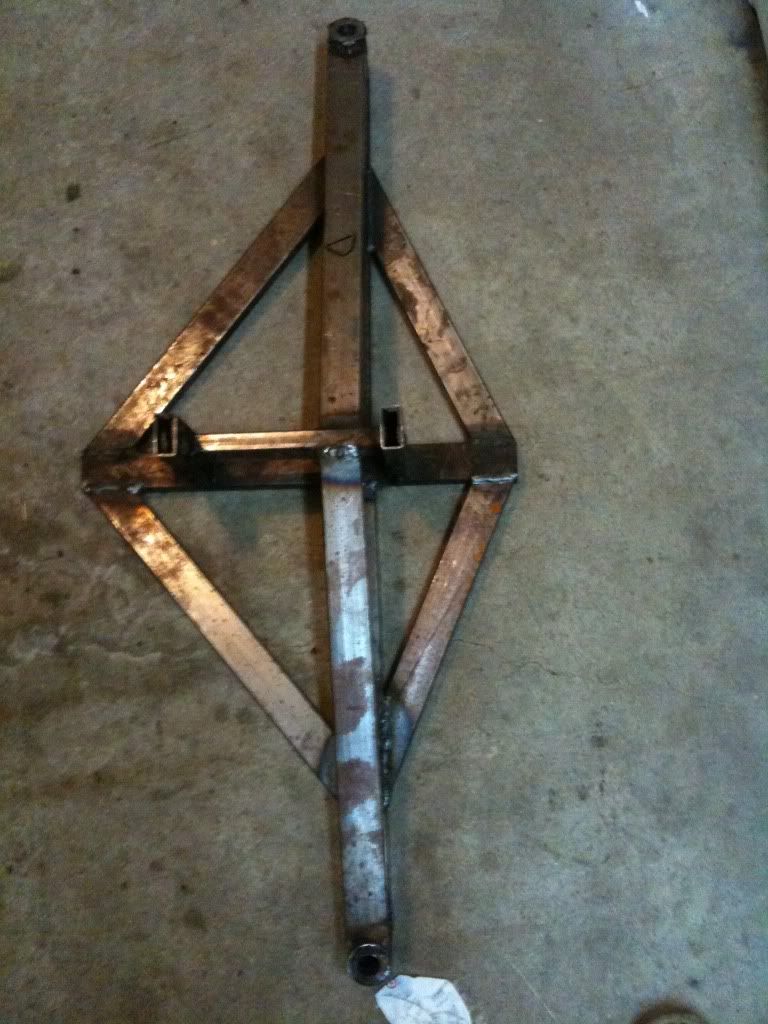
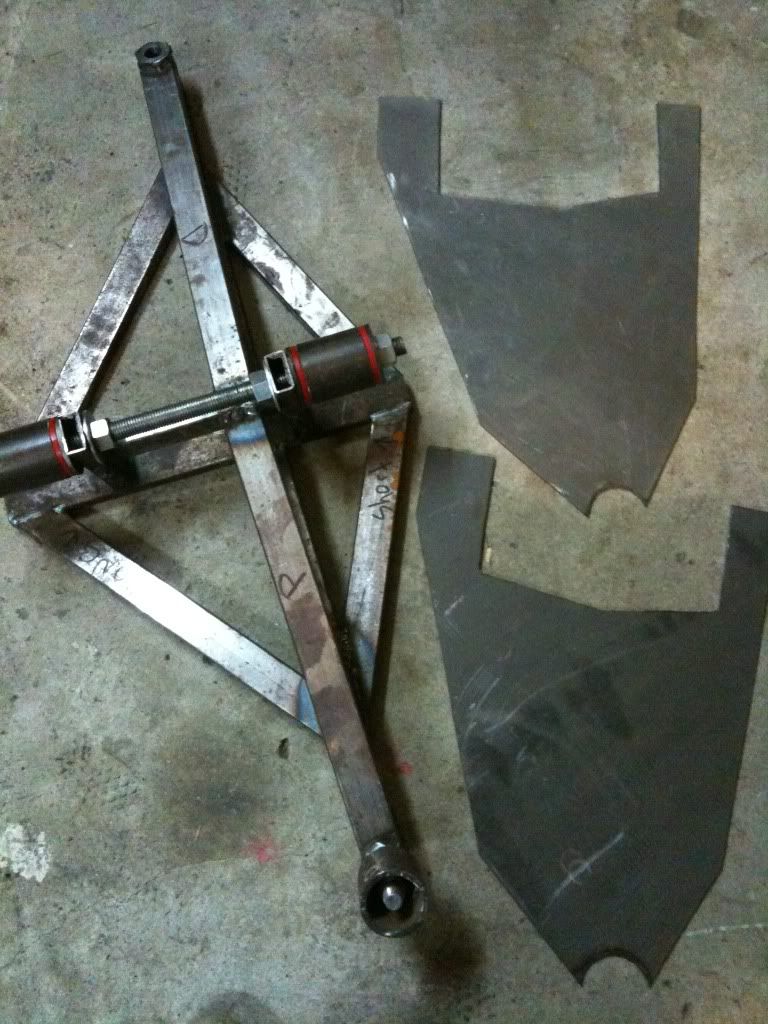
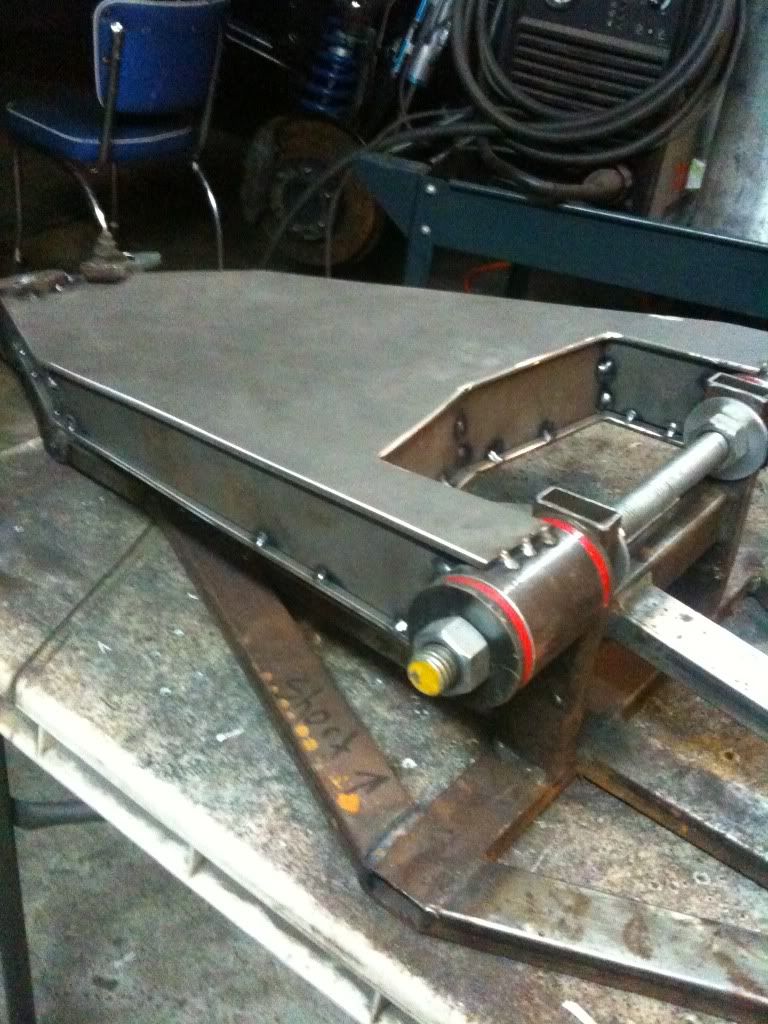
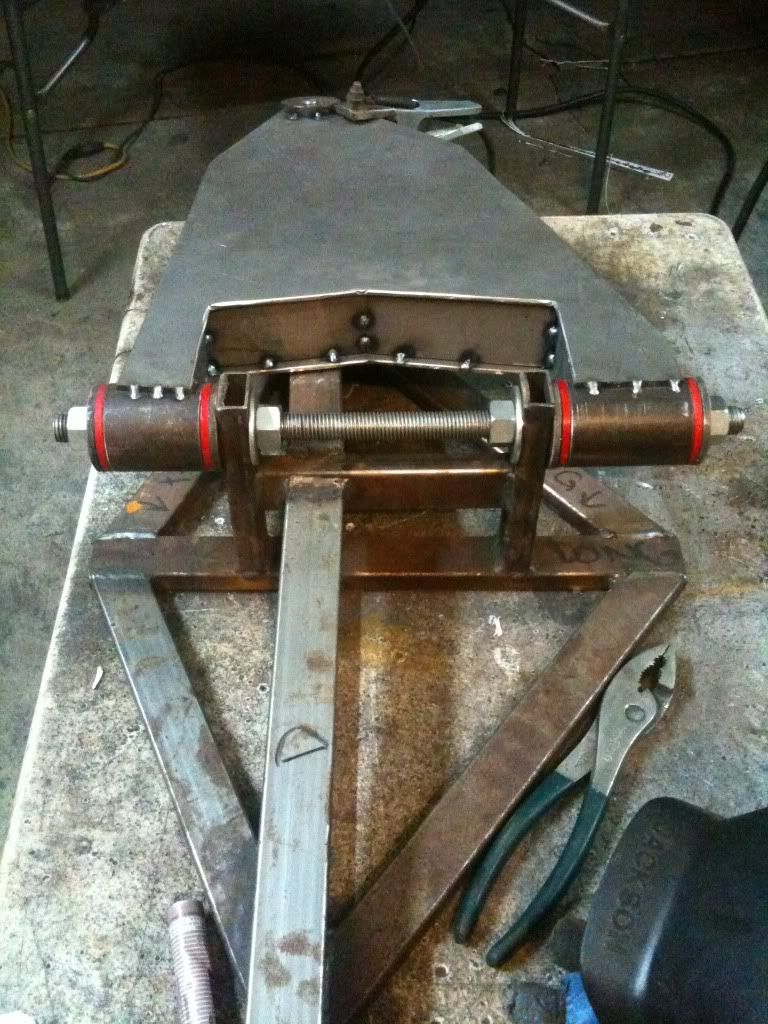
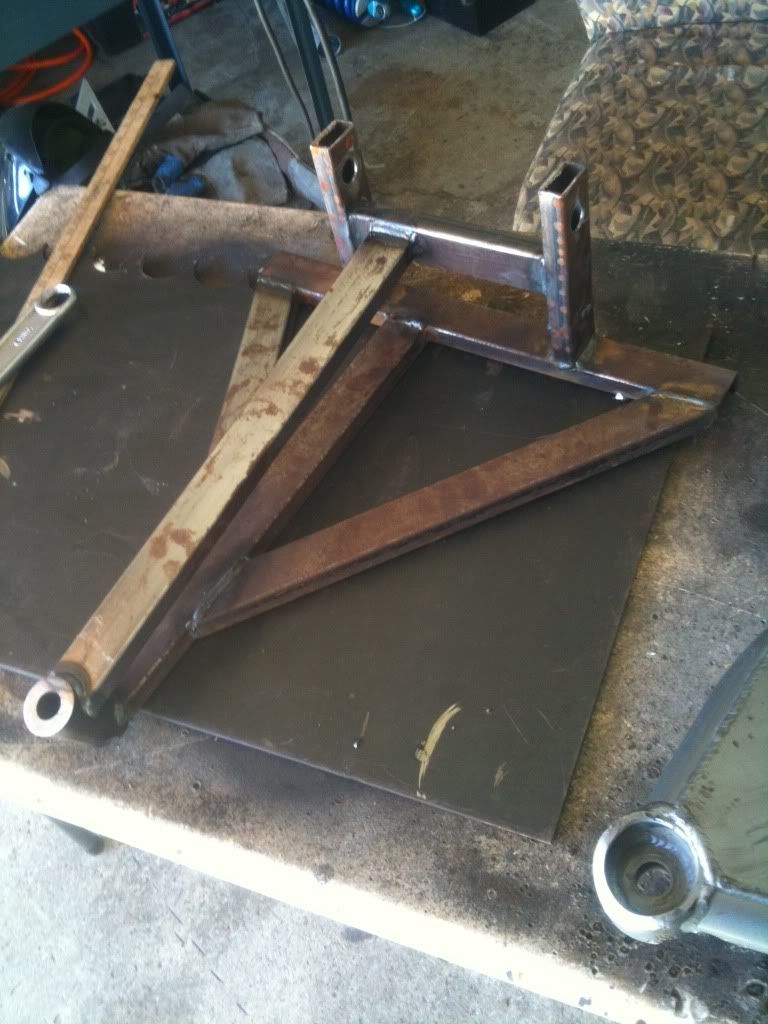
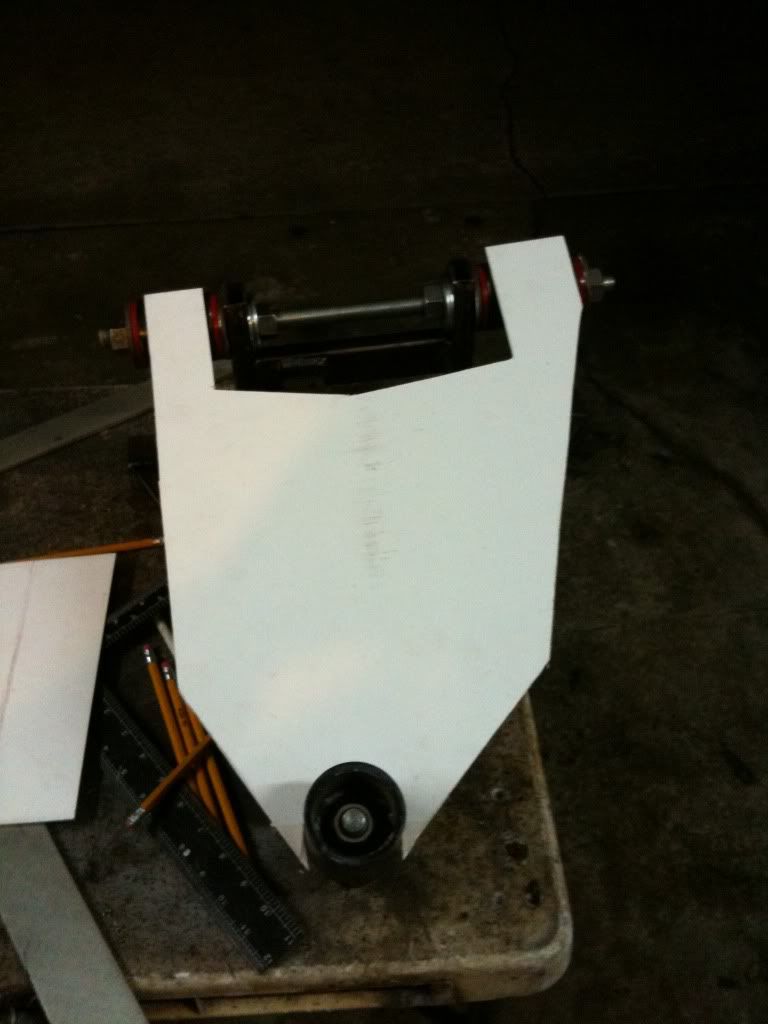
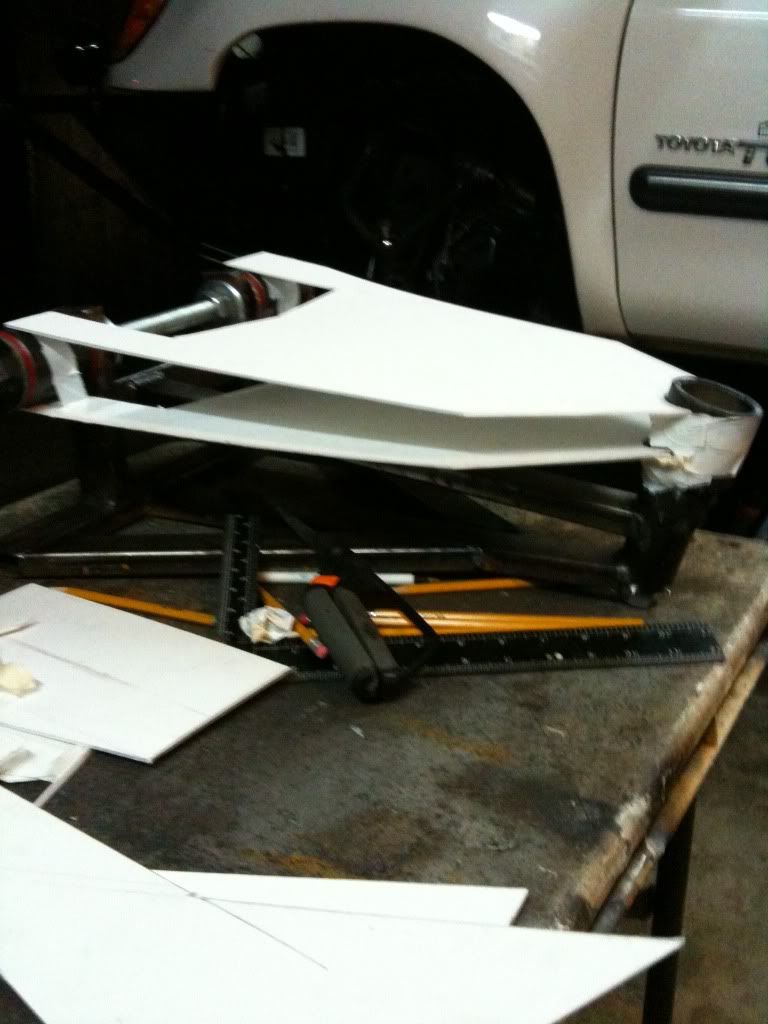
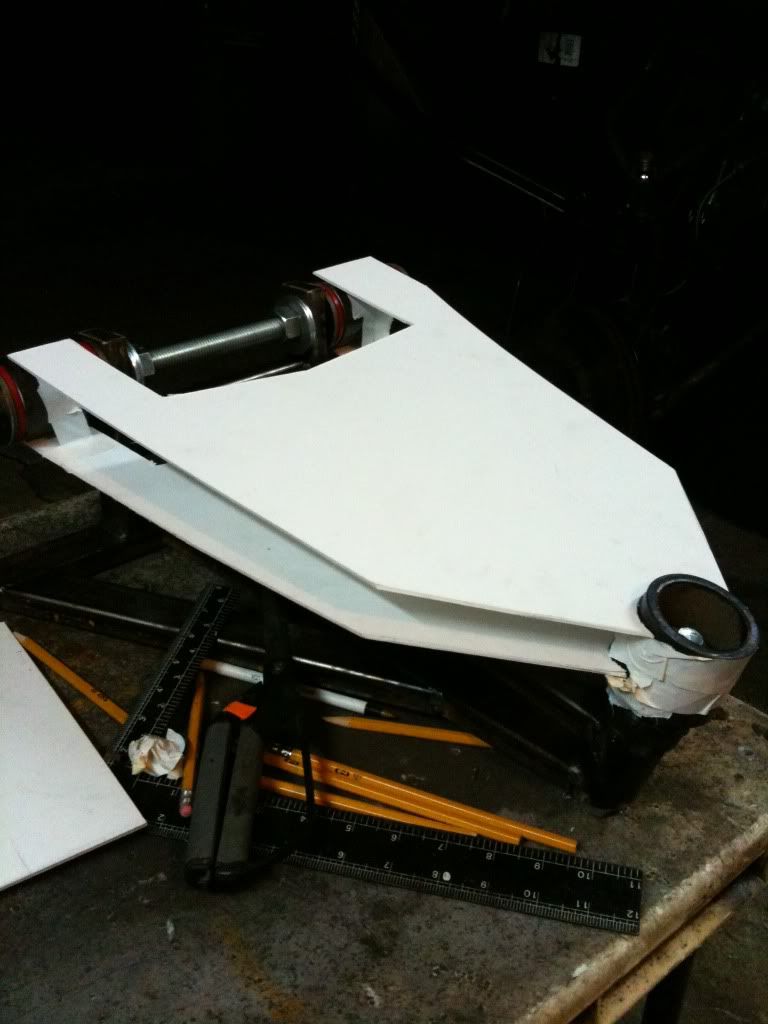
I built this jig off the stock arm, only it's extended 3.5"
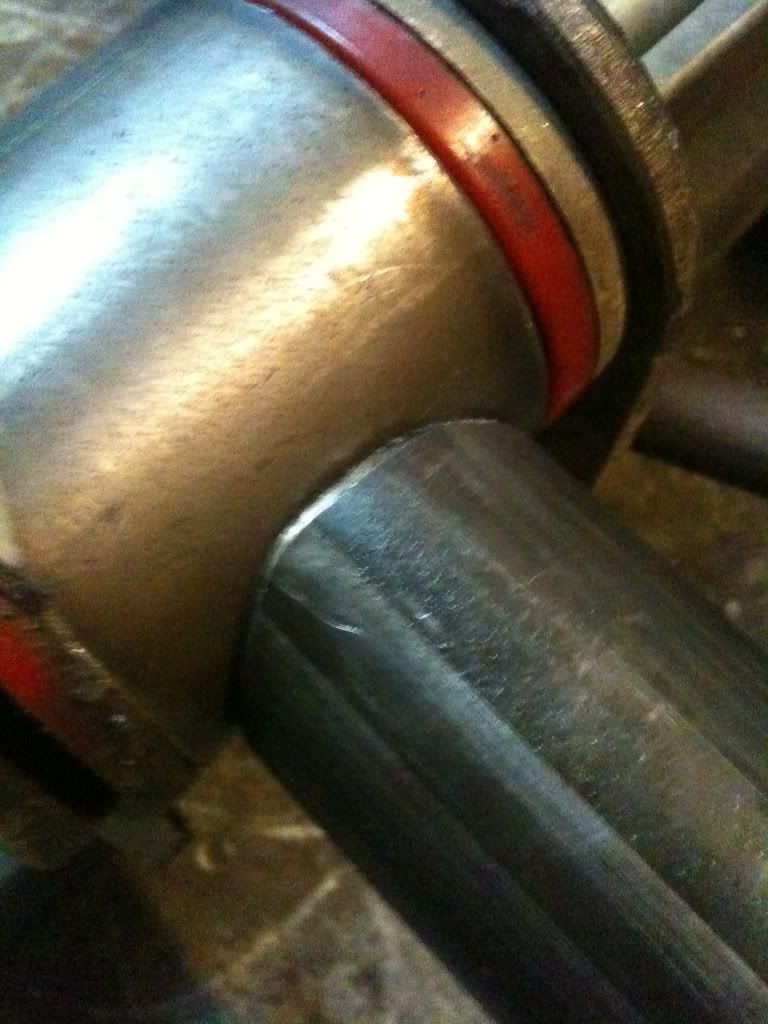
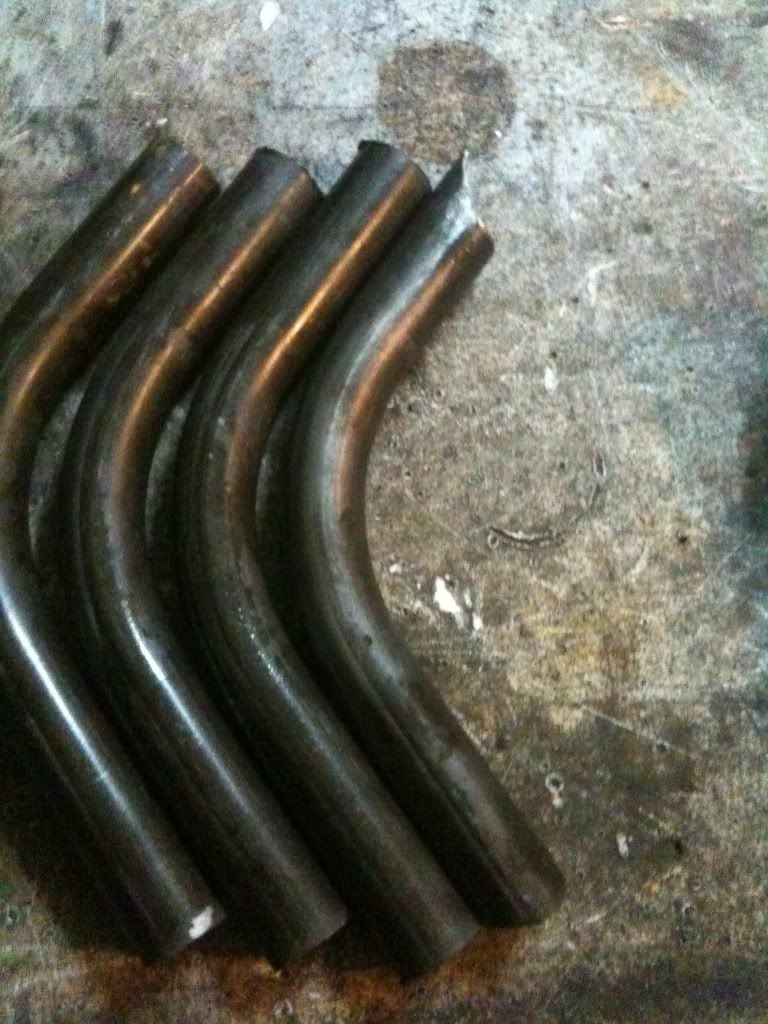
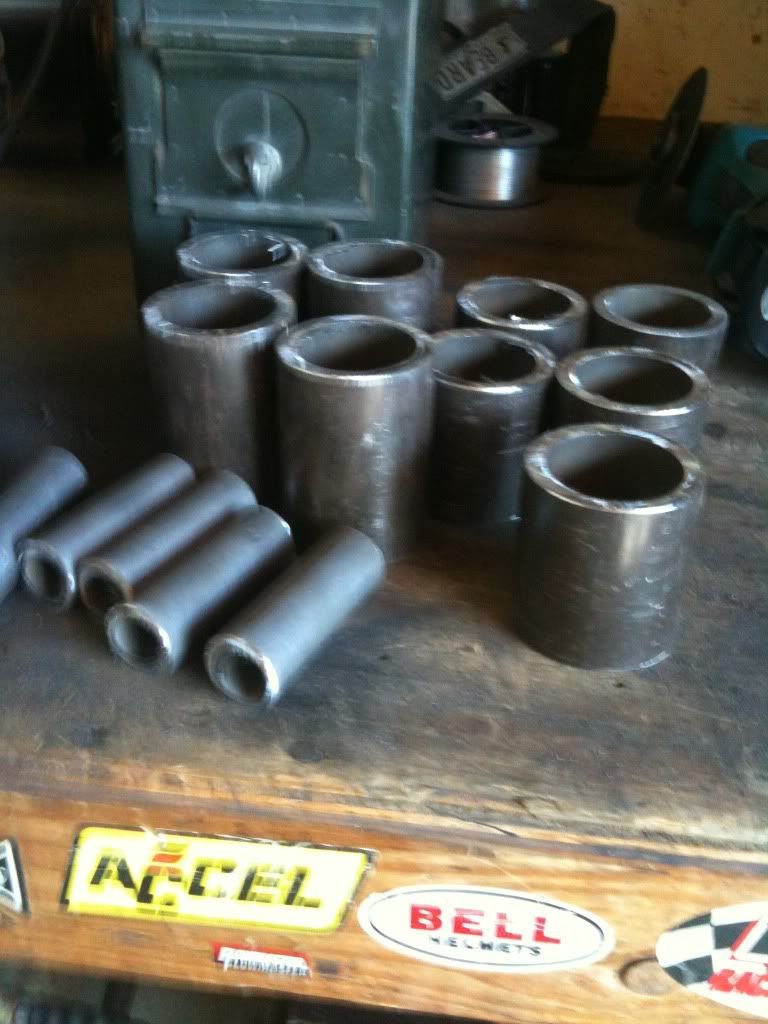
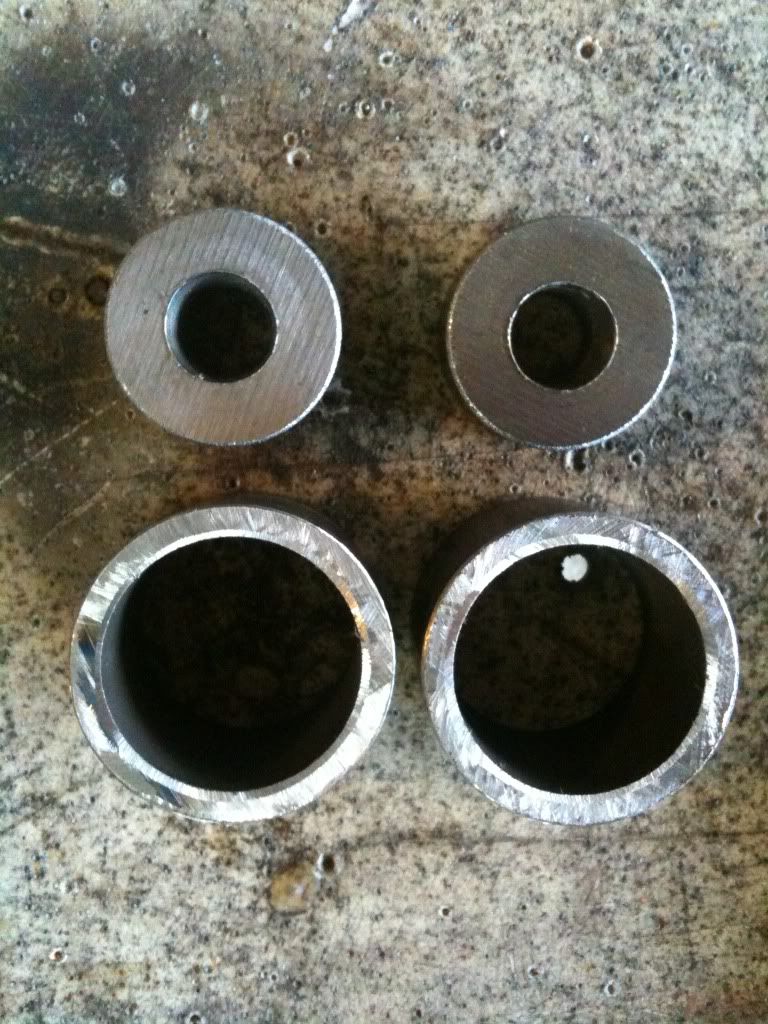
Cut out some sleeves, just need a good clean up on the grinder.
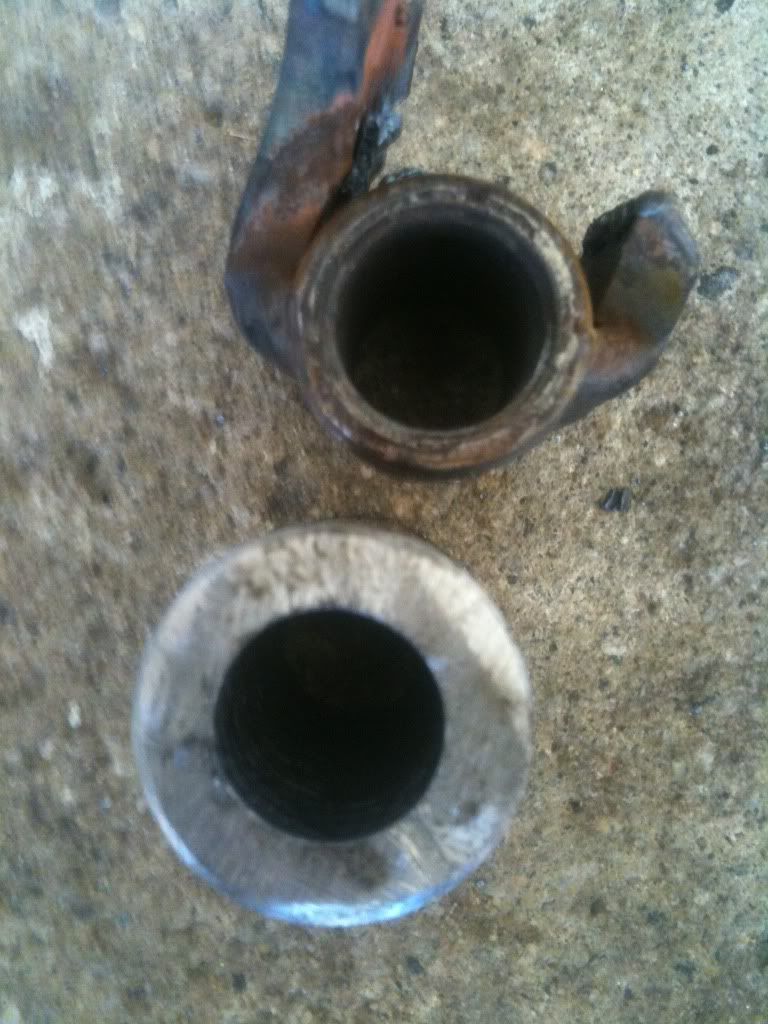
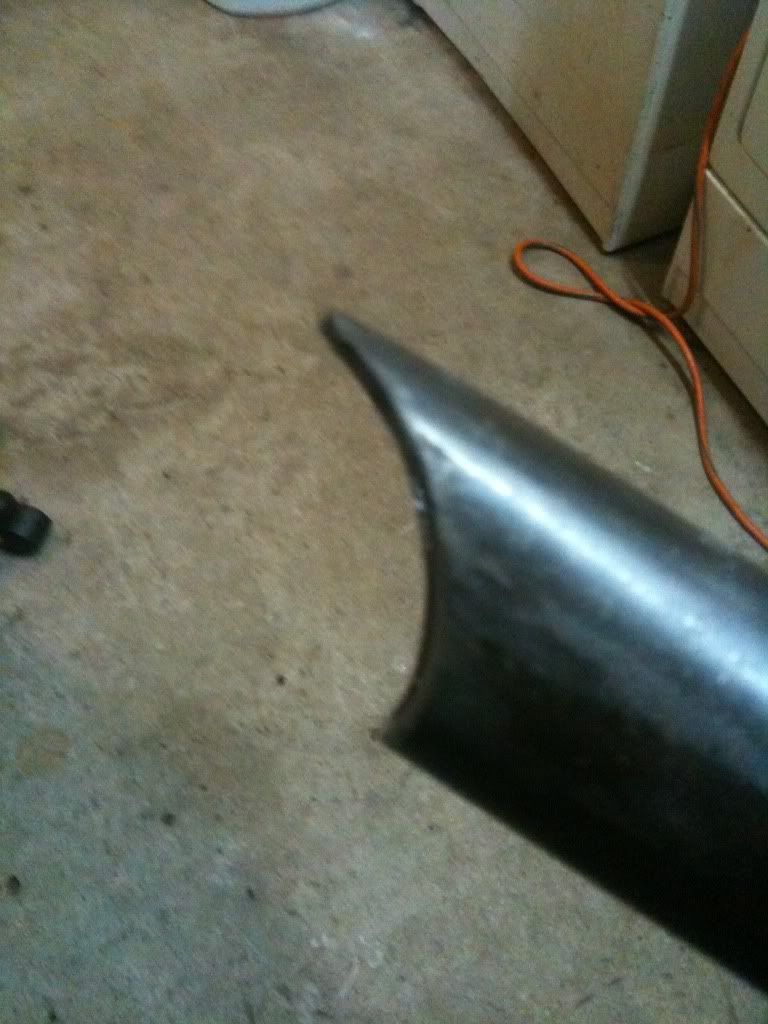
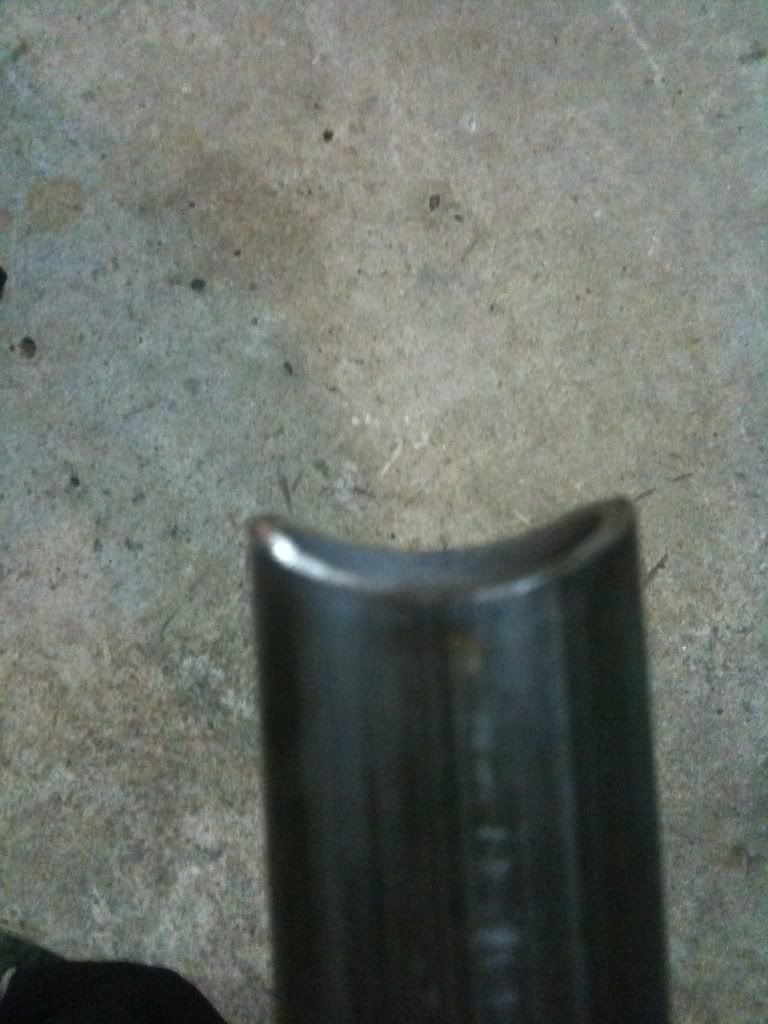
2 1/4" .250wall chromoly outer sleeve

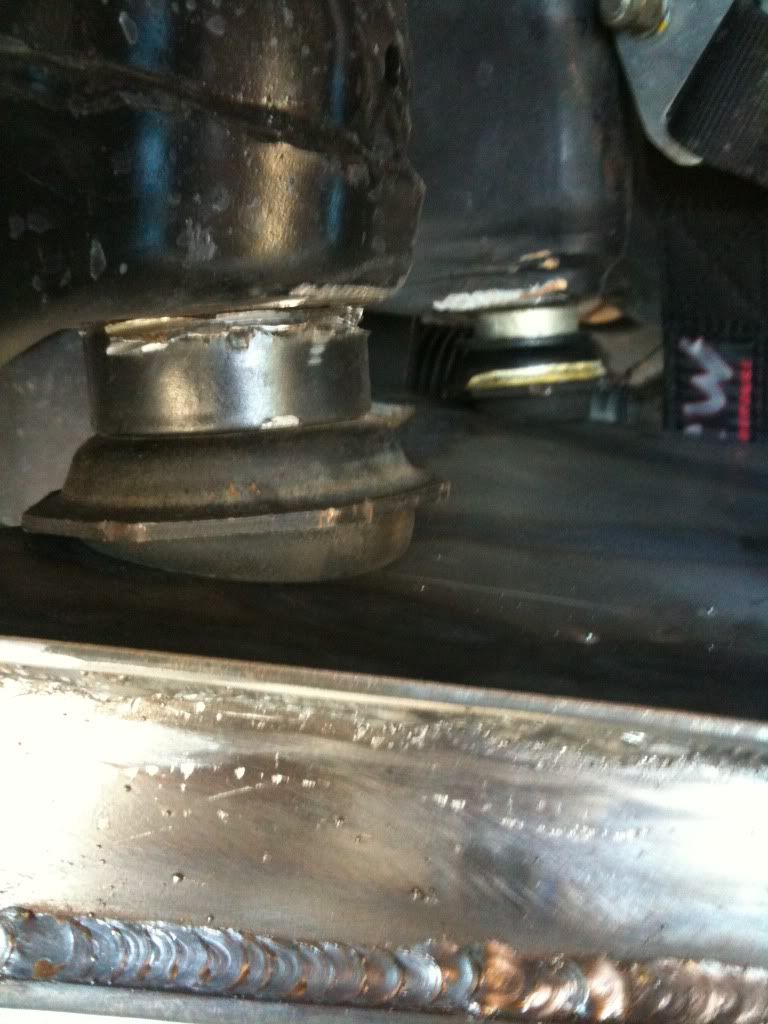
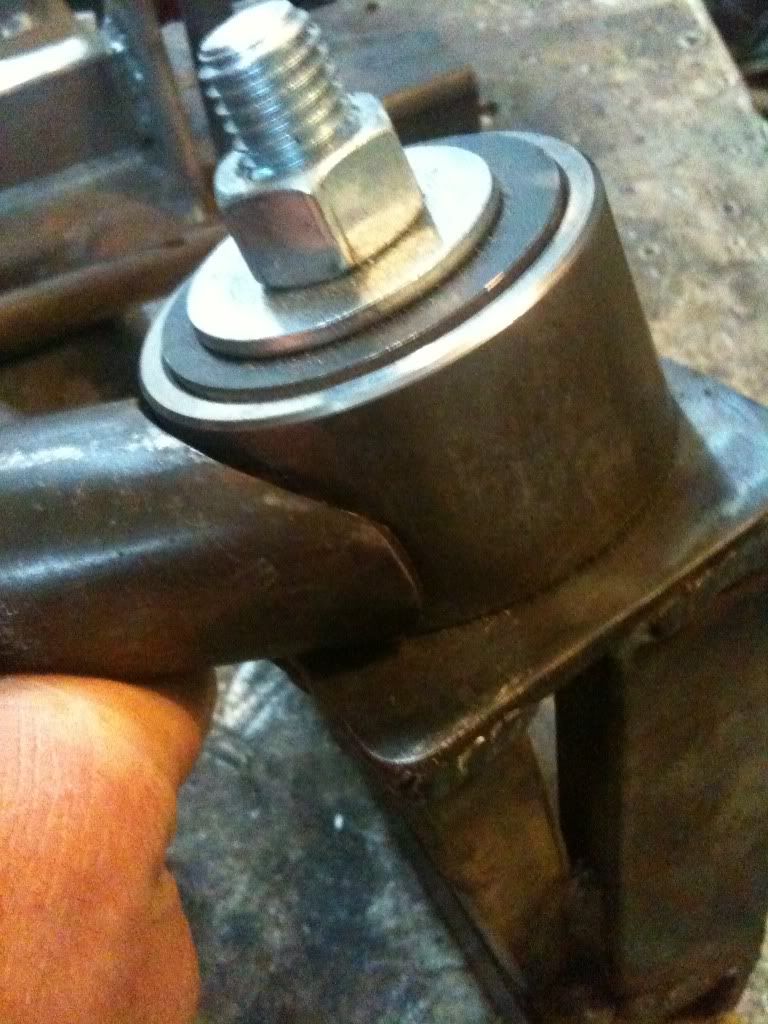
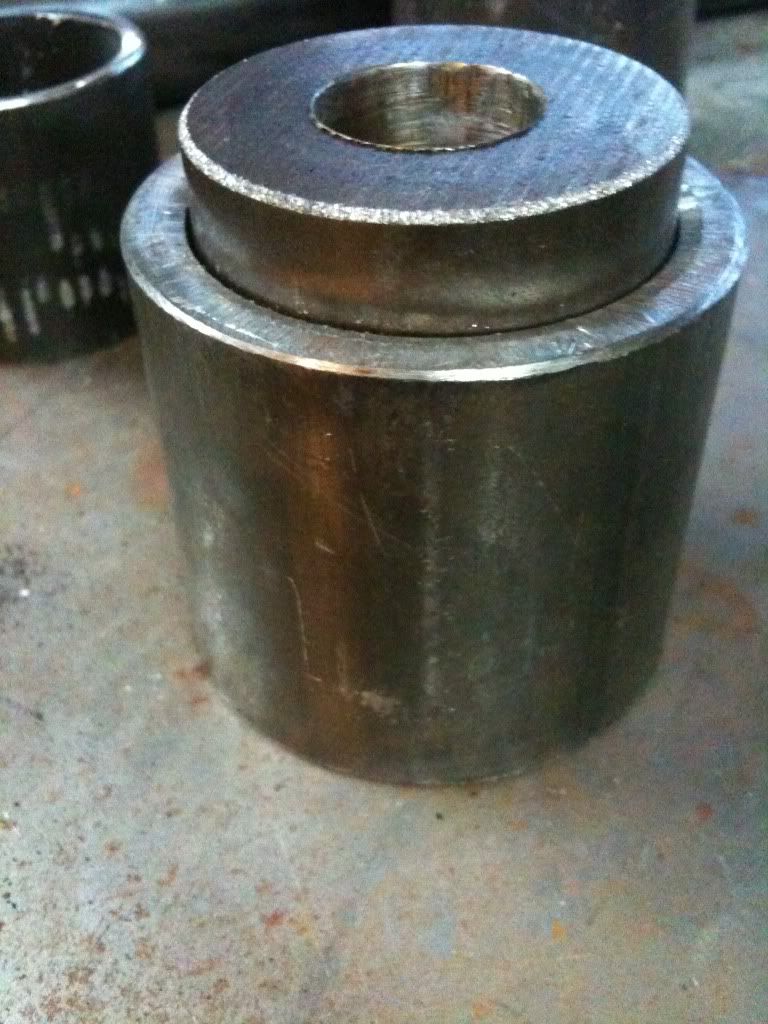
All parts needed for the pivot points at the frame minus the bushings.
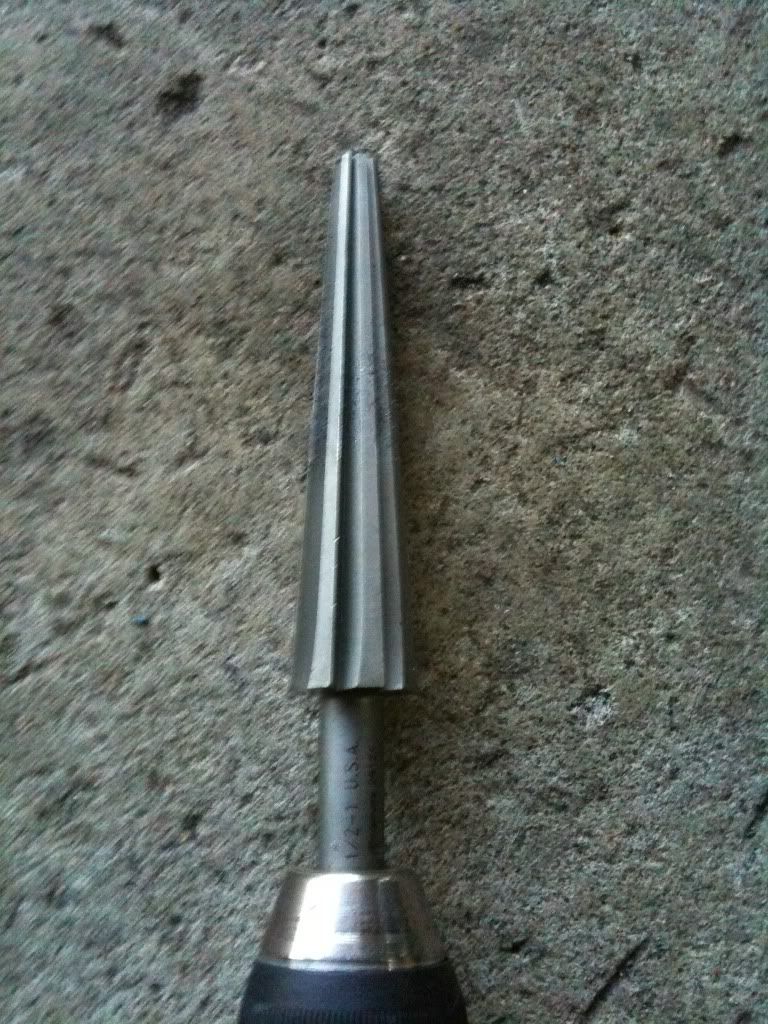
Tapered ball joint reemer.
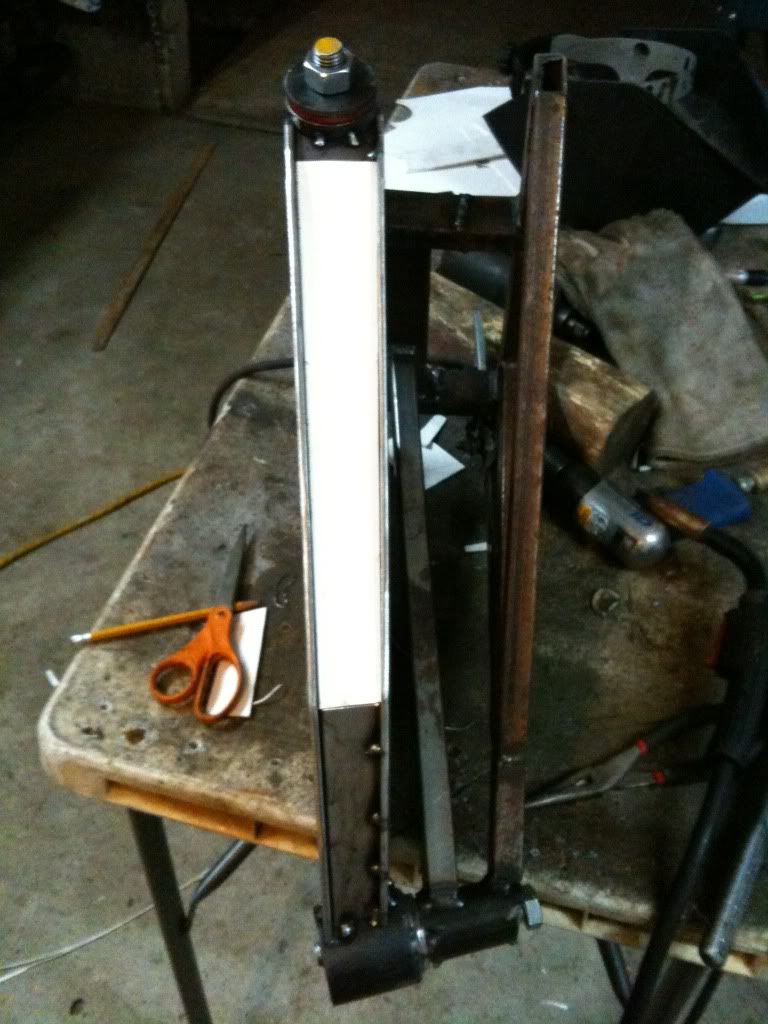
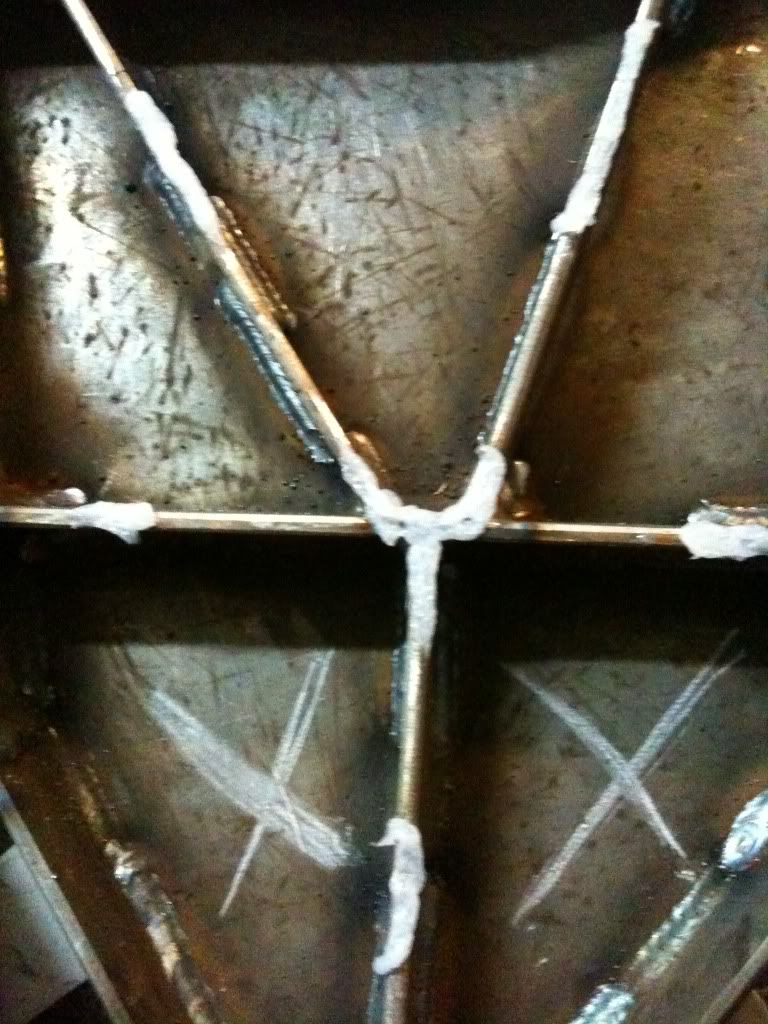
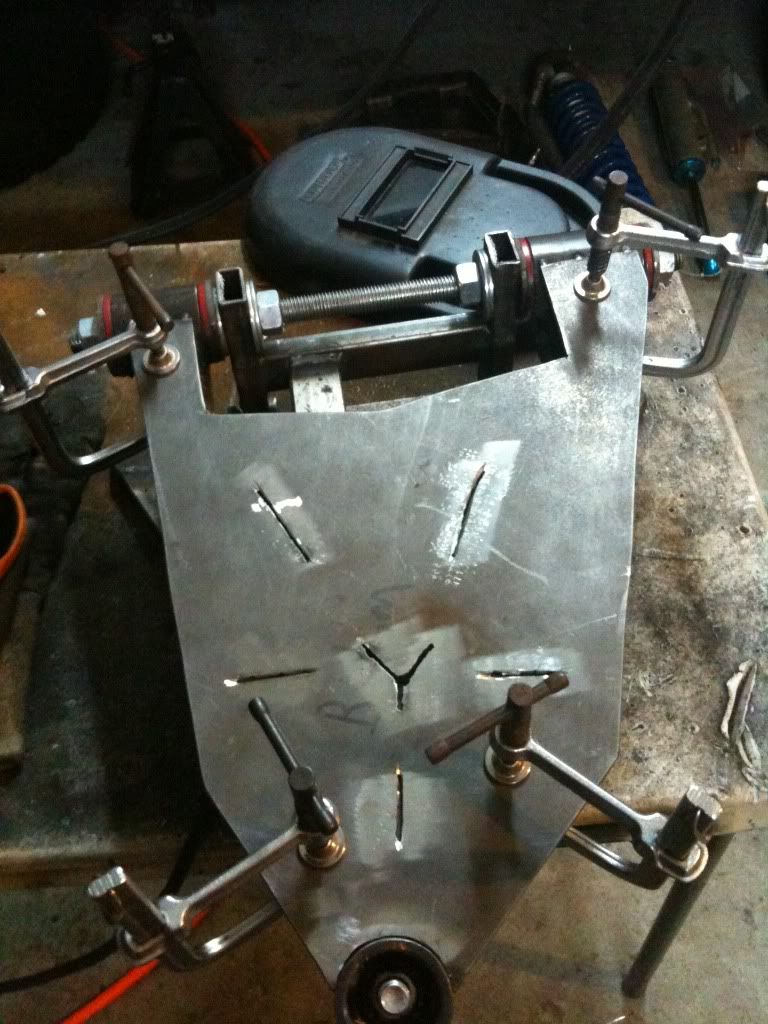
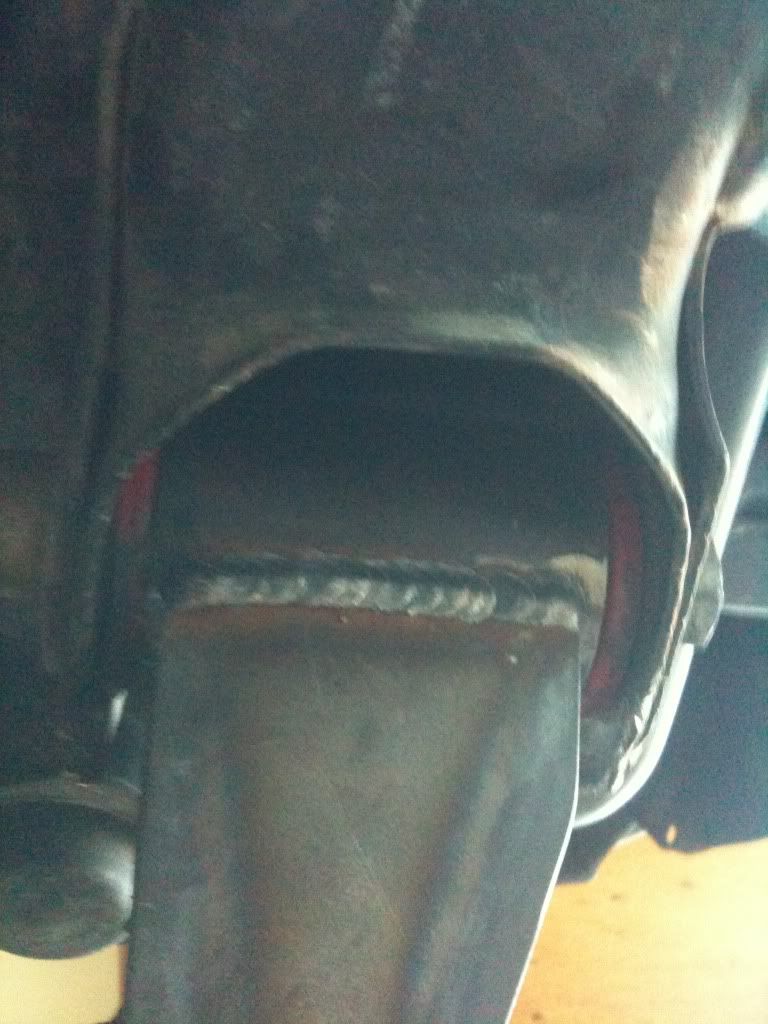
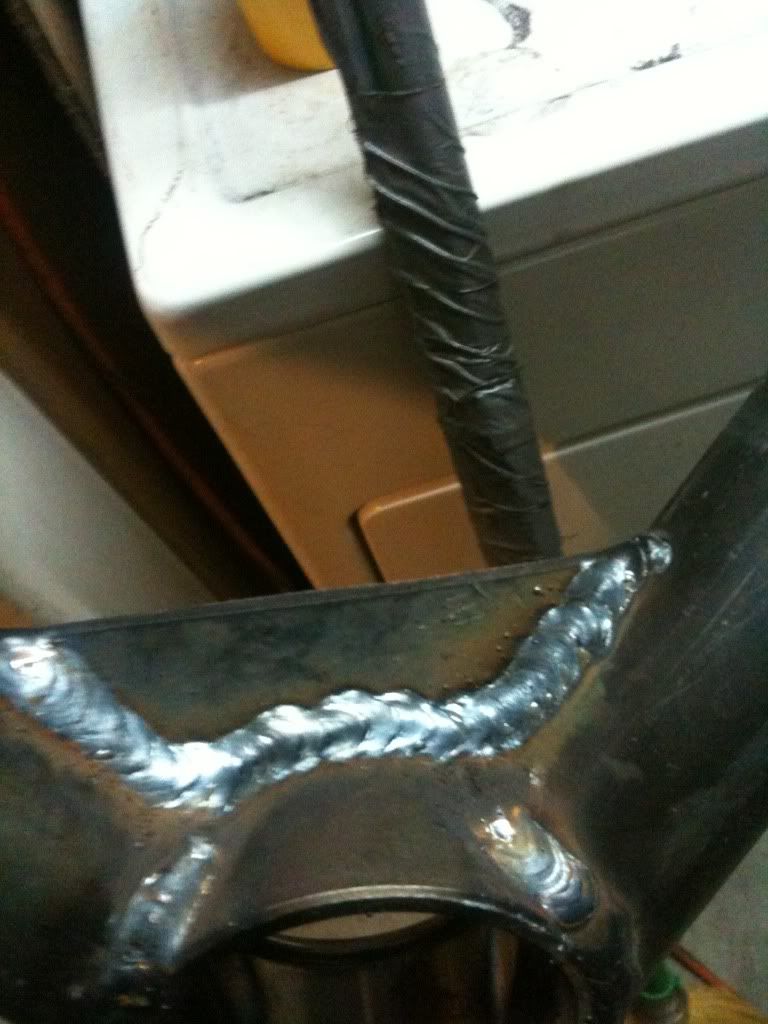
Just need to weld it up.
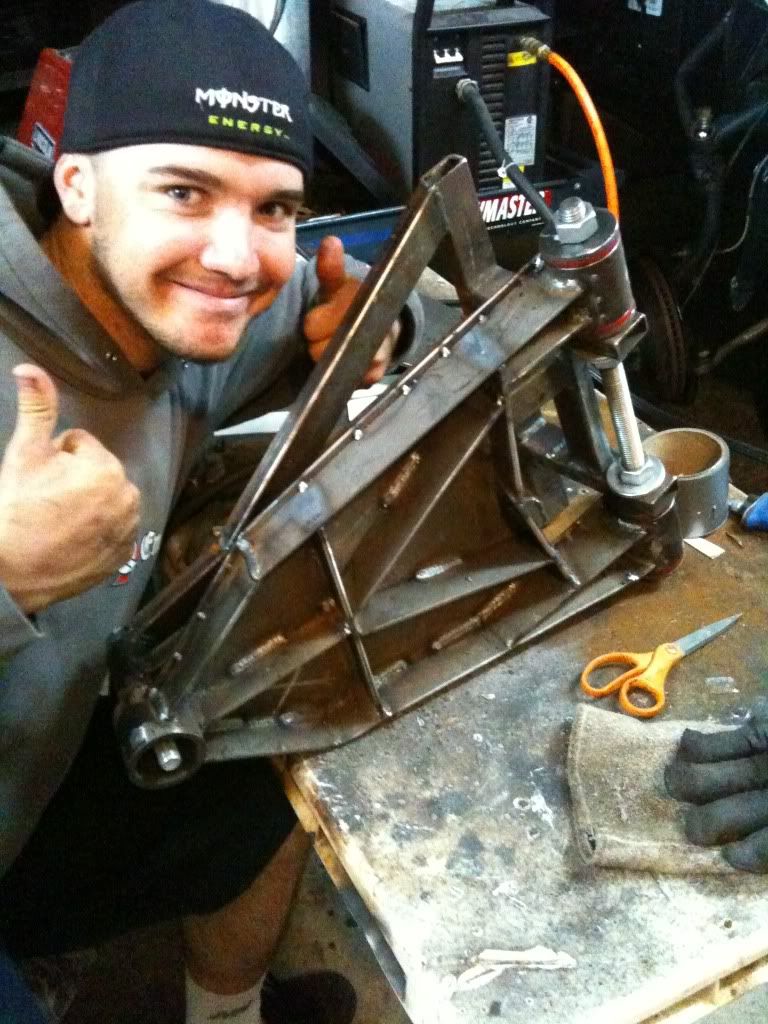
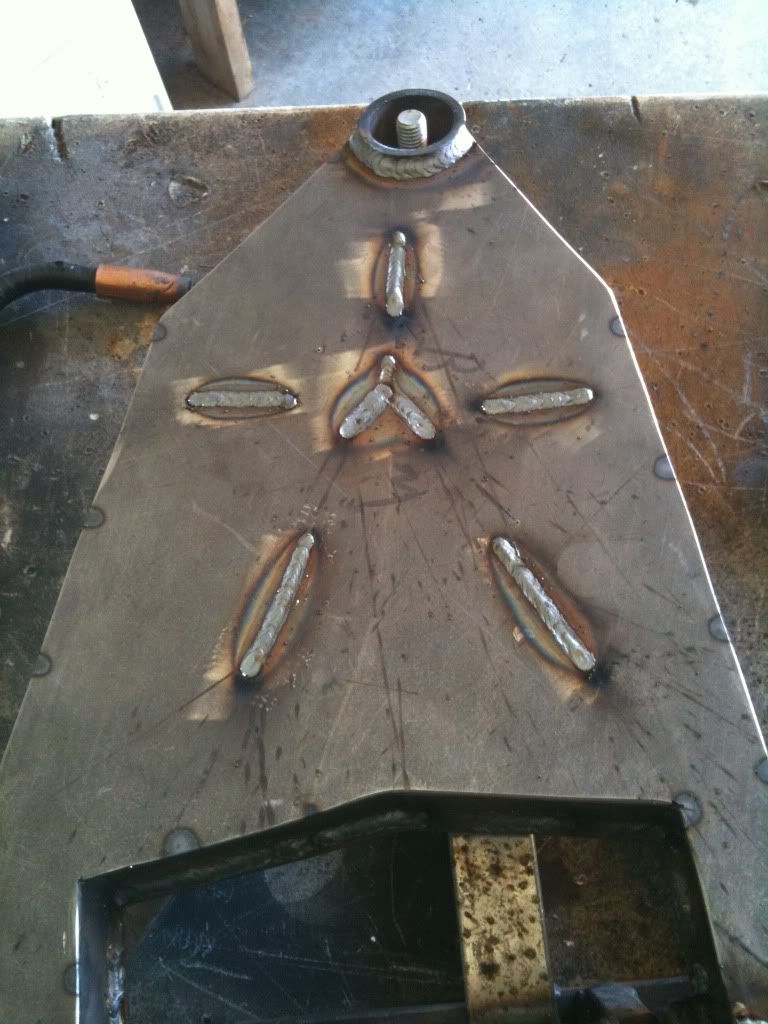
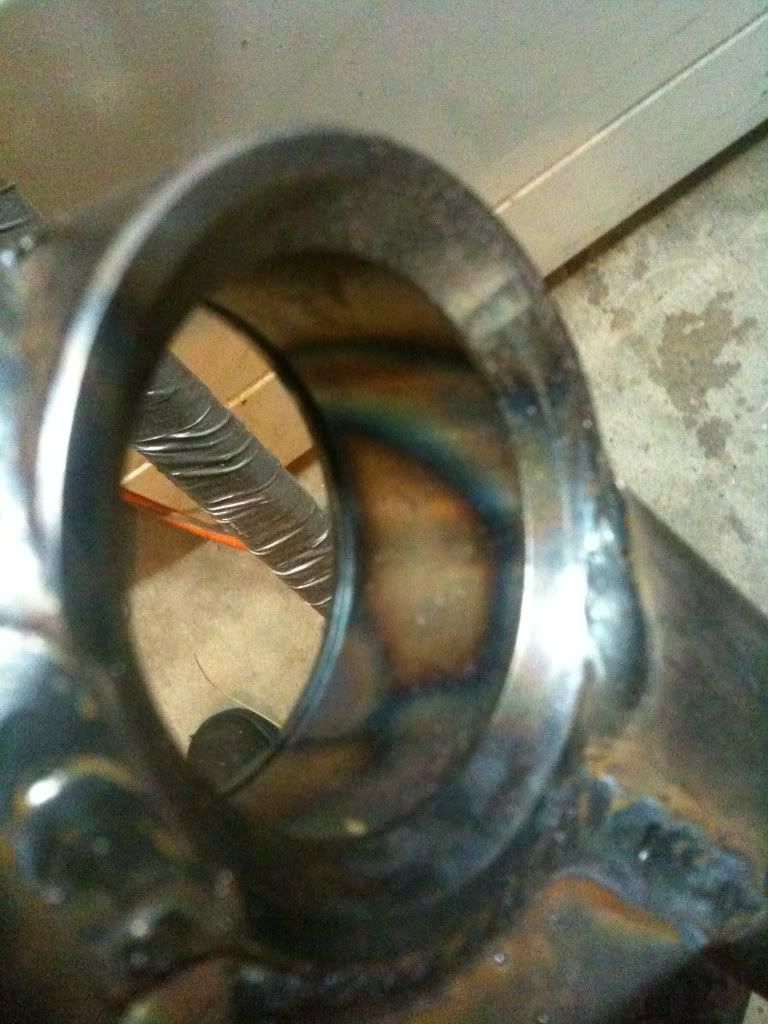
Viola.
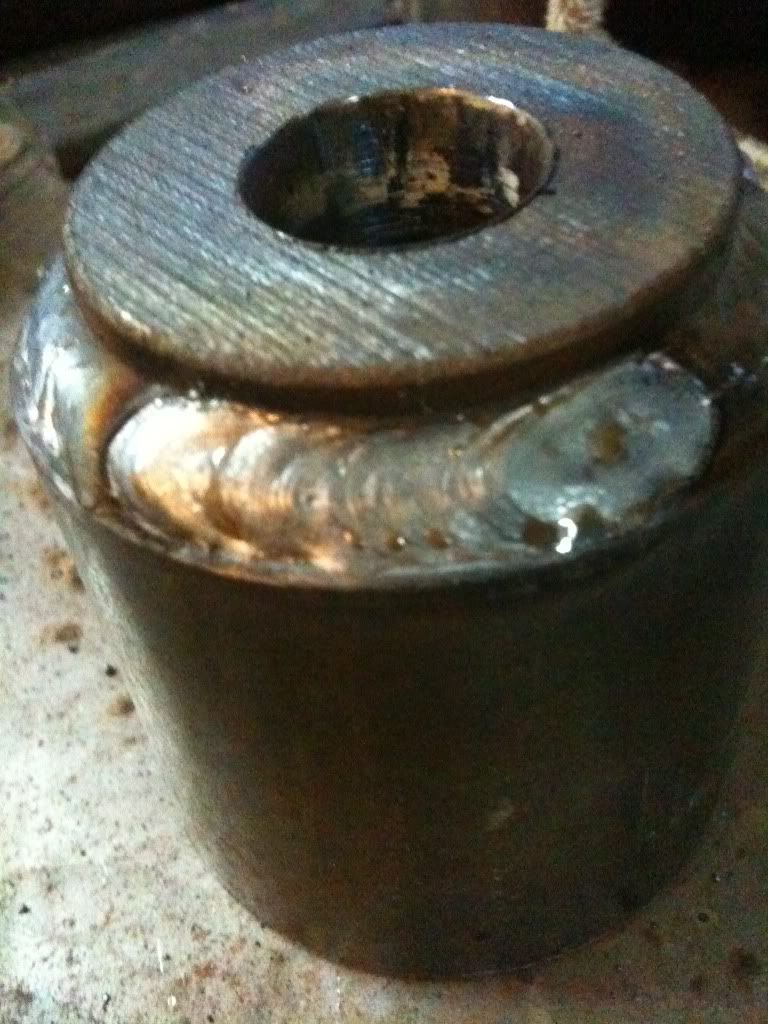
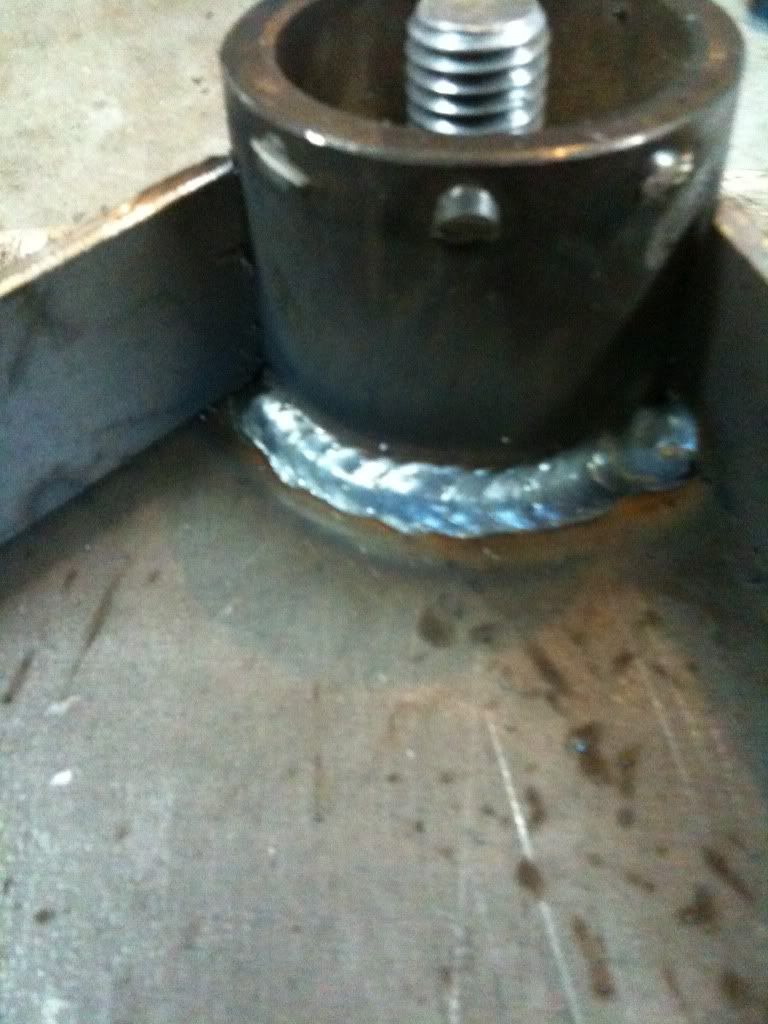
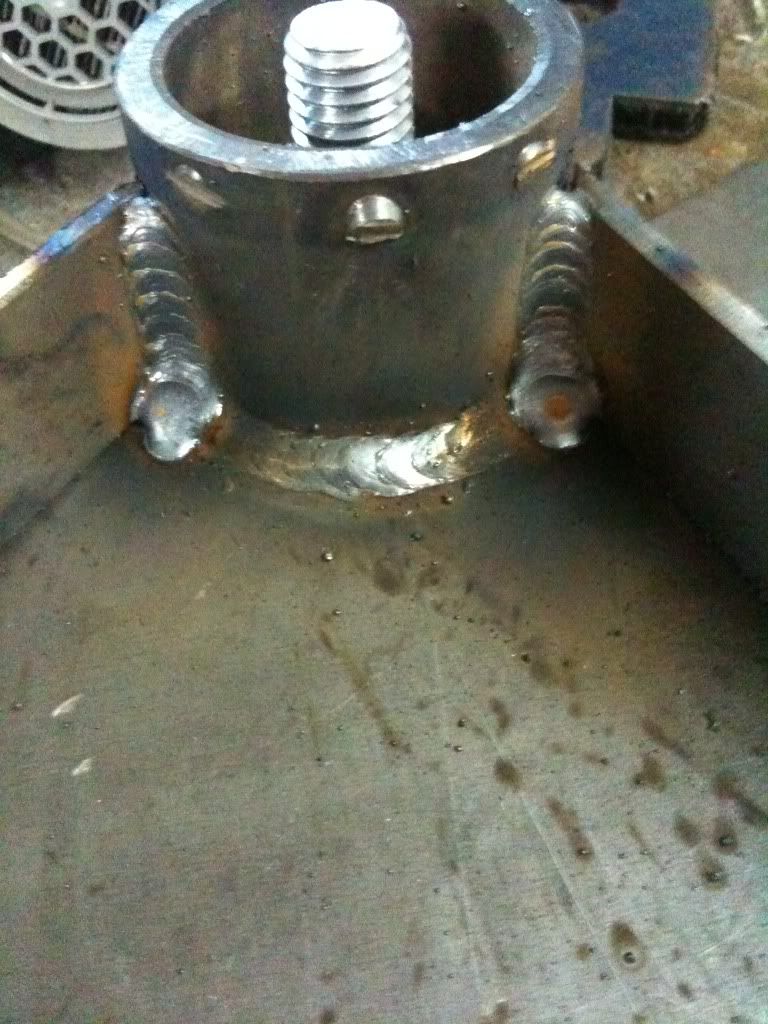
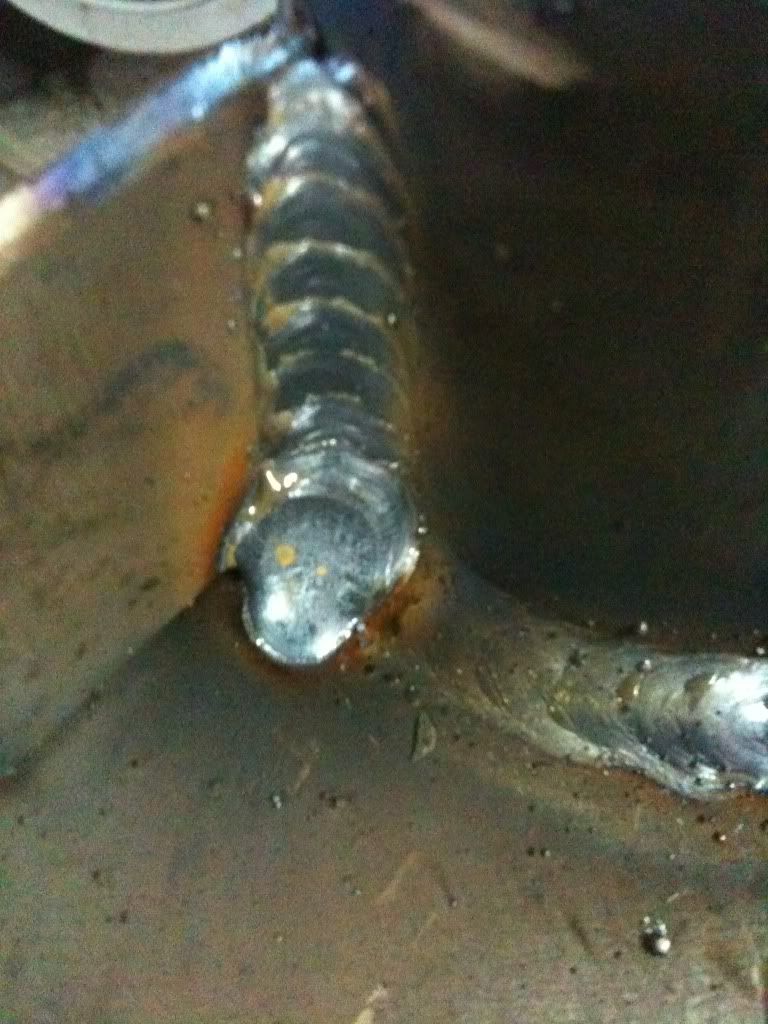
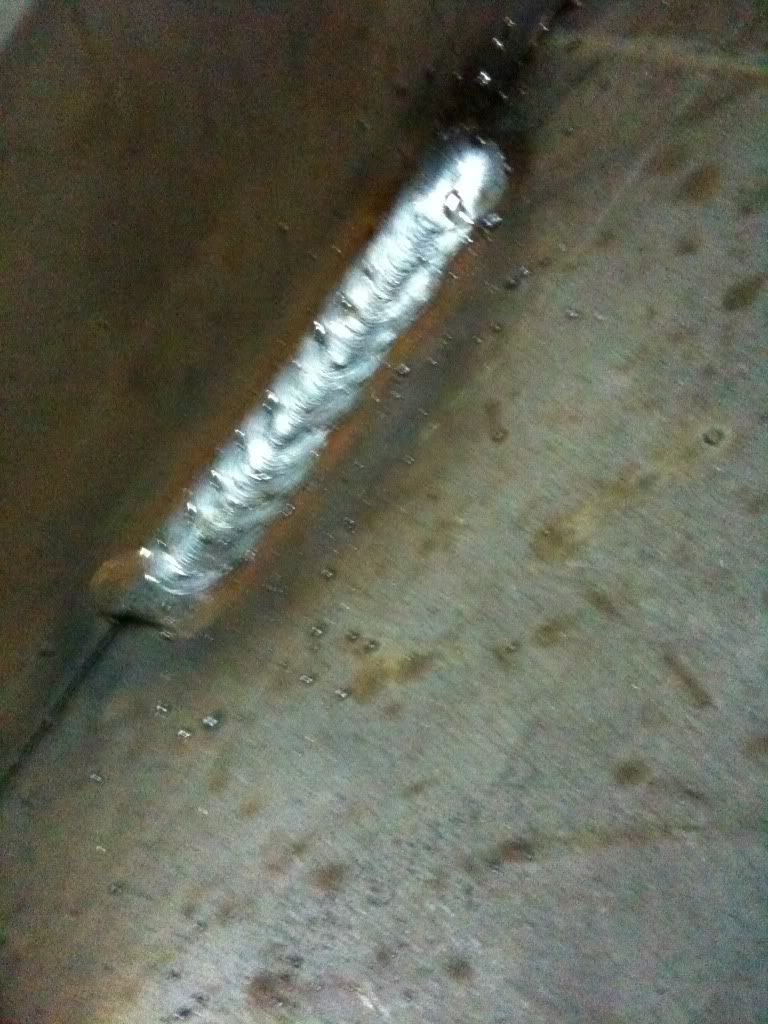
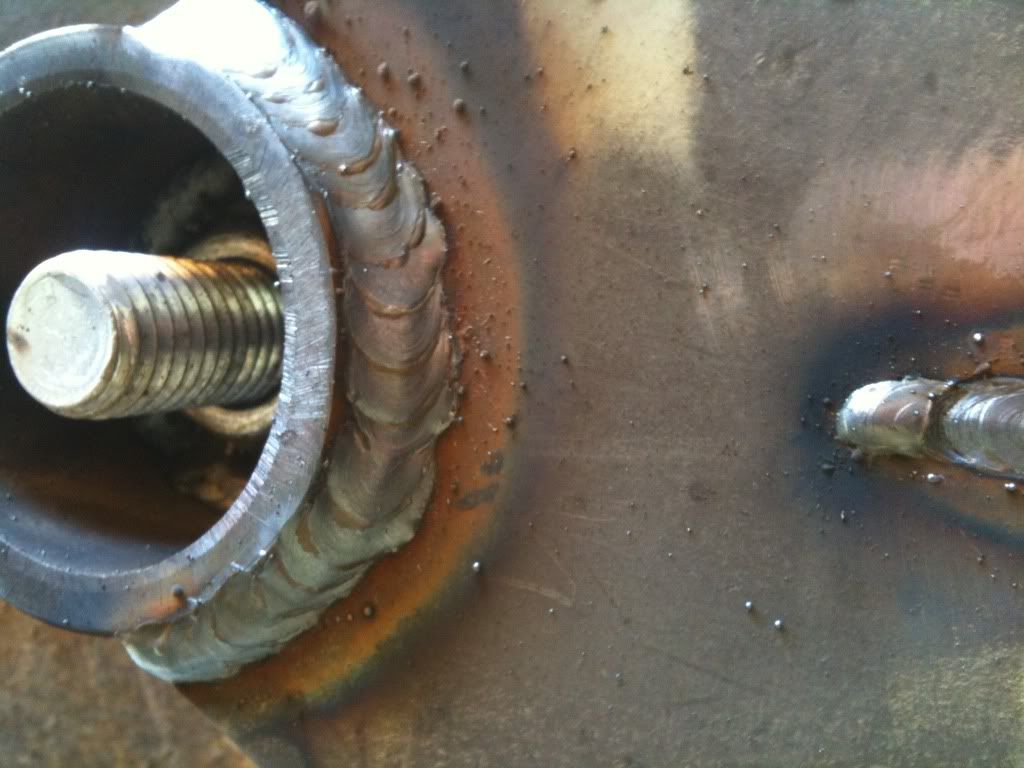
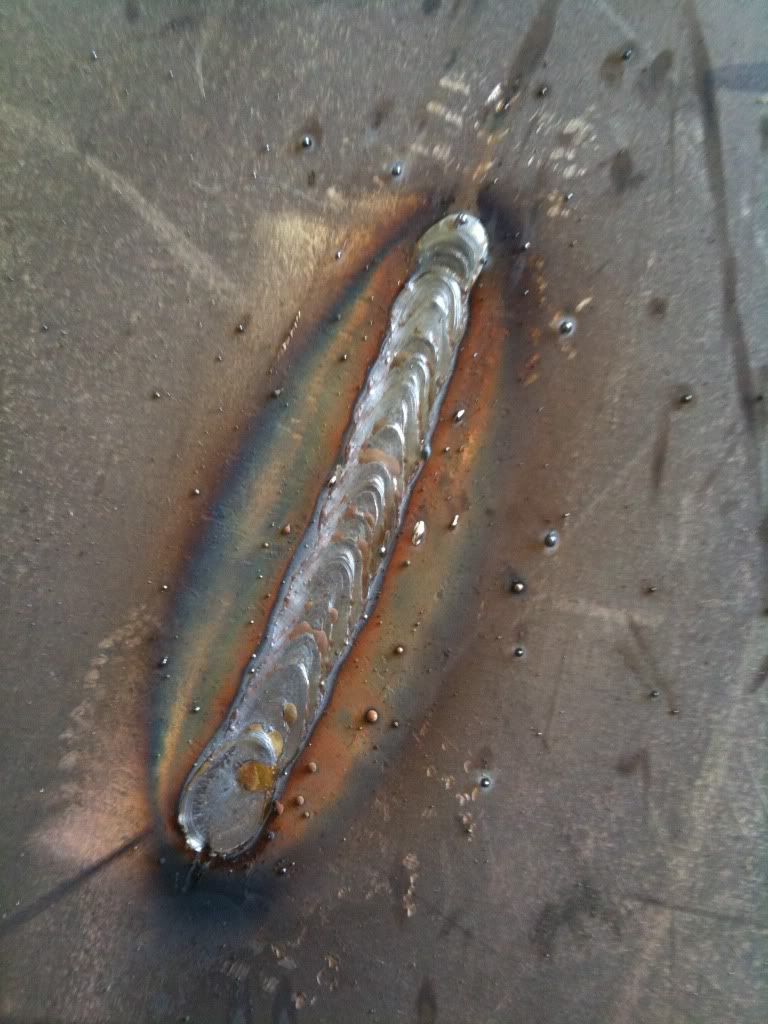
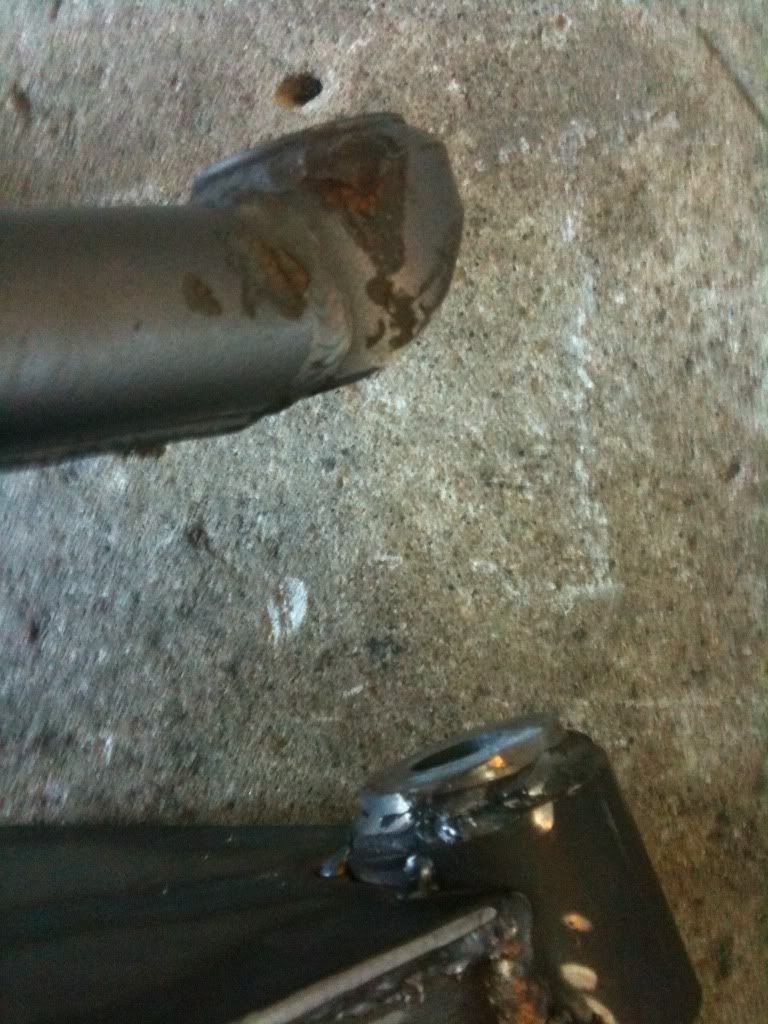
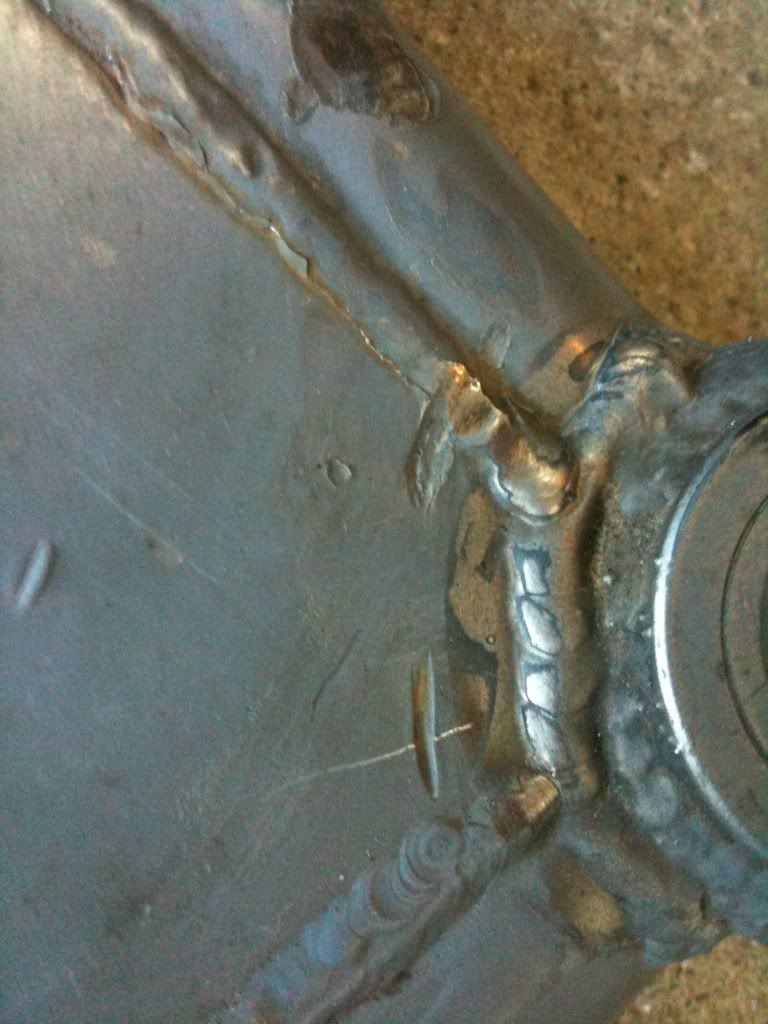
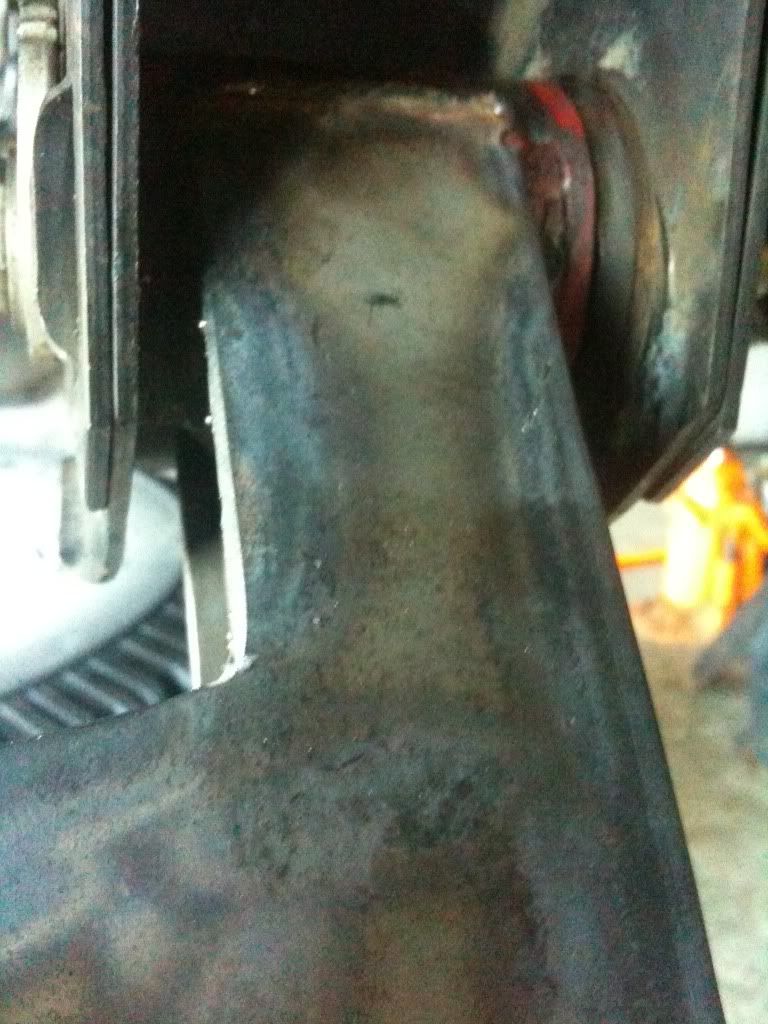
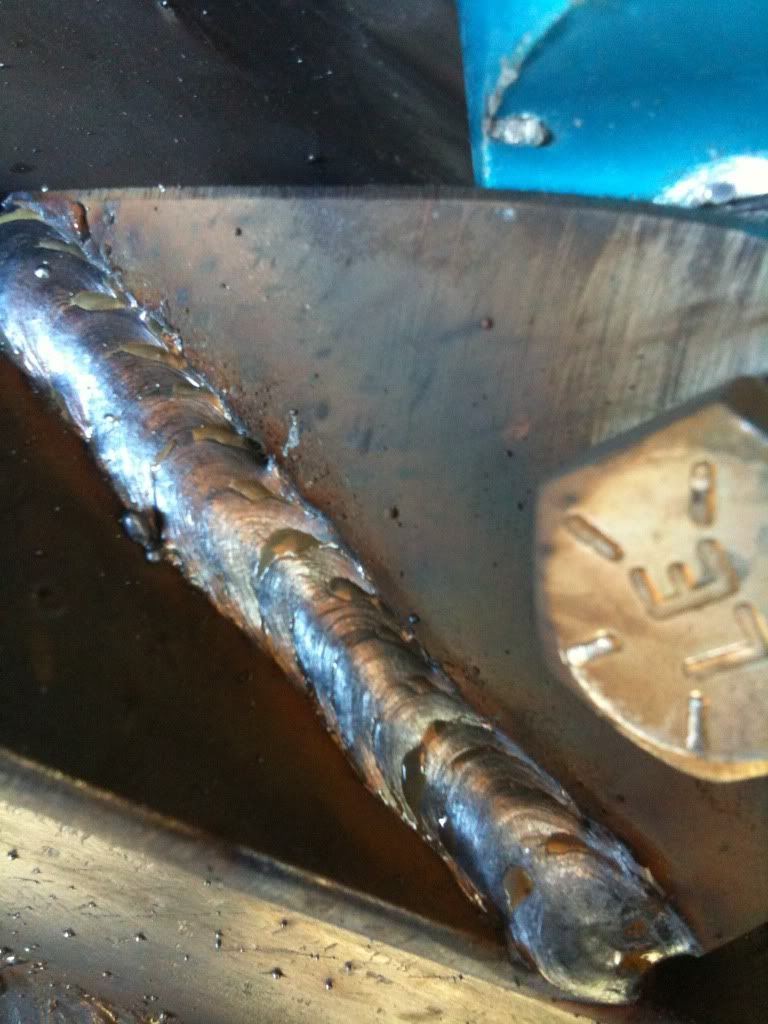
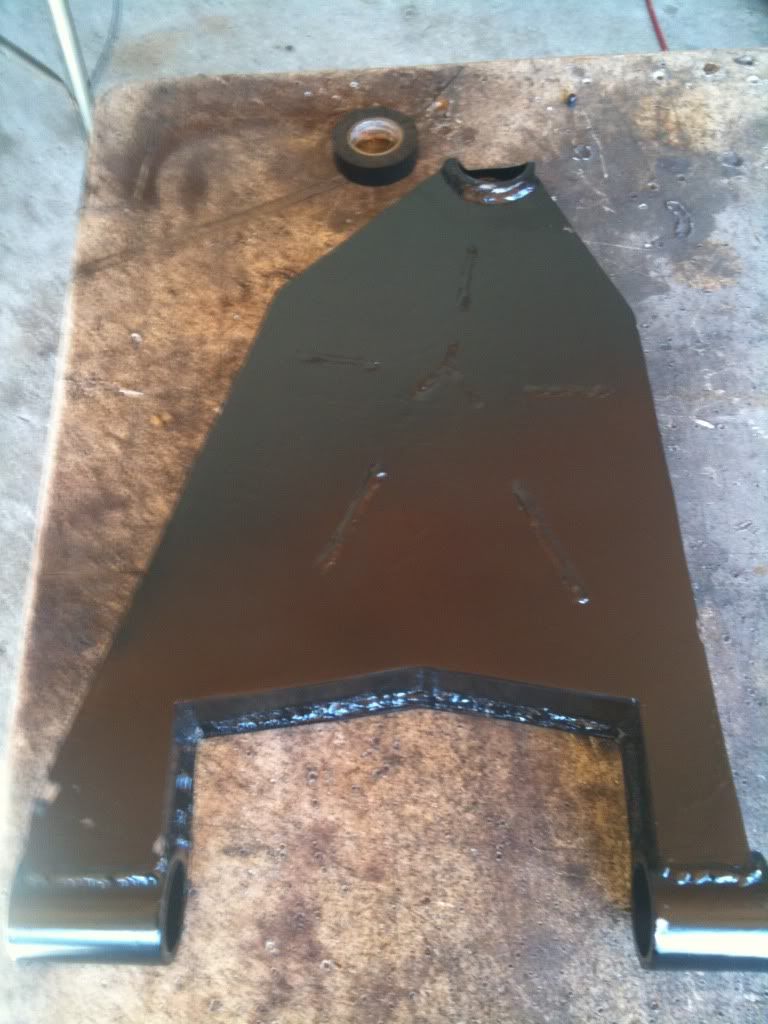
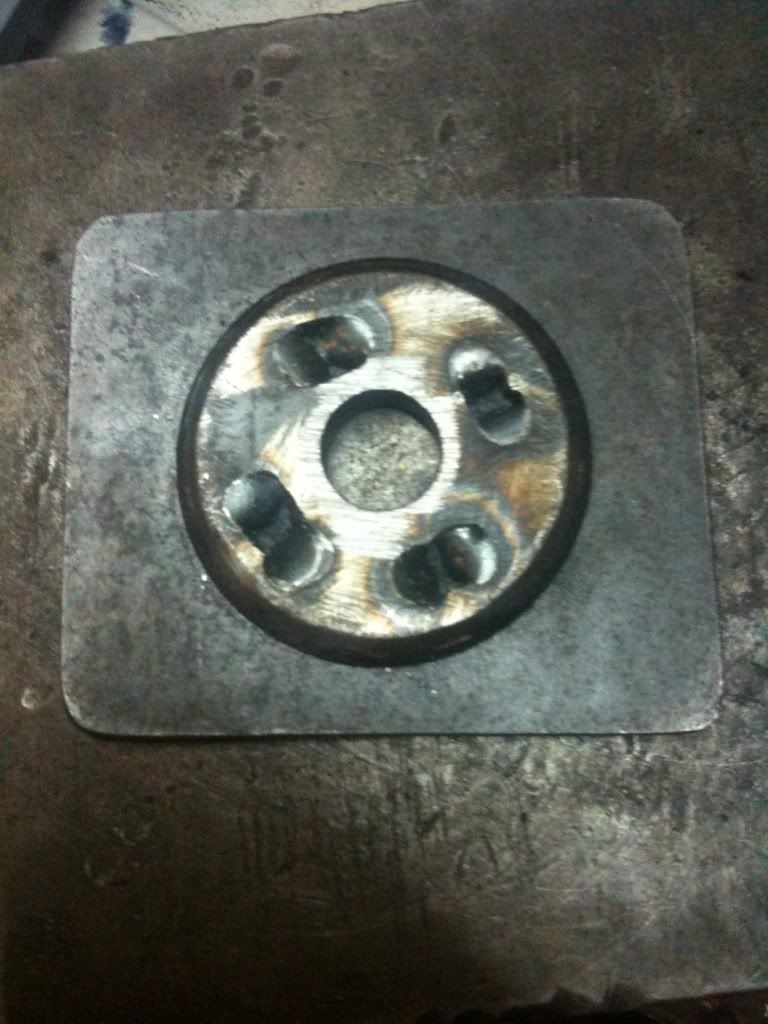
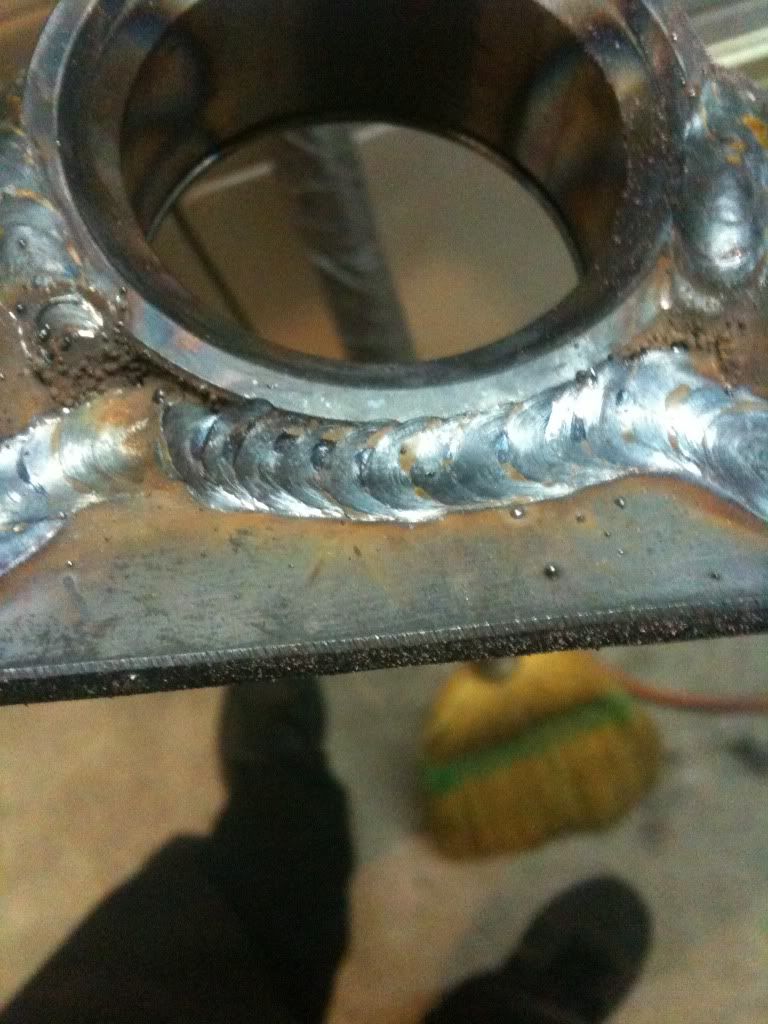
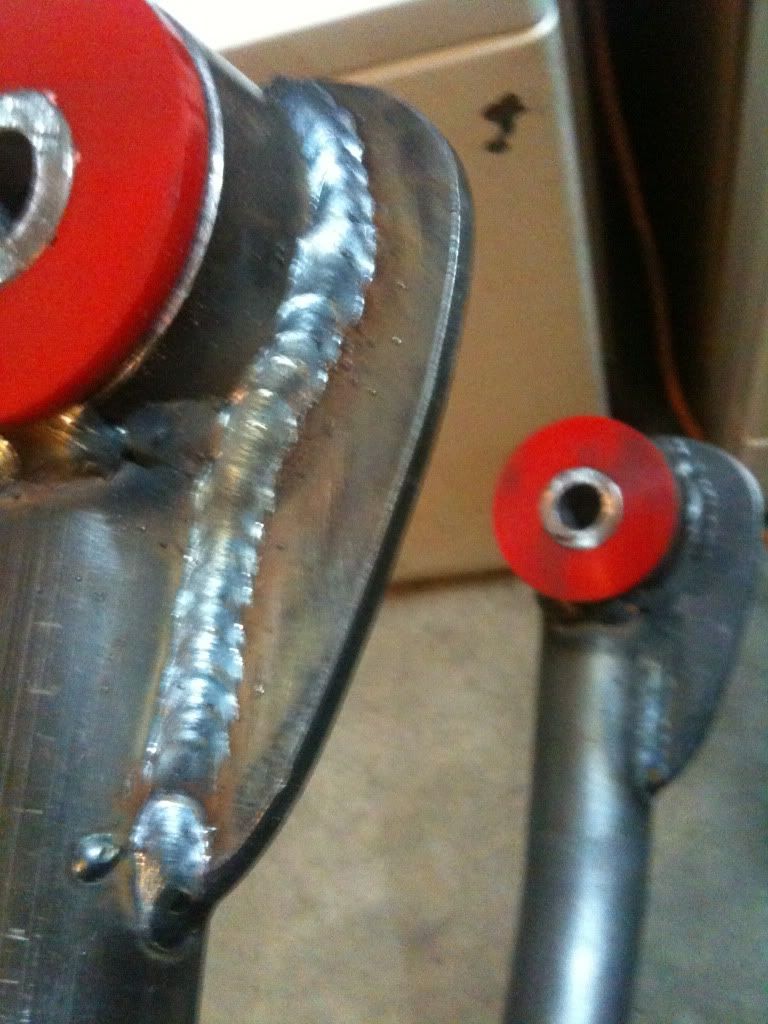
Deep penetration.
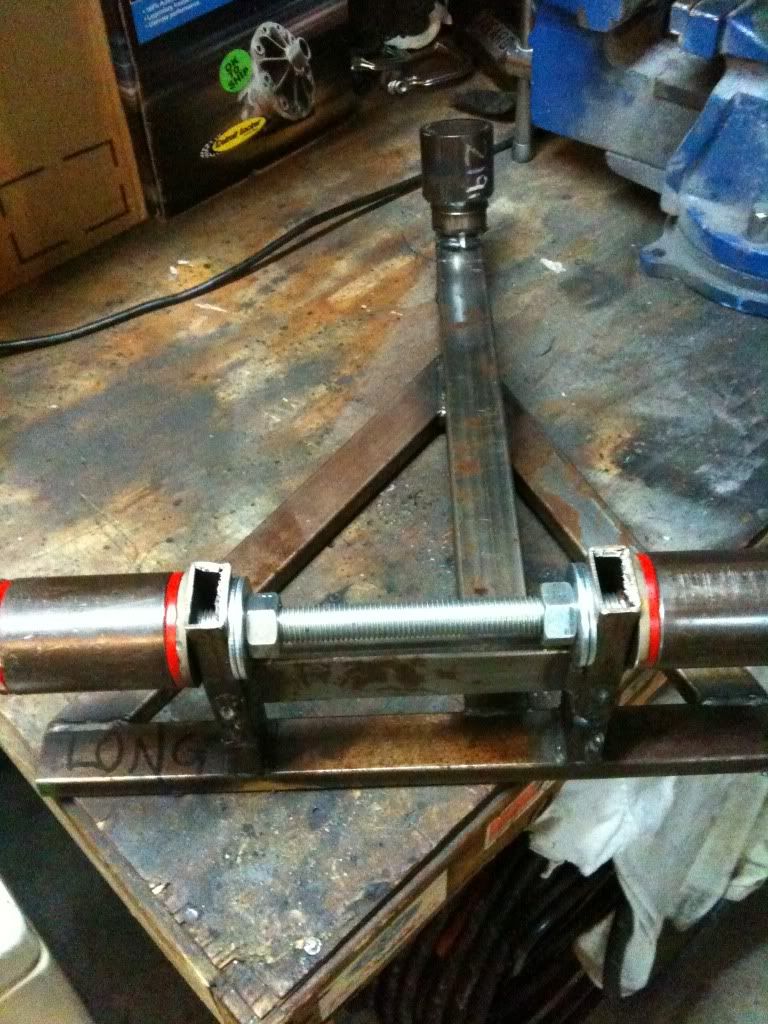
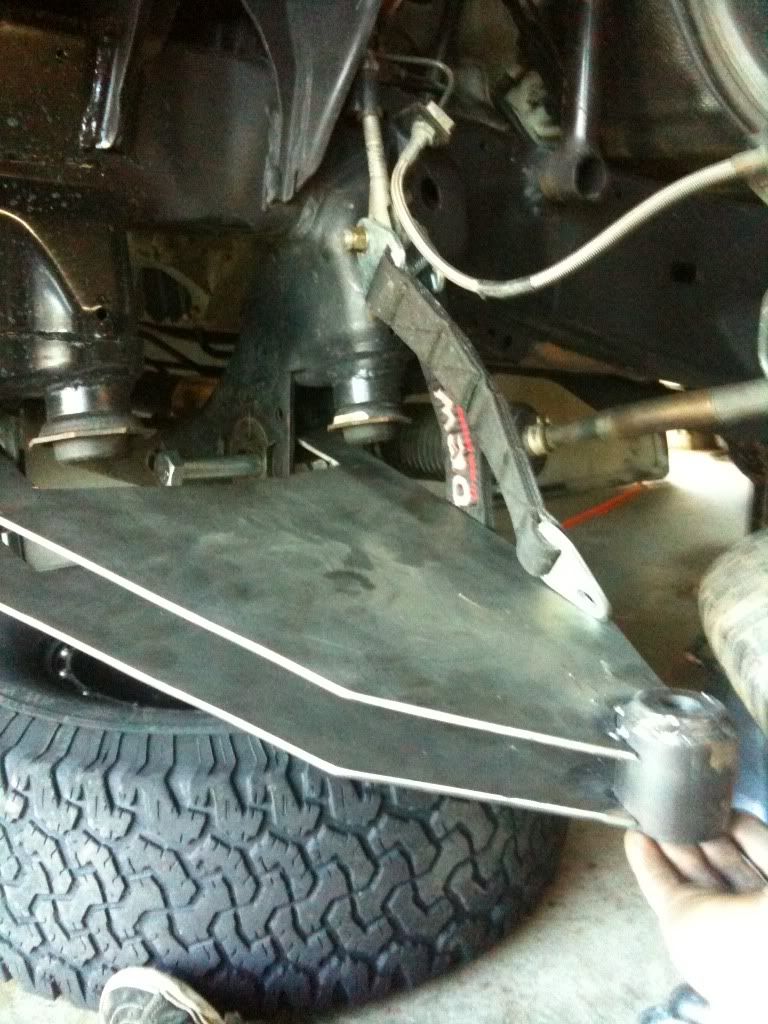
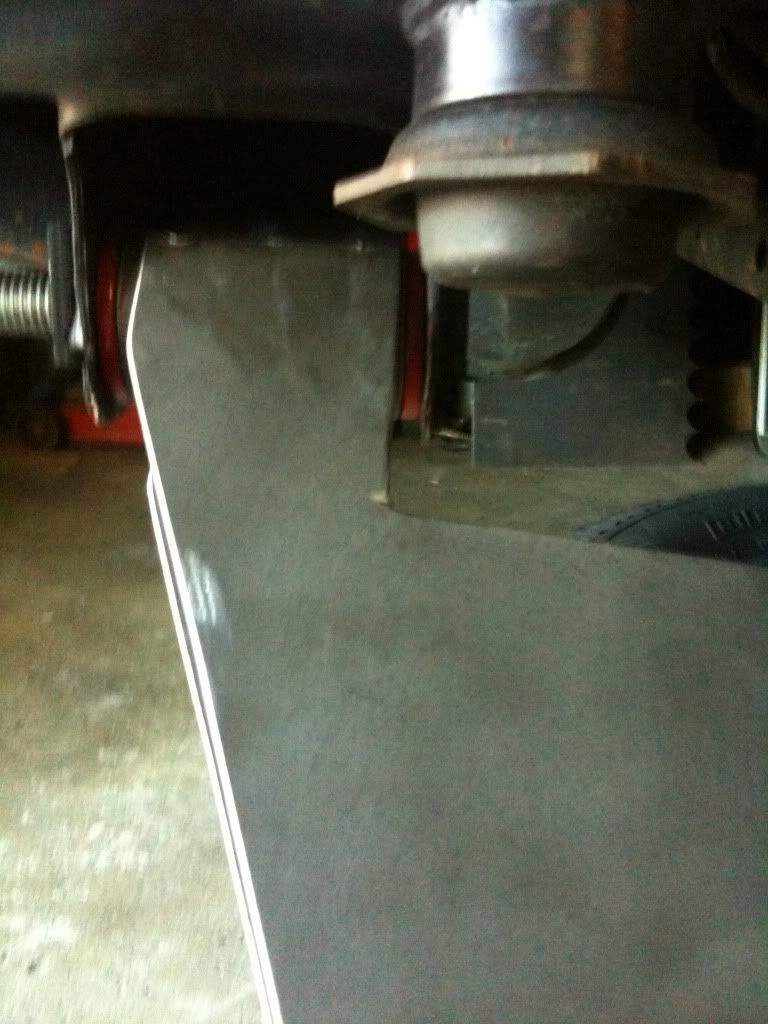
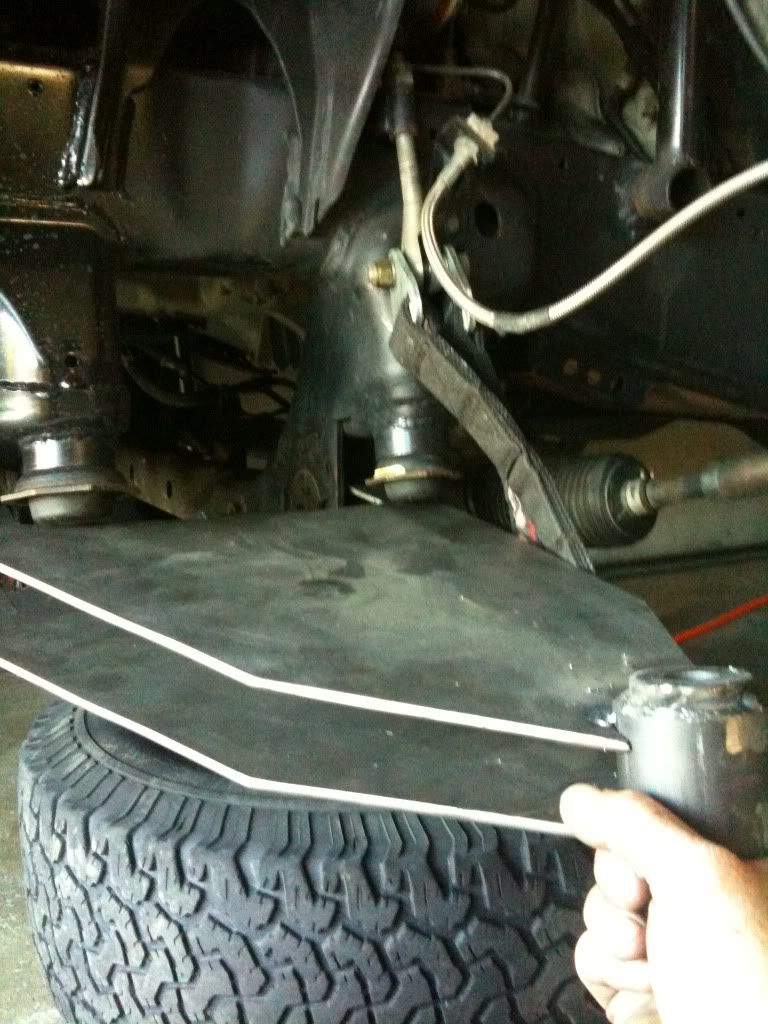
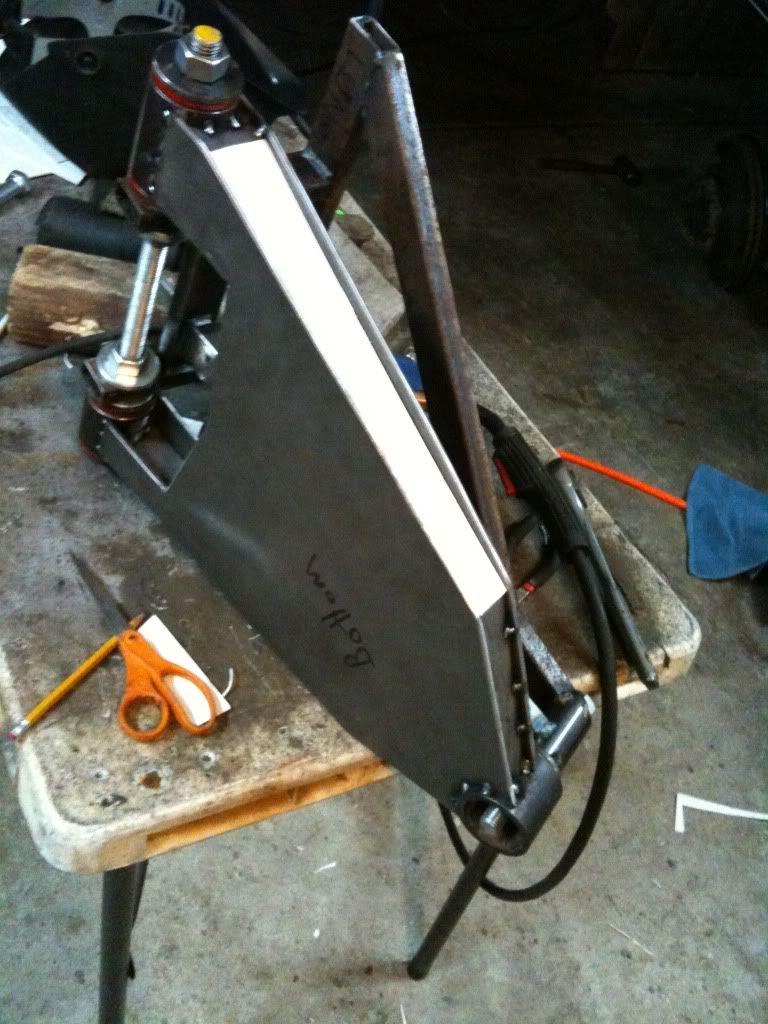
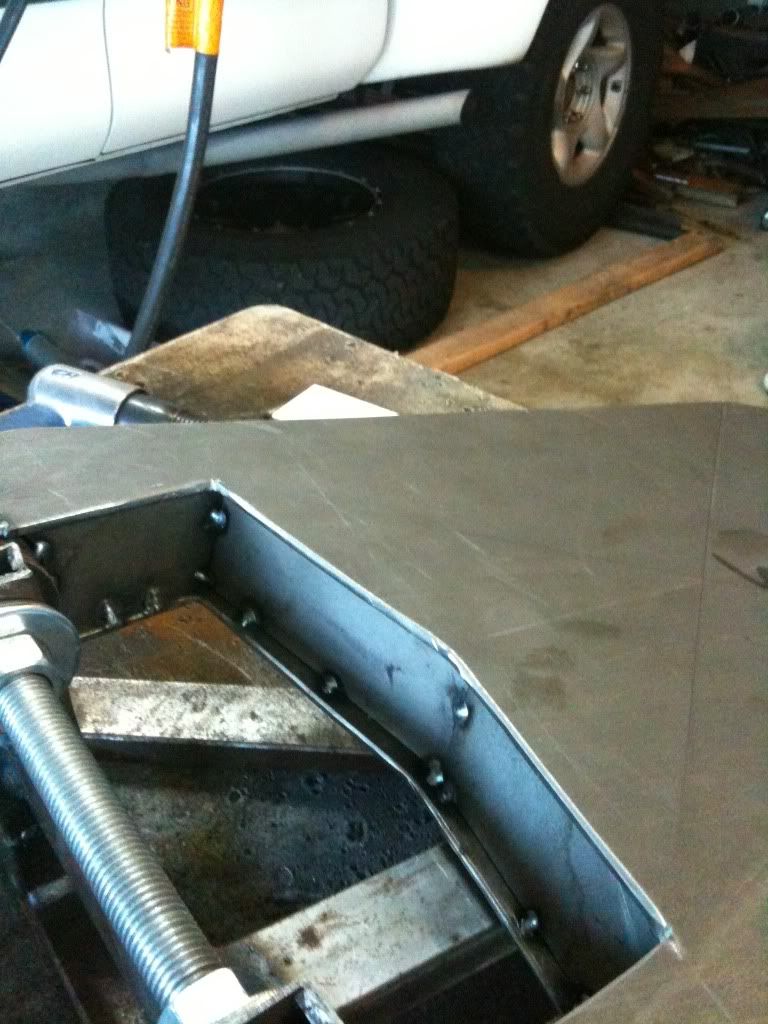
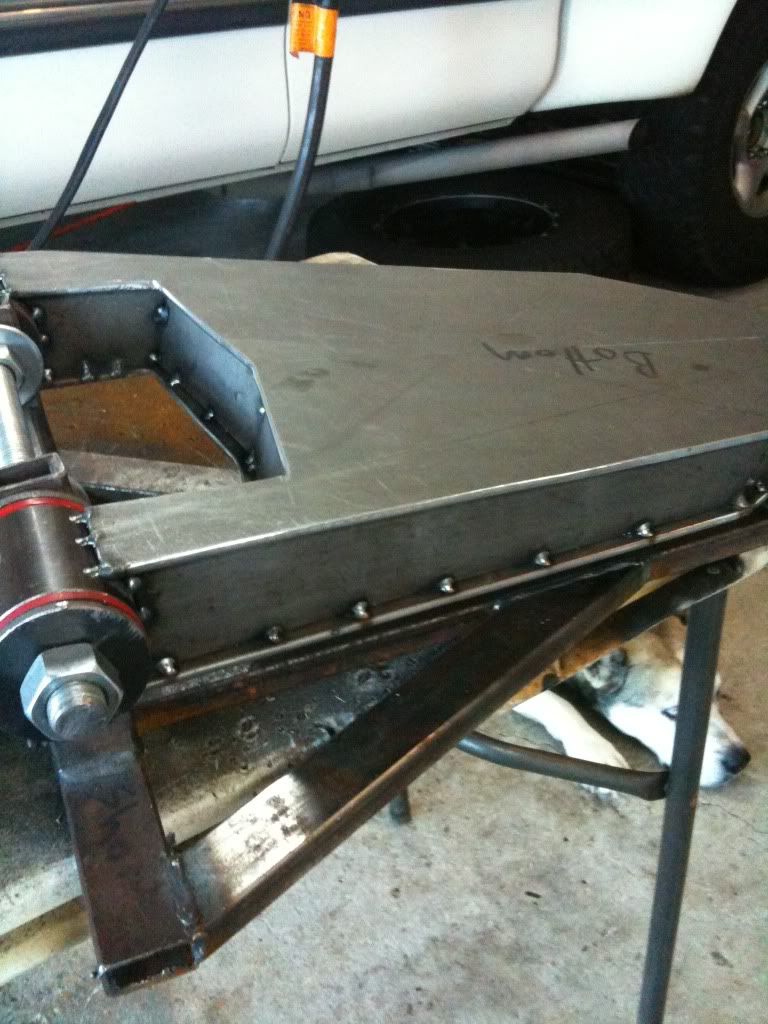
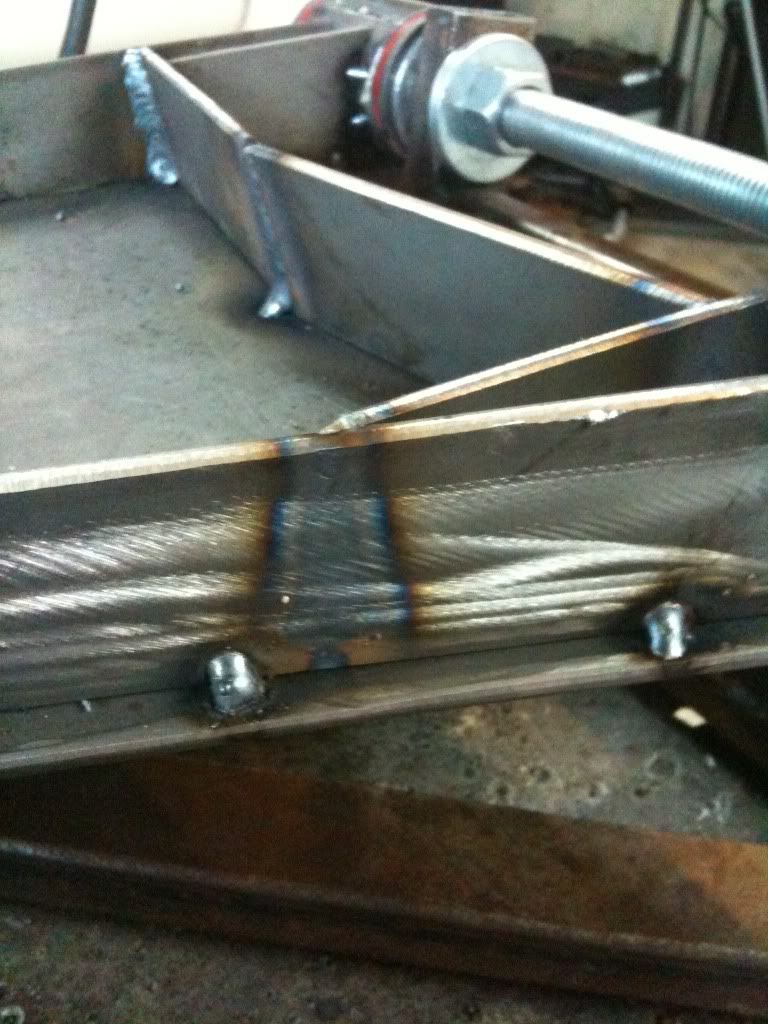
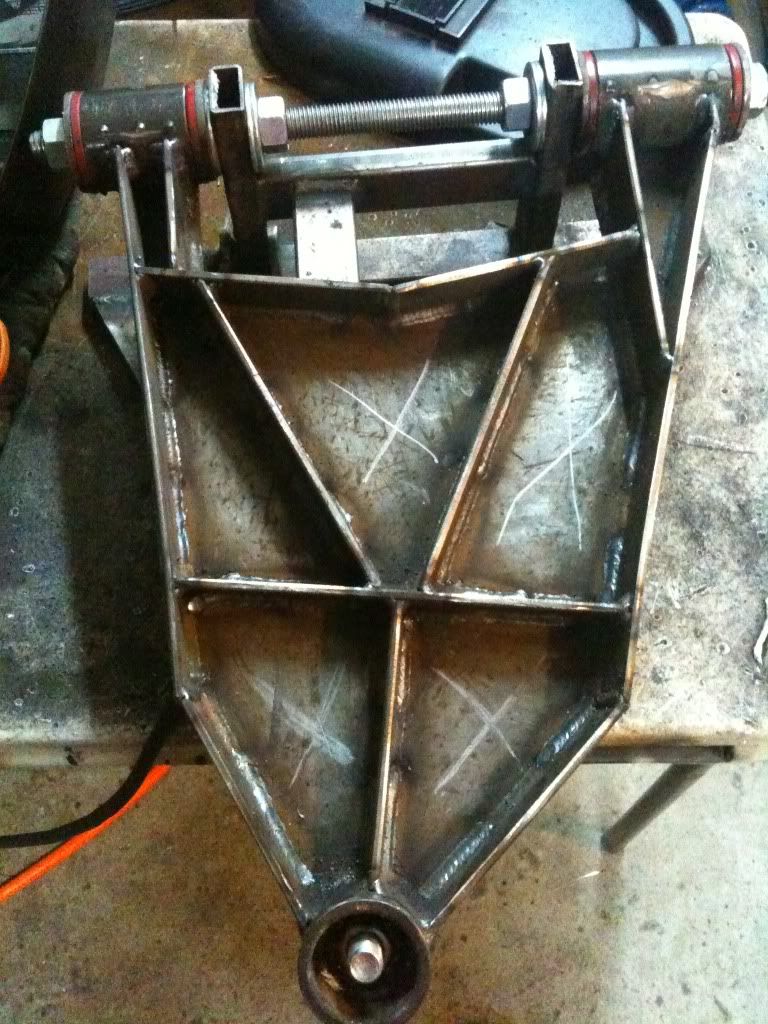
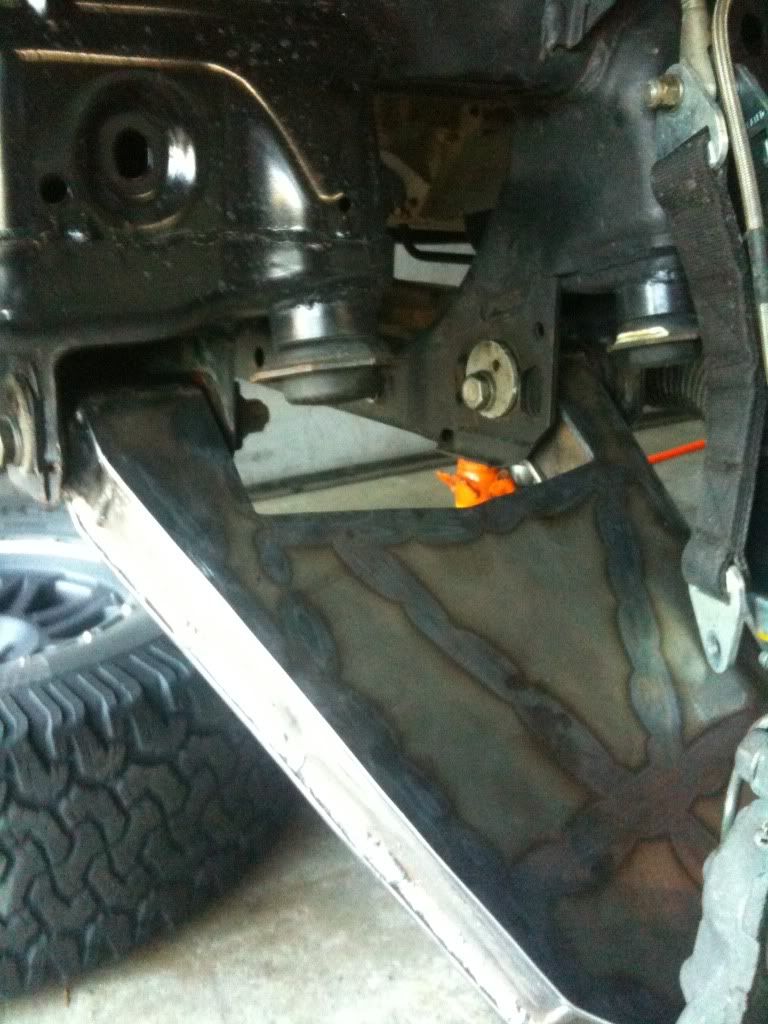
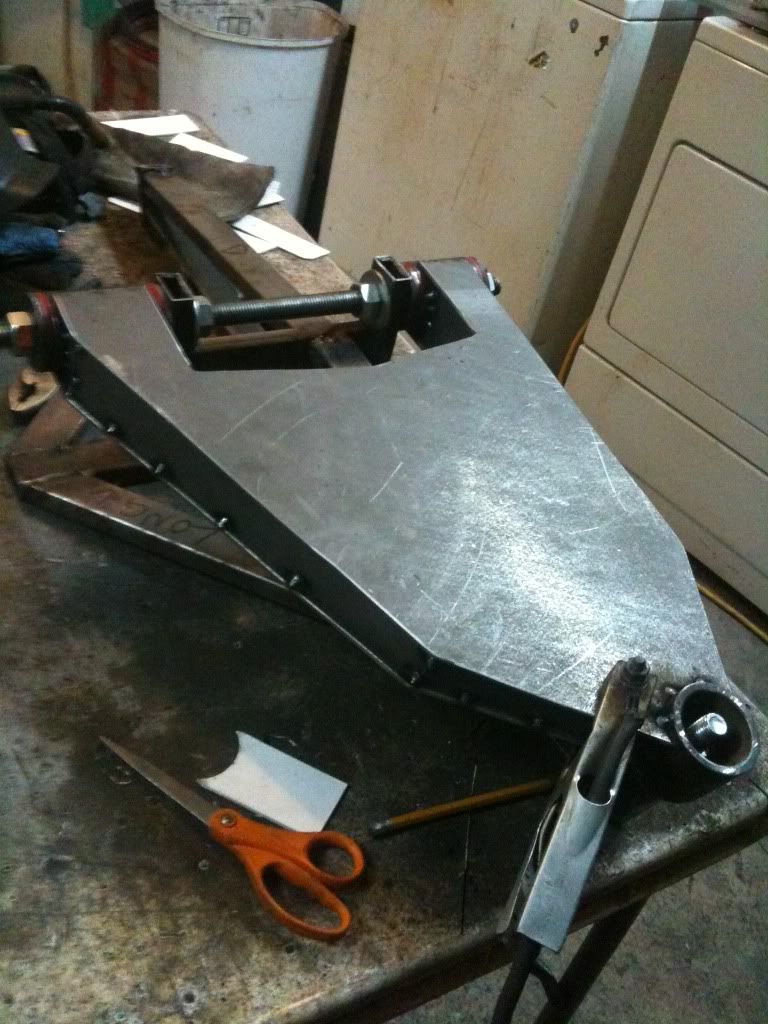
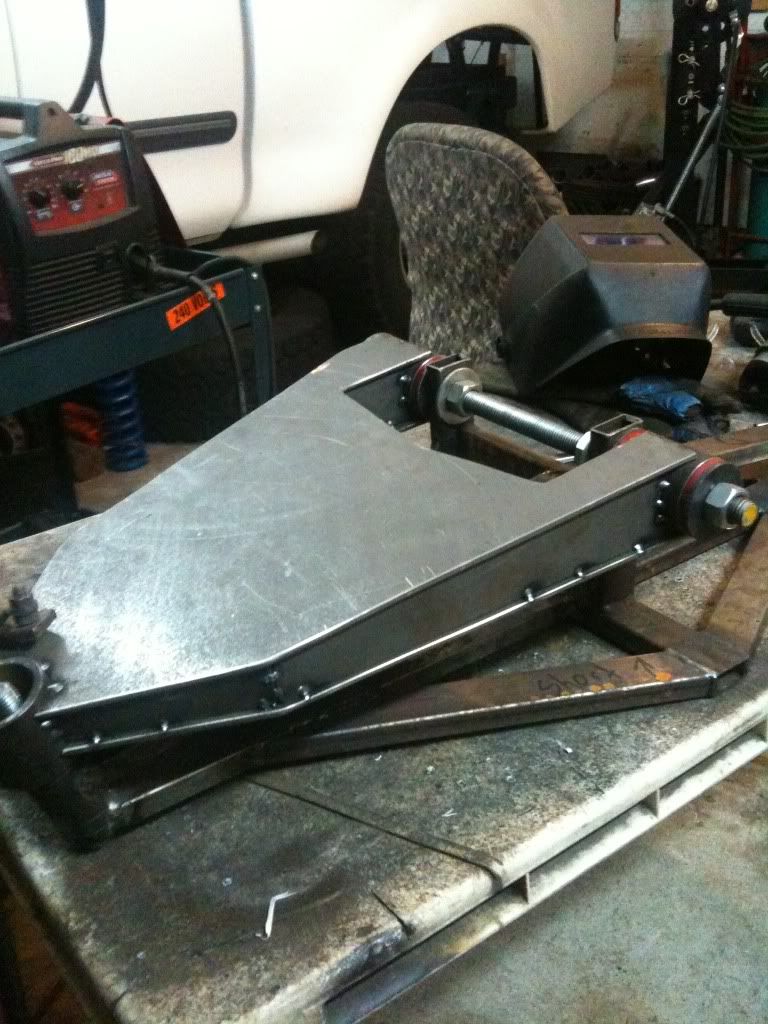
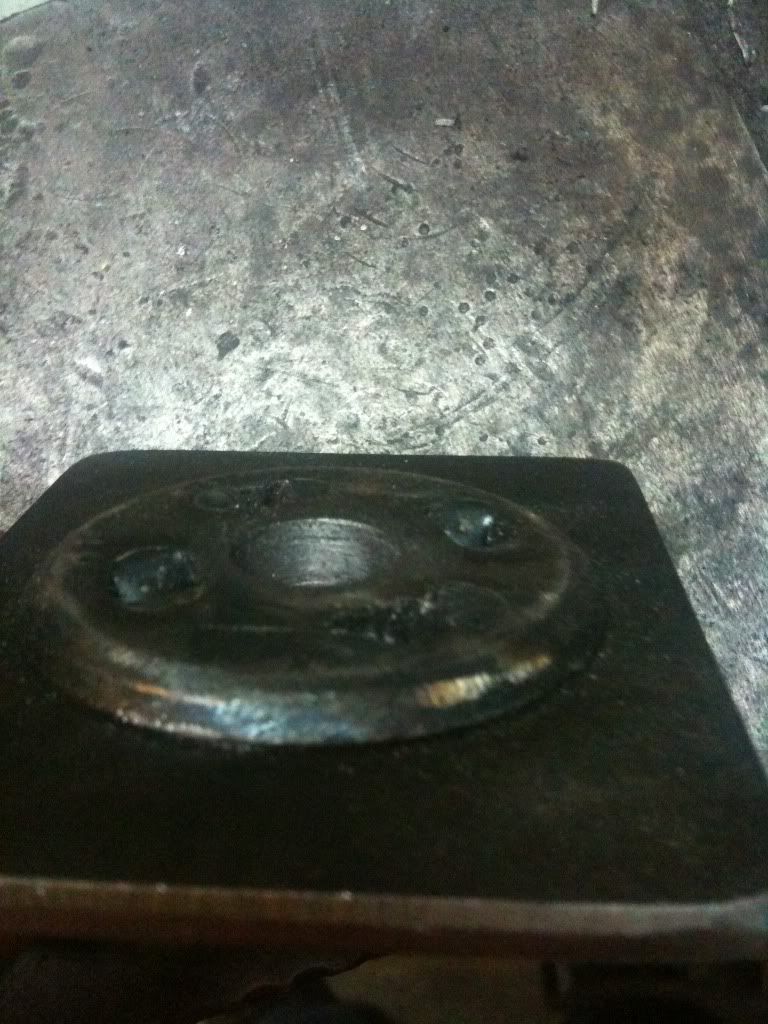
All bolted in, just need to cut out the plate.
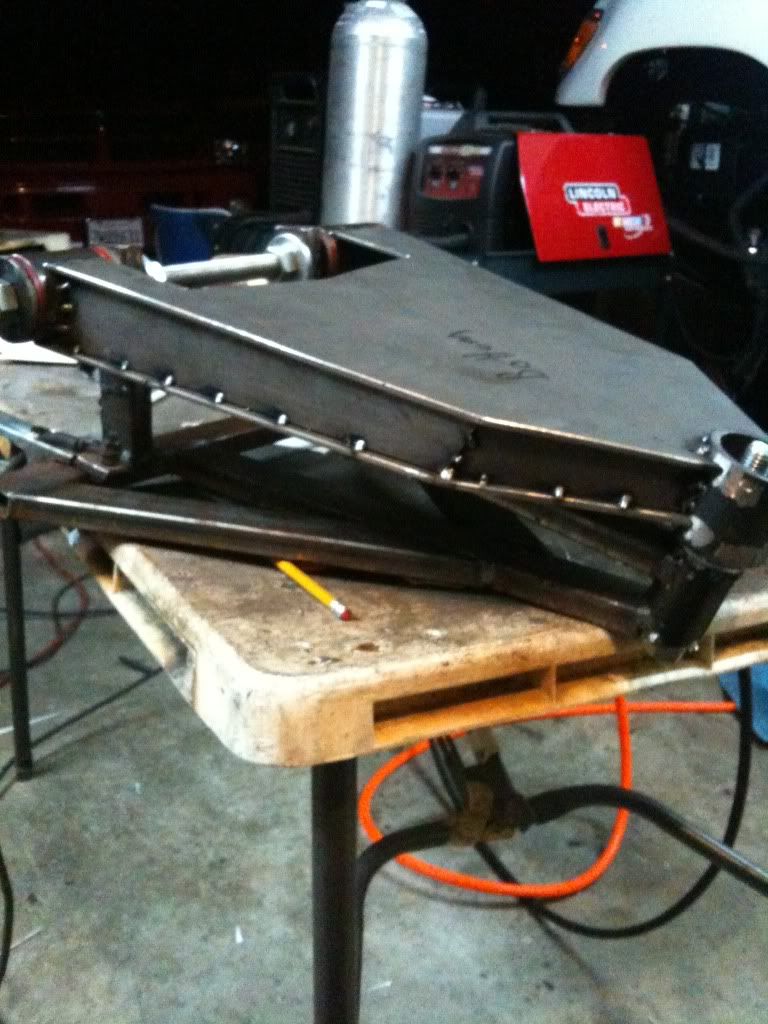
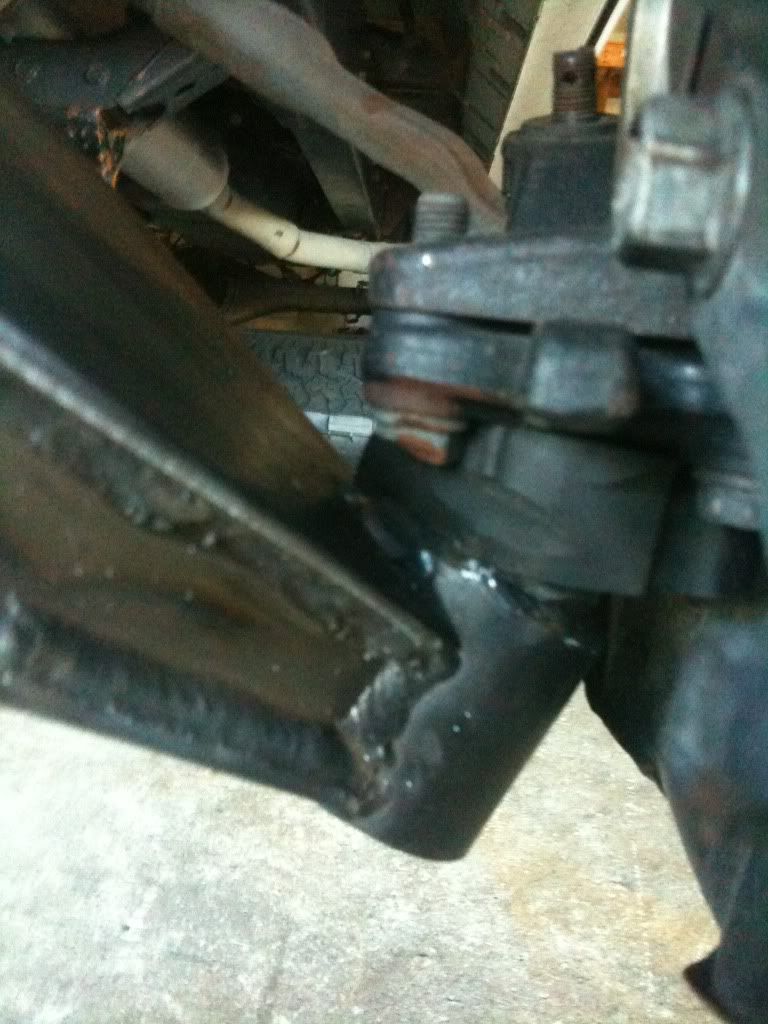
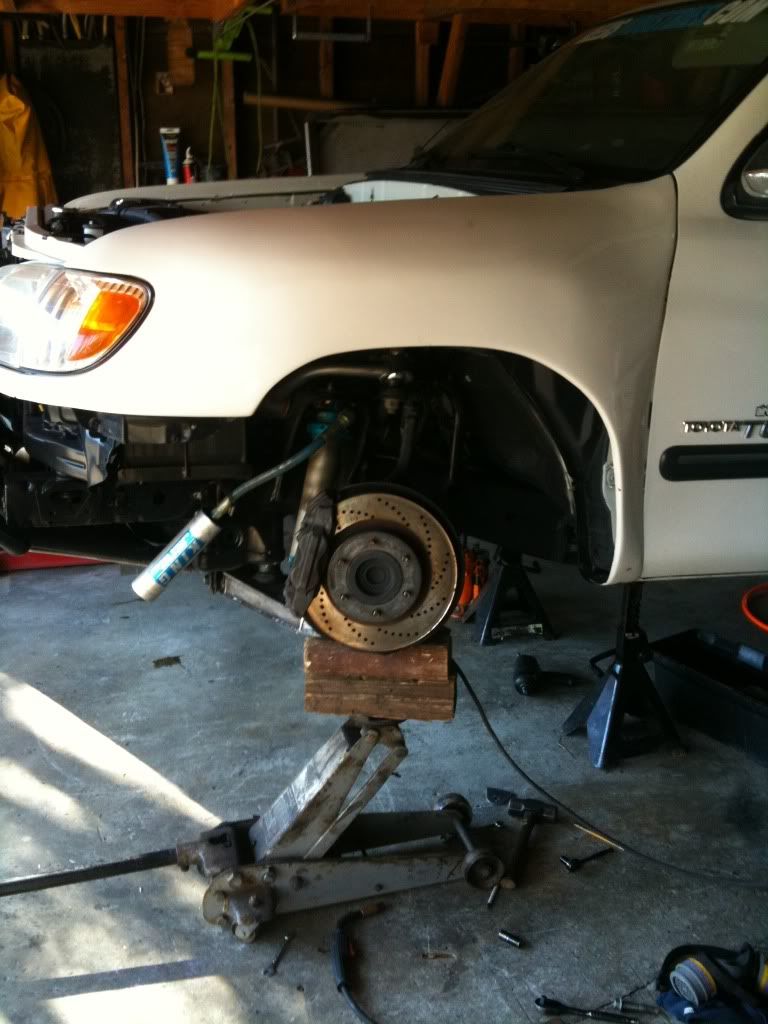
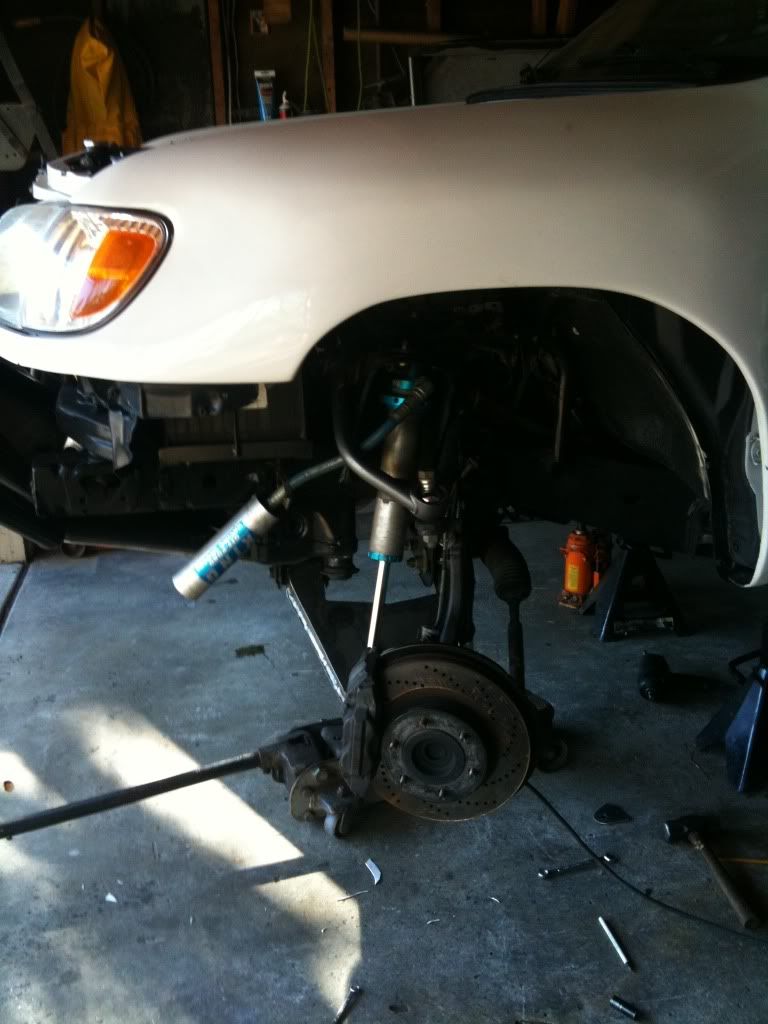
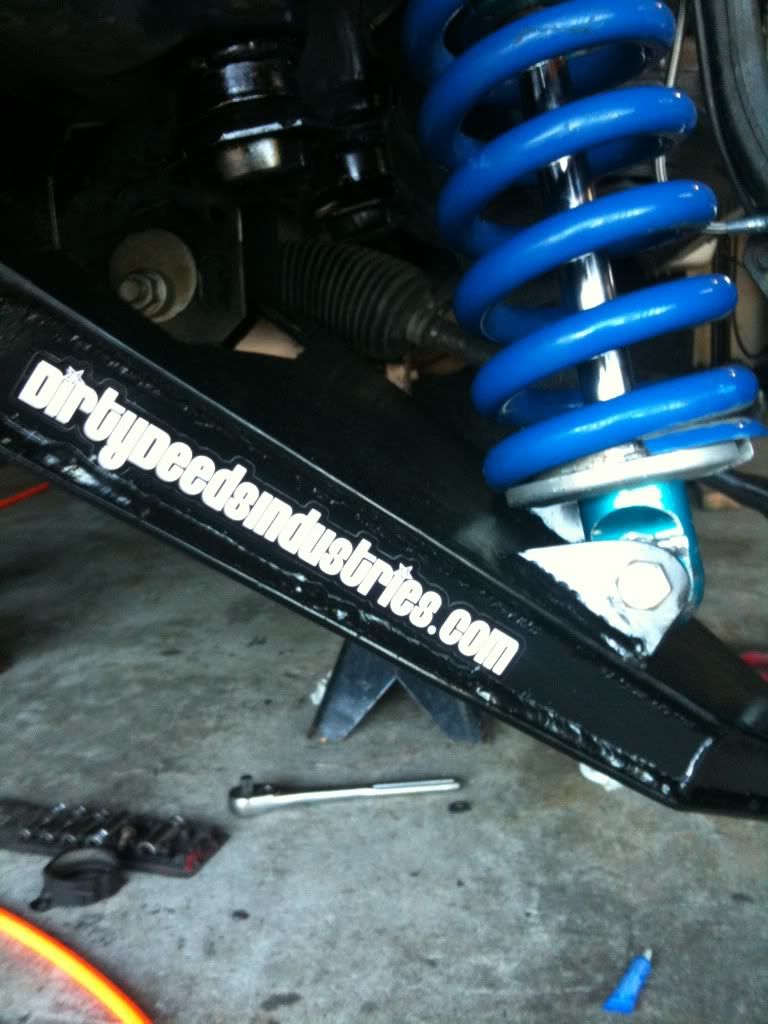
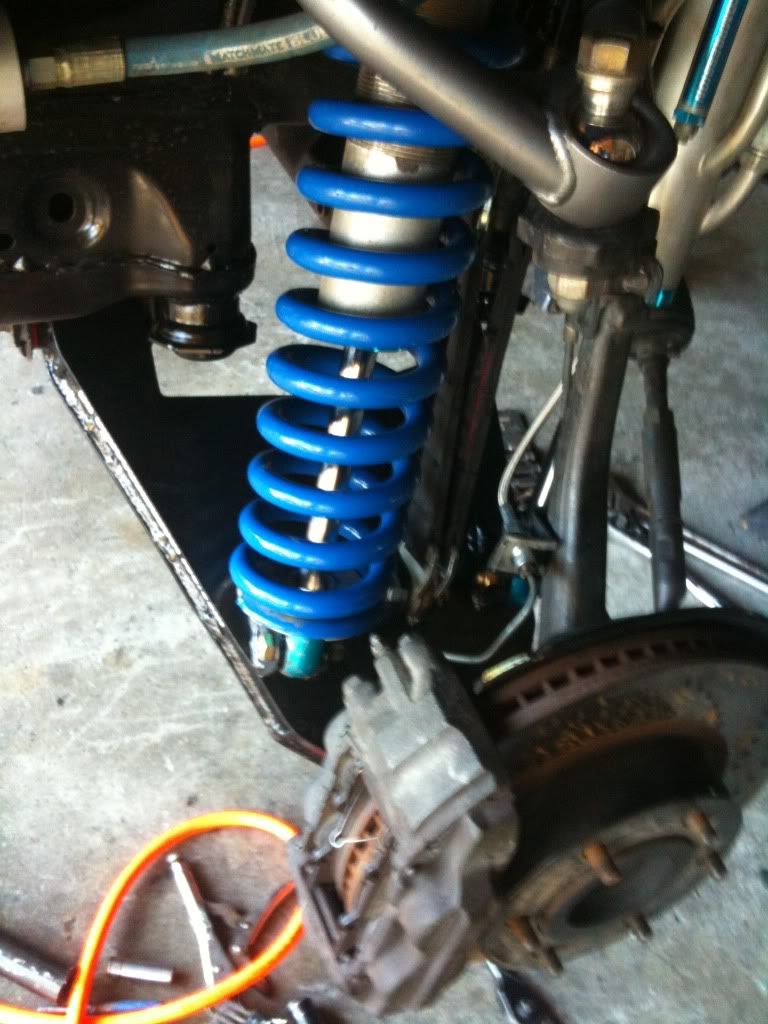
I'll cut out the plates tomorrow. After it's all tacked together I'll install it on my truck and make sure nothing hits. Everything looks good for now!
I'll post up more pics as I go. For now, have a good night everyone!
I built this jig off the stock arm, only it's extended 3.5"
Cut out some sleeves, just need a good clean up on the grinder.
2 1/4" .250wall chromoly outer sleeve
All parts needed for the pivot points at the frame minus the bushings.
Tapered ball joint reemer.
Just need to weld it up.
Viola.
Deep penetration.
All bolted in, just need to cut out the plate.
I'll cut out the plates tomorrow. After it's all tacked together I'll install it on my truck and make sure nothing hits. Everything looks good for now!
I'll post up more pics as I go. For now, have a good night everyone!