At Sema 2014 Bilstein introduced their 6112 bolt in coilover for our 07+ Tundra's. But due to some unforseen circumstances they couldn't release them until spring of 2015. Since this release we here at DirtyDeedsIndustries have been doing some extensive research on how to properly set up the ultimate production line shocks for an 07+ Tundra.
I don't use the word 'ultimate' lightly either") I have been in this business for over a decade. And have been tuning suspension on Tundra's since they first came out. Here's my 1st gen. Tundra in Pismo Beach .
I have been in this business for over a decade. And have been tuning suspension on Tundra's since they first came out. Here's my 1st gen. Tundra in Pismo Beach .
It takes a lot of compression valving to make a 5000 truck jump over 10' into the air and not have to tow it home
I also own a second generation Tundra:
 BAmufflers 2gen Tundra by Keith Carty, on Flickr
Given the fact that Bilstein was gracious enough to build us the ultimate production line front coilovers I figure we need to explore the ultimate way to set em up on a 2gen Tundra. There are several reasons I'm using a word as strong as 'ultimate'. But the main reason worth mentioning is their sheer size. These things are MASSIVE for a production line type of shock. They're bigger than bolt on King Shocks which are considered the best in the business when it comes to desert racing off road shocks.
Being in the business of 'hot rodding' Tundras for over a decade I can tell you that when it comes to shocks, whether it be for the street or dirt, bigger is better and you will want to purchase the most shock that you can afford, or justify (get the wife to agree with, haha)
King shocks have a massive 2.5" fully machined and anodized shock body. But the Bilstein 6112's have a 2.6" diameter body!!!! Most production line shocks only get a 2" body, same as stock.
Having a bigger body means you can have bigger valving. Bigger valving means more surface area to slow the piston. More surface area has several advantages, but the most important one (to my old spinal cord) is the capability to hit large holes, bumps, dips, etc. Yet still be smooth over the little imperfections in the road. All that surface area provides more friction as the shaft speed increase so you don't need shims as thick to slow the oil thru the valving. Thicker shims make for a stiffer ride. In other words you can have your cake and eat it too!!!!
Another benefit to larger shock bodies is more oil capacity. If you think about it, what takes less time to boil, 1 gallon of water, or 2? More oil takes longer to get hot and thin out than less oil does And, more oil allows for more energy to be absorbed in less shock stroke, our trucks have relatively low wheel travel for how heavy they are.
Think about the guy whom dives off a 35' platform into the kiddie swimming pool:
Imagine how much more comfortable it would be for him to jump into a much larger swimming pool. Even if it was slightly larger diameter and slightly deeper. His landing would be a lot smoother. haha.
The Bilsteins are a racing shock size at a production (high end) line quality and price. You get the same thing as Bilstein 5100's, only they're massive!!!!
The Bilstein 6112's are available in 4 ride height's. With the highest setting being about 2.5". This allows for a much more aggressive wheel and tire combination. A better ride. And a much better handling truck, if everything else is properly set up.
You will need a talented alignment technician and a little know how. That's where Dirty'DeedsIndustries comes into the picture. Our R&D on these shocks has been pretty extensive over the past few months!!!
You will need to correct for the geometry change that lifting the truck causes. Have a look at your upper control arms. Particularly notice where the upper pivots off the frame/coil bucket. See how the front pivot point if further from the frame rail than the rear pivot point? This is called 'anti dive'. And most modern day vehicles have it built into the front end geometry. Corvettes were the first American sports cars that used this technique to make their cars perform and handle best.
Anti Dive has it's advantages at stock height, but what about when you lift the front of your truck??? Consider what happens to your upper ball joint. Not only does it go down in it's travel, it also goes forward due to the angle of the upper arms pivot points off the frame.
By moving the upper ball joint forward you are causing less positive caster which is bad for handling. If you drive the truck around without enough positive caster you will notice that the truck wanders, drifts, feels darty, changes lanes on it's own when you aren't paying close attention. It is literally a hand full to drive the truck down the highway.
To correct for the geometry change you have to use the lower alignment cam adjusters that are in the crossmember of the truck and allow you to adjust the 'length' of the lower arm. You have to 'lengthen' the rear pivot points and maybe 'shorten' the front pivot points. Another way to put it is you bring the rear cams out and the front cams in. This adjustment brings the lower ball joint forward some to compensate for the upper ball joint being moved forward some.
Adjusting the lower arms allows just about as much positive caster at ride height after the lift as you had before. But what about when you turn the wheels some in order to change lanes, or take a curve in the road? Or go around a corner? In most of these situations you no longer have enough positive caster and the truck feels unstable.
Here at DirtyDeedsIndustries we have come up with a solution to this problem We build an upper arm with the proper geometry correction!! It's that simple. We actually have 2 versions of upper arms. We can move the upper ball joint back (we actually convert to uniball which is stronger) 2" if your truck is lifted 3" over stock. And we can move the upper back 1" if your truck is lifter 2-2.5"
These are literally the magic numbers With these lift height and correction numbers you can set your lower alignment cams at their stock location, set toe, and your alignment ends up being perfect. Camber and Caster literally falls into place.
Another benefit to purchasing your Bilstein 6112's thru DirtyDeedsIndustries is that if you're a do it yourselfer we can assemble the coilovers yourself so you don't have to rent a dangerous spring compressor. You can just take the shocks out of the box and install them onto your truck!!!
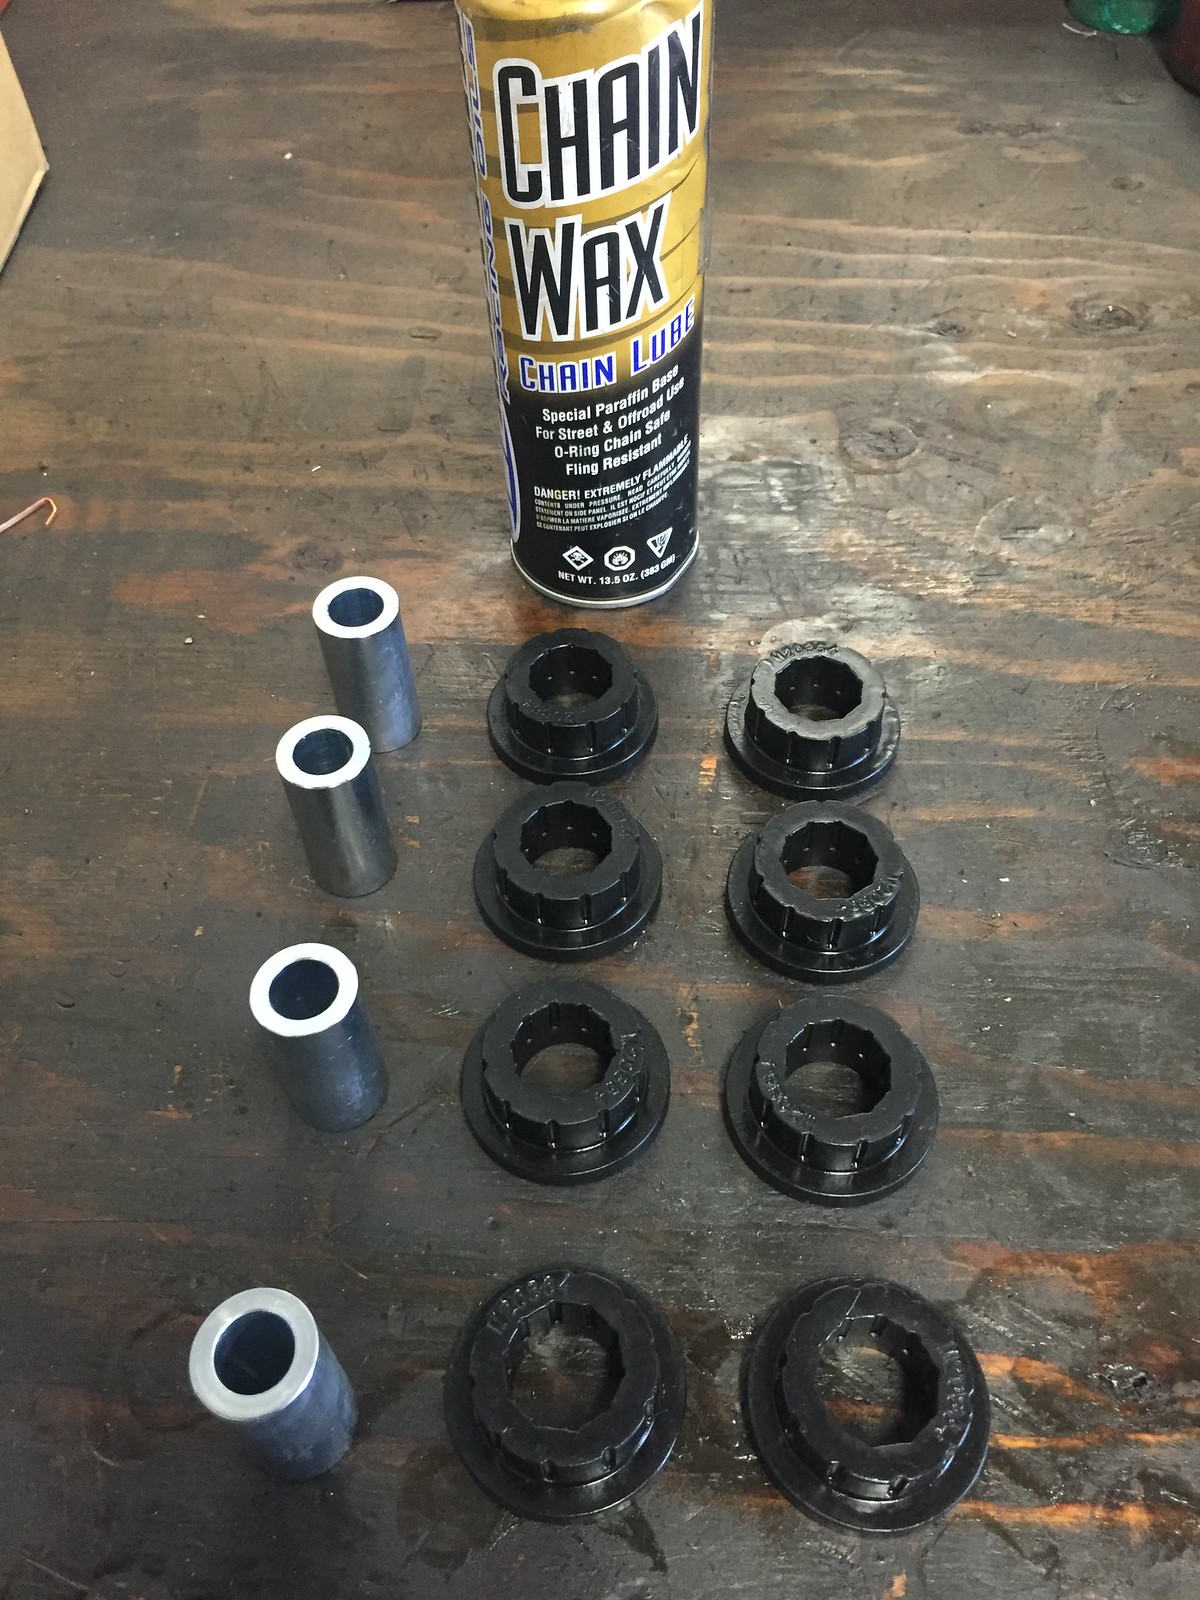
We offer the package with the arms fully assembled as well. We press in the uniballs and we press in the Polyurethane bushings. But we don't stop there. We 'wax' the bushings for a infinitely squeek free service life.
Here's some pictures with explanations:
We purchase only the finest poly bushings, sometimes they're black and sometimes they're red. Depends on availability.
 DirtyDeedsIndustries upper arms. by Keith Carty, on Flickr
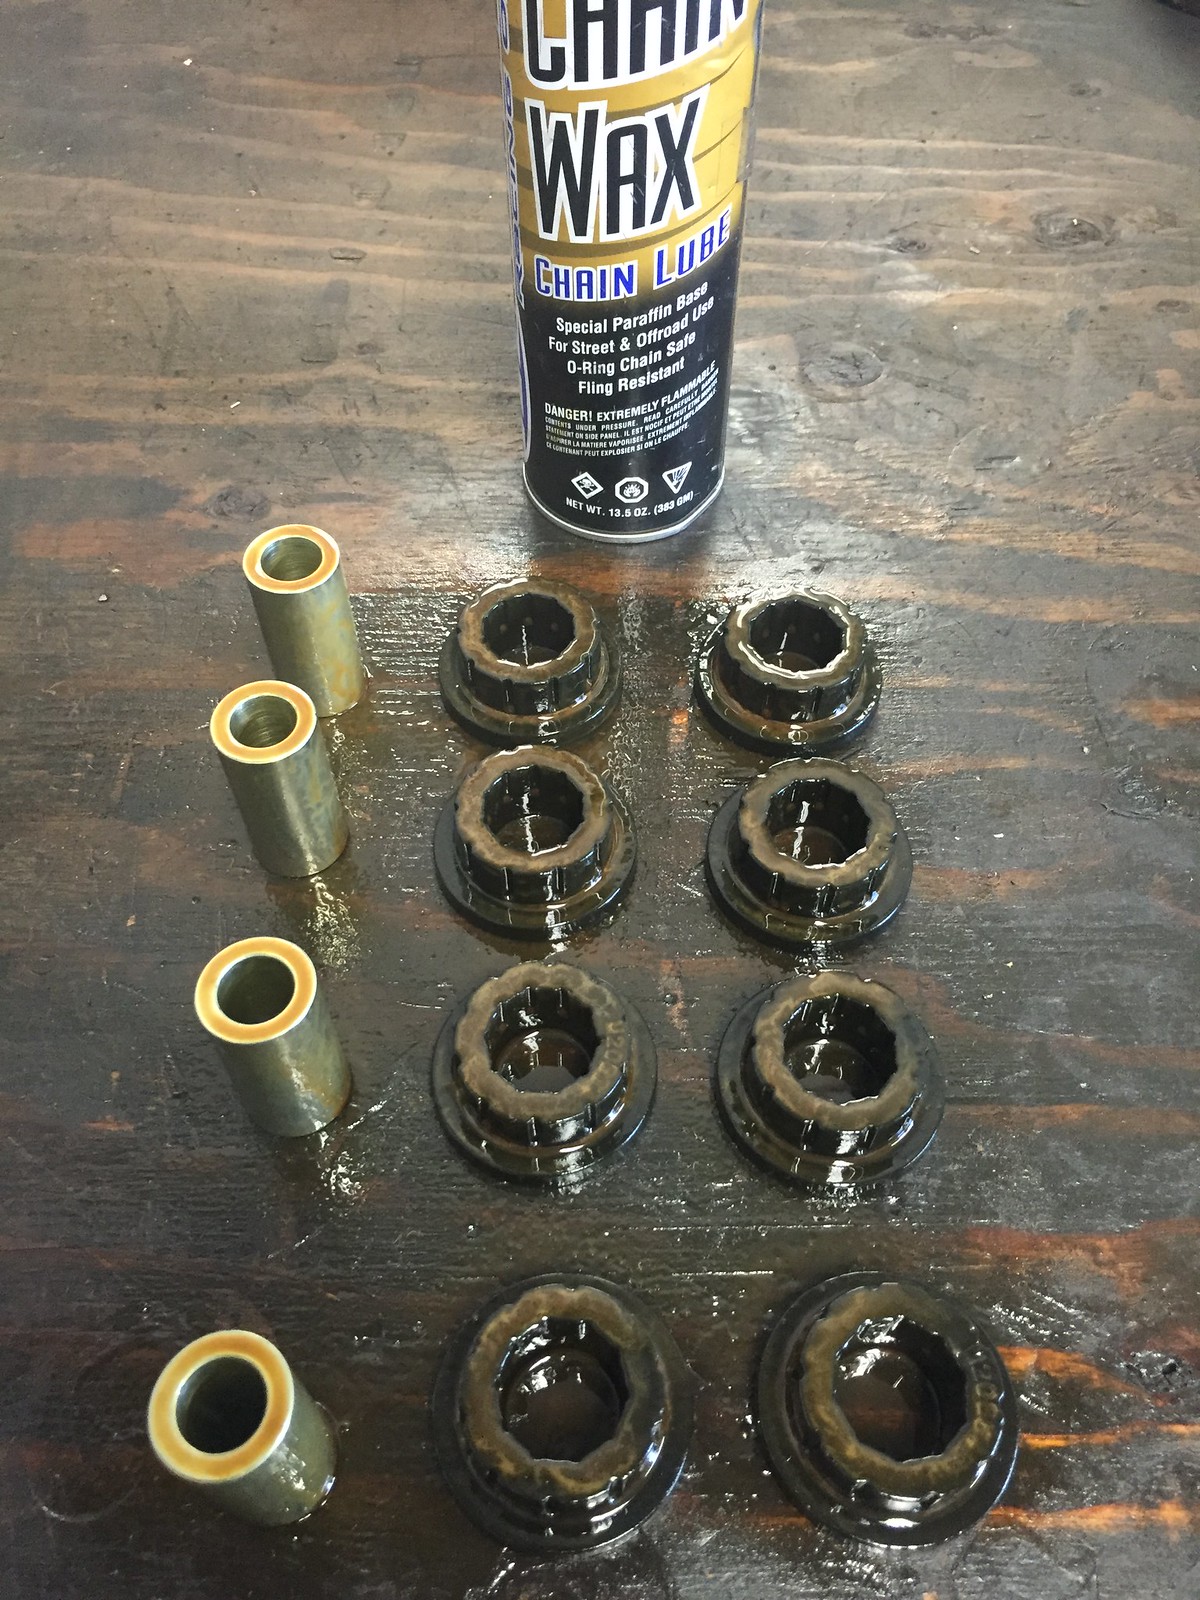
We then coat them with a healthy coating of wax.
 DirtyDeedsIndustries upper arms. by Keith Carty, on Flickr
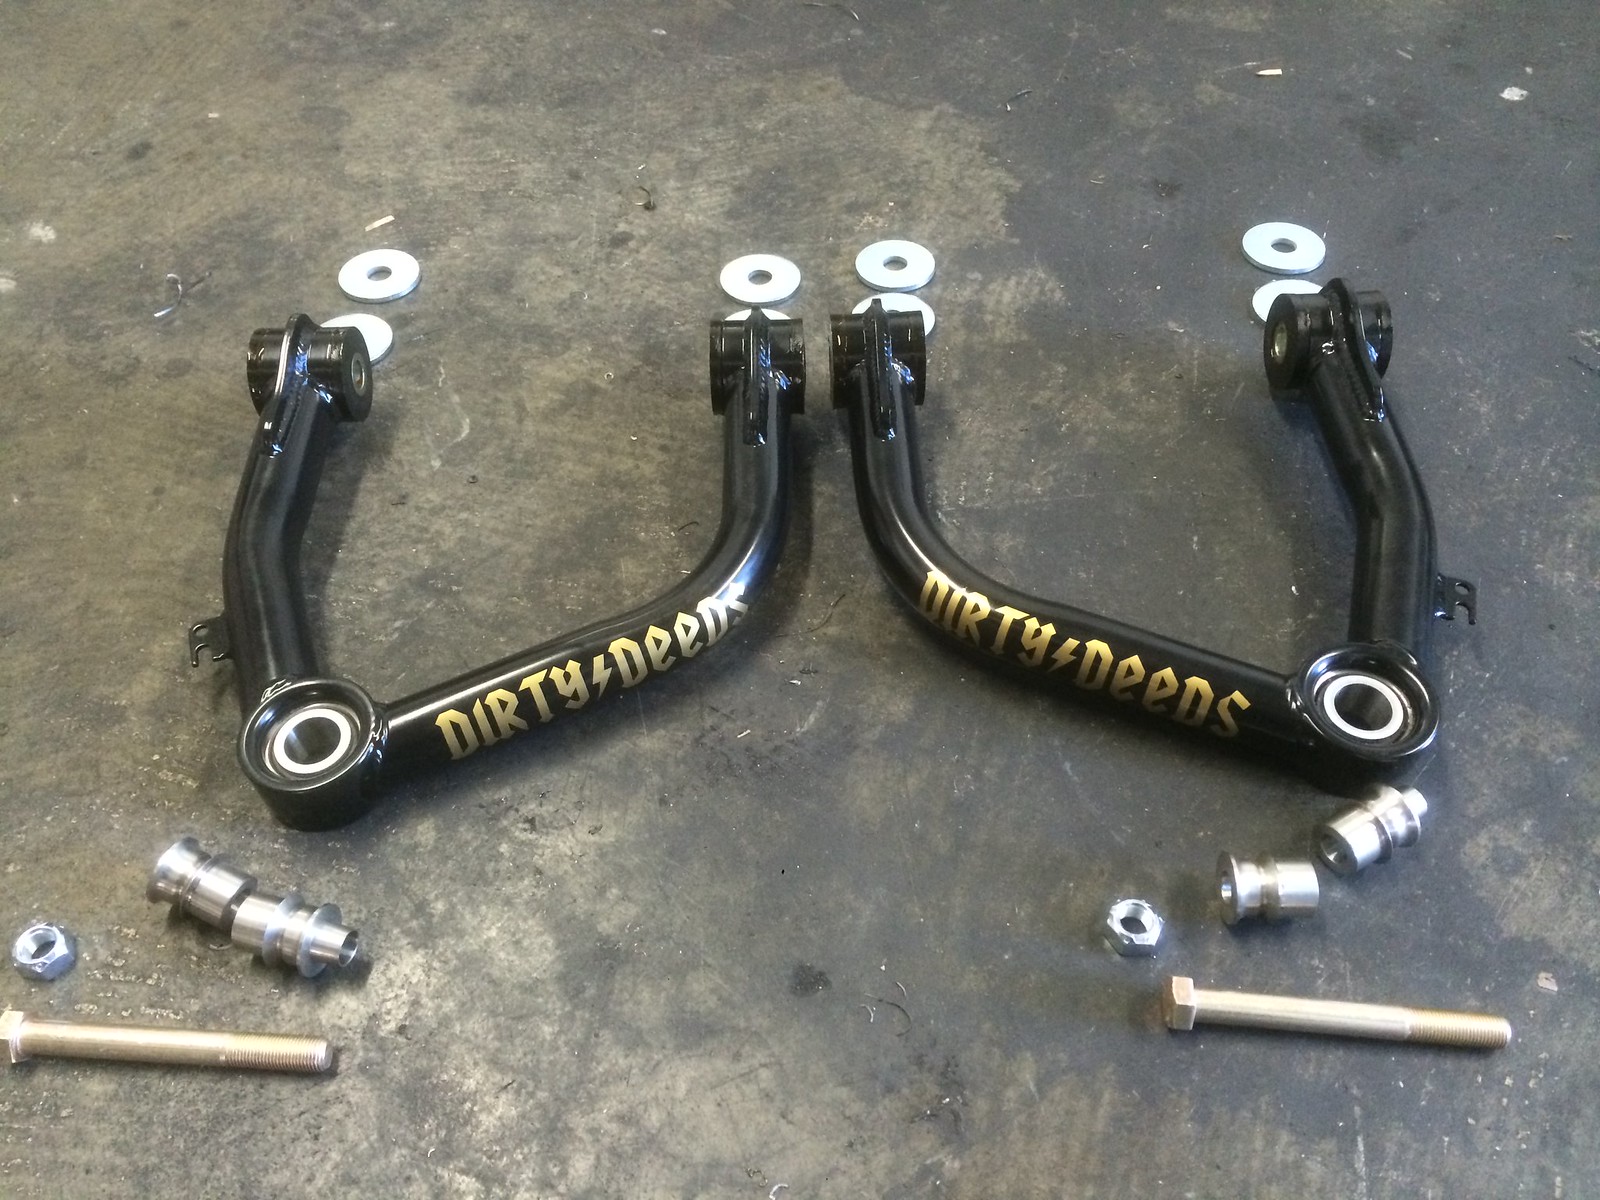
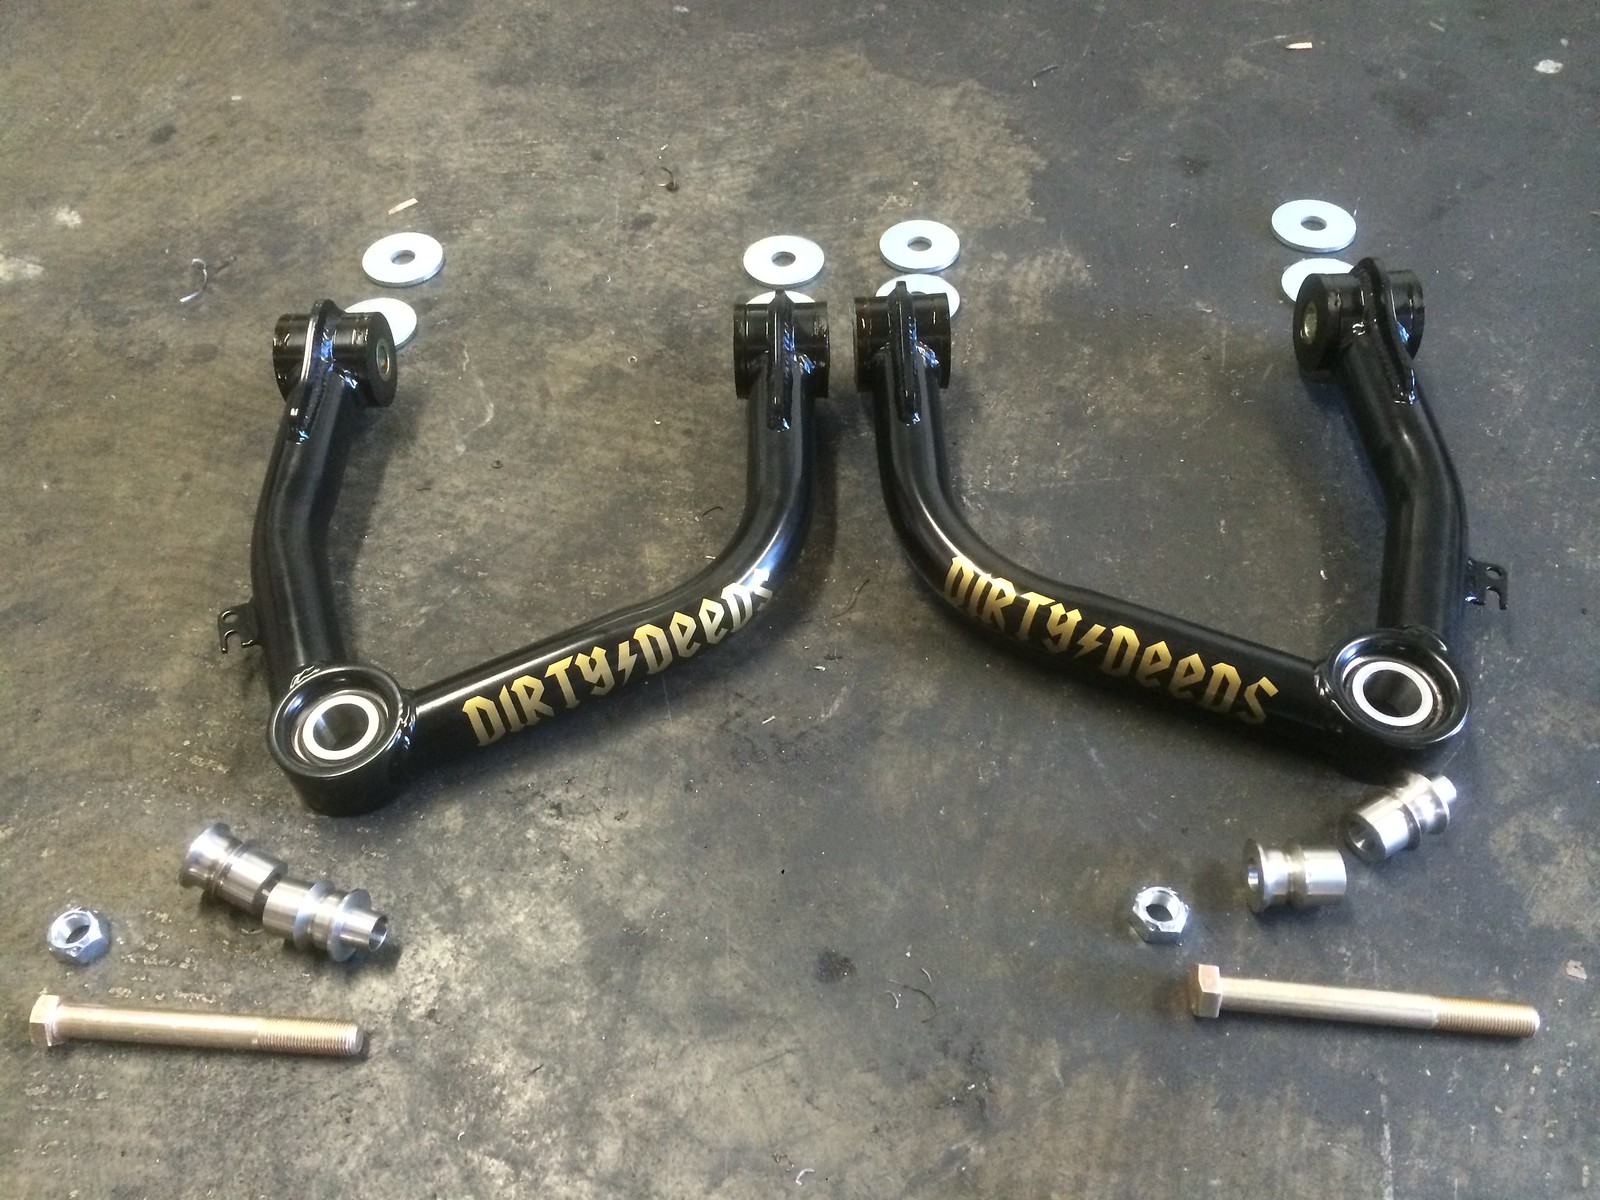
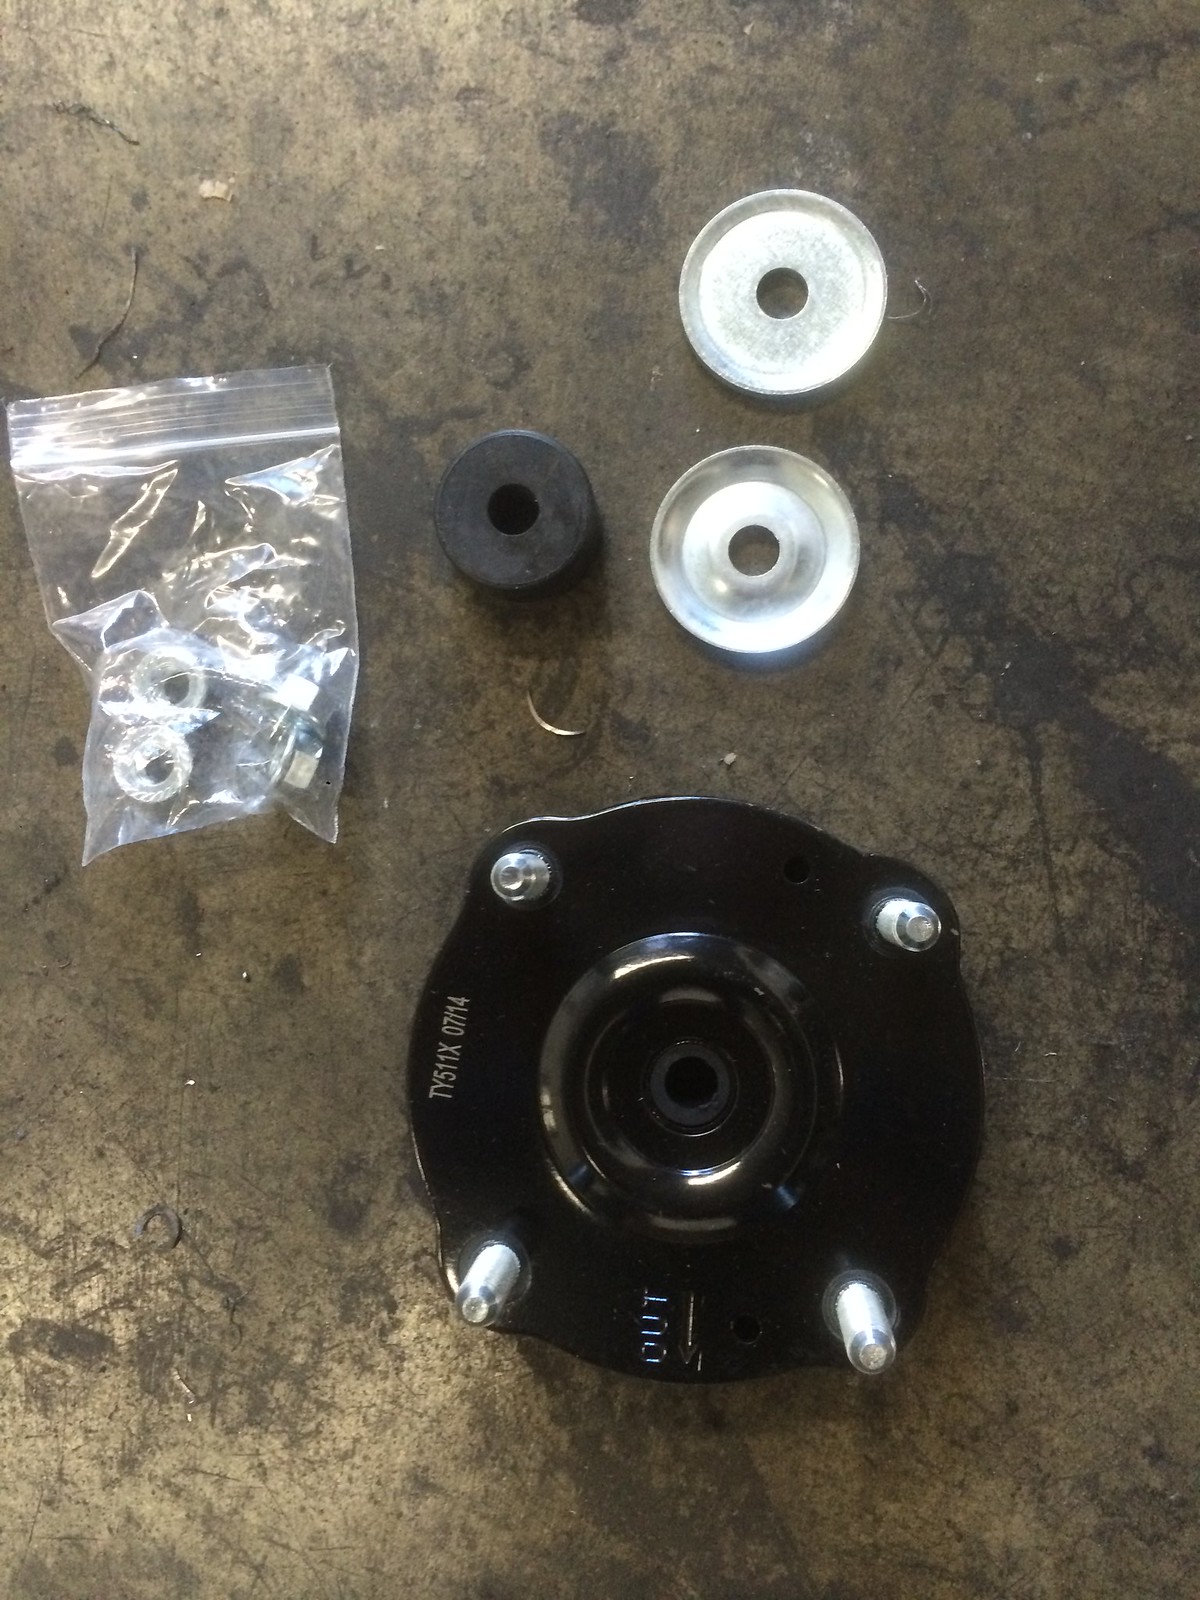
Here's the arms with bushings pressed in and the rest of the hardware
 Bilstein 6112's and DirtyDeedsIndustries upper arms. by Keith Carty, on Flickr
 Bilstein 6112's and DirtyDeedsIndustries upper arms. by Keith Carty, on Flickr
We then assemble the Bilstein 6112's using brand new spring hats (If you choose not to have us assemble them for you then you have to use a spring compressor and reuse your stock spring hats)
 Bilstein 6112's and DirtyDeedsIndustries upper arms. by Keith Carty, on Flickr
 Bilstein 6112's and DirtyDeedsIndustries upper arms. by Keith Carty, on Flickr
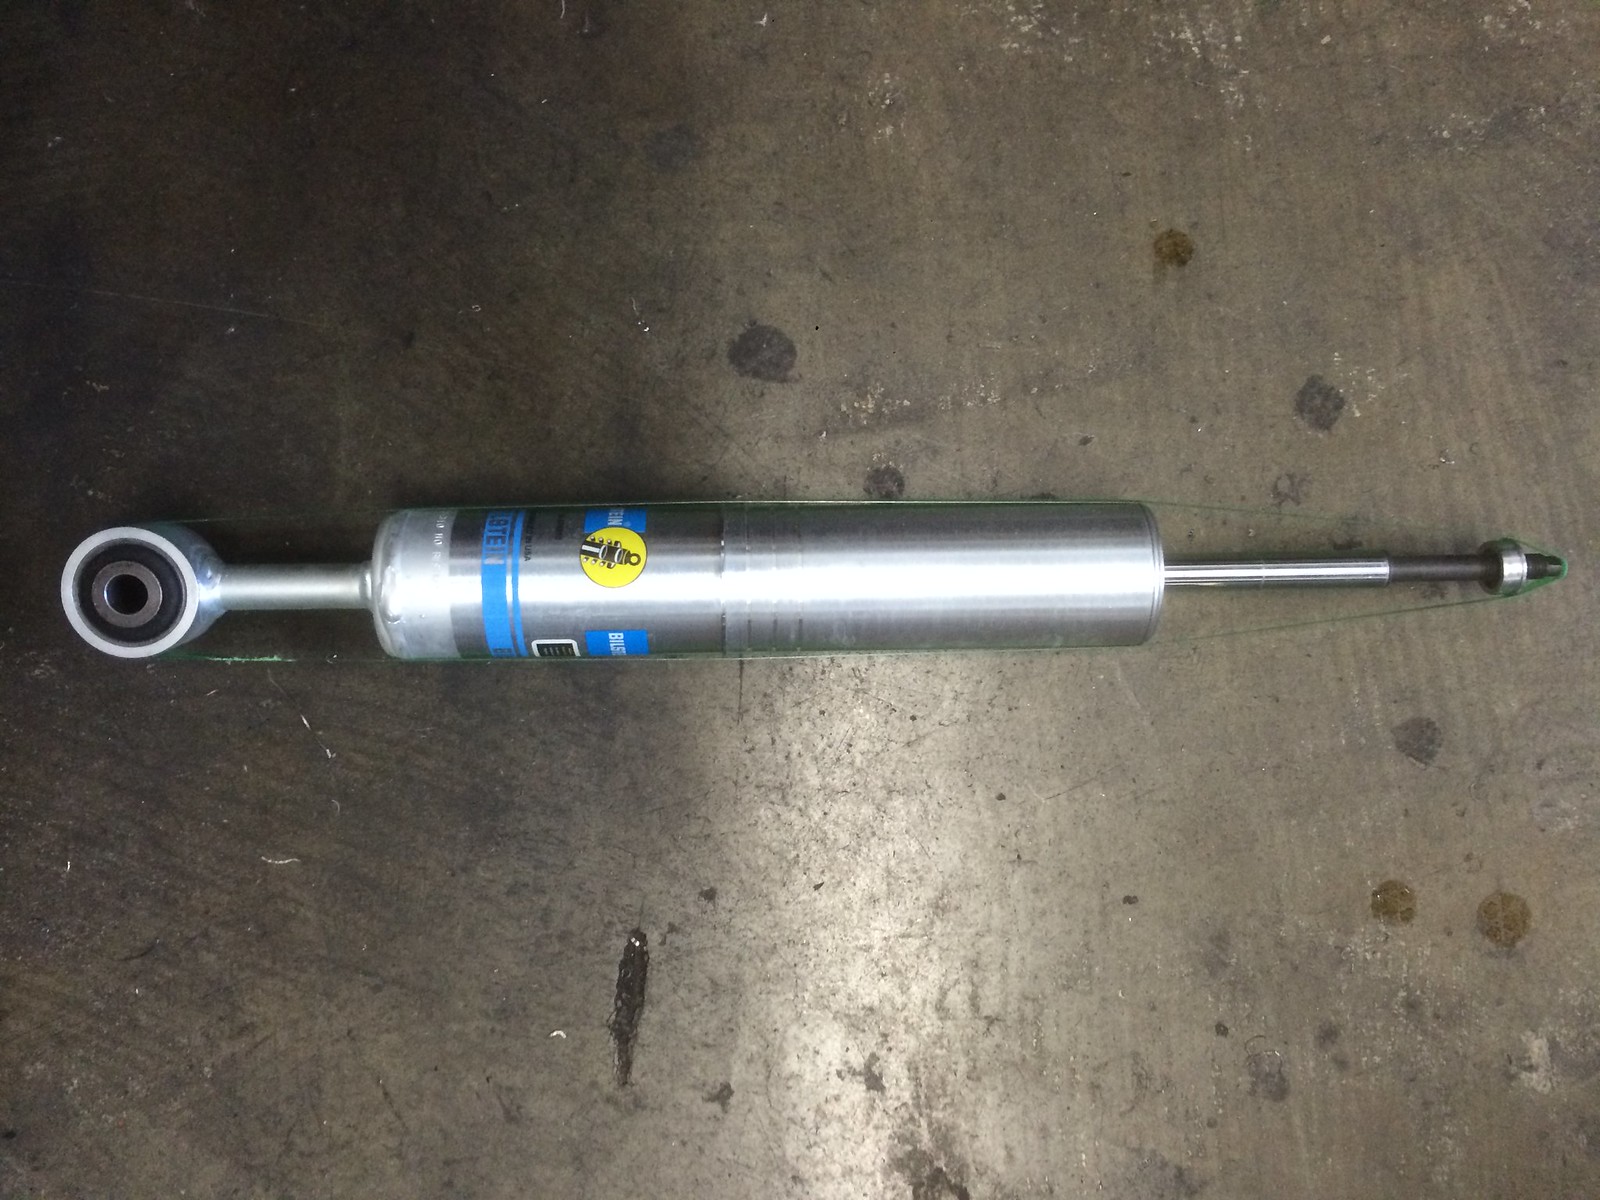
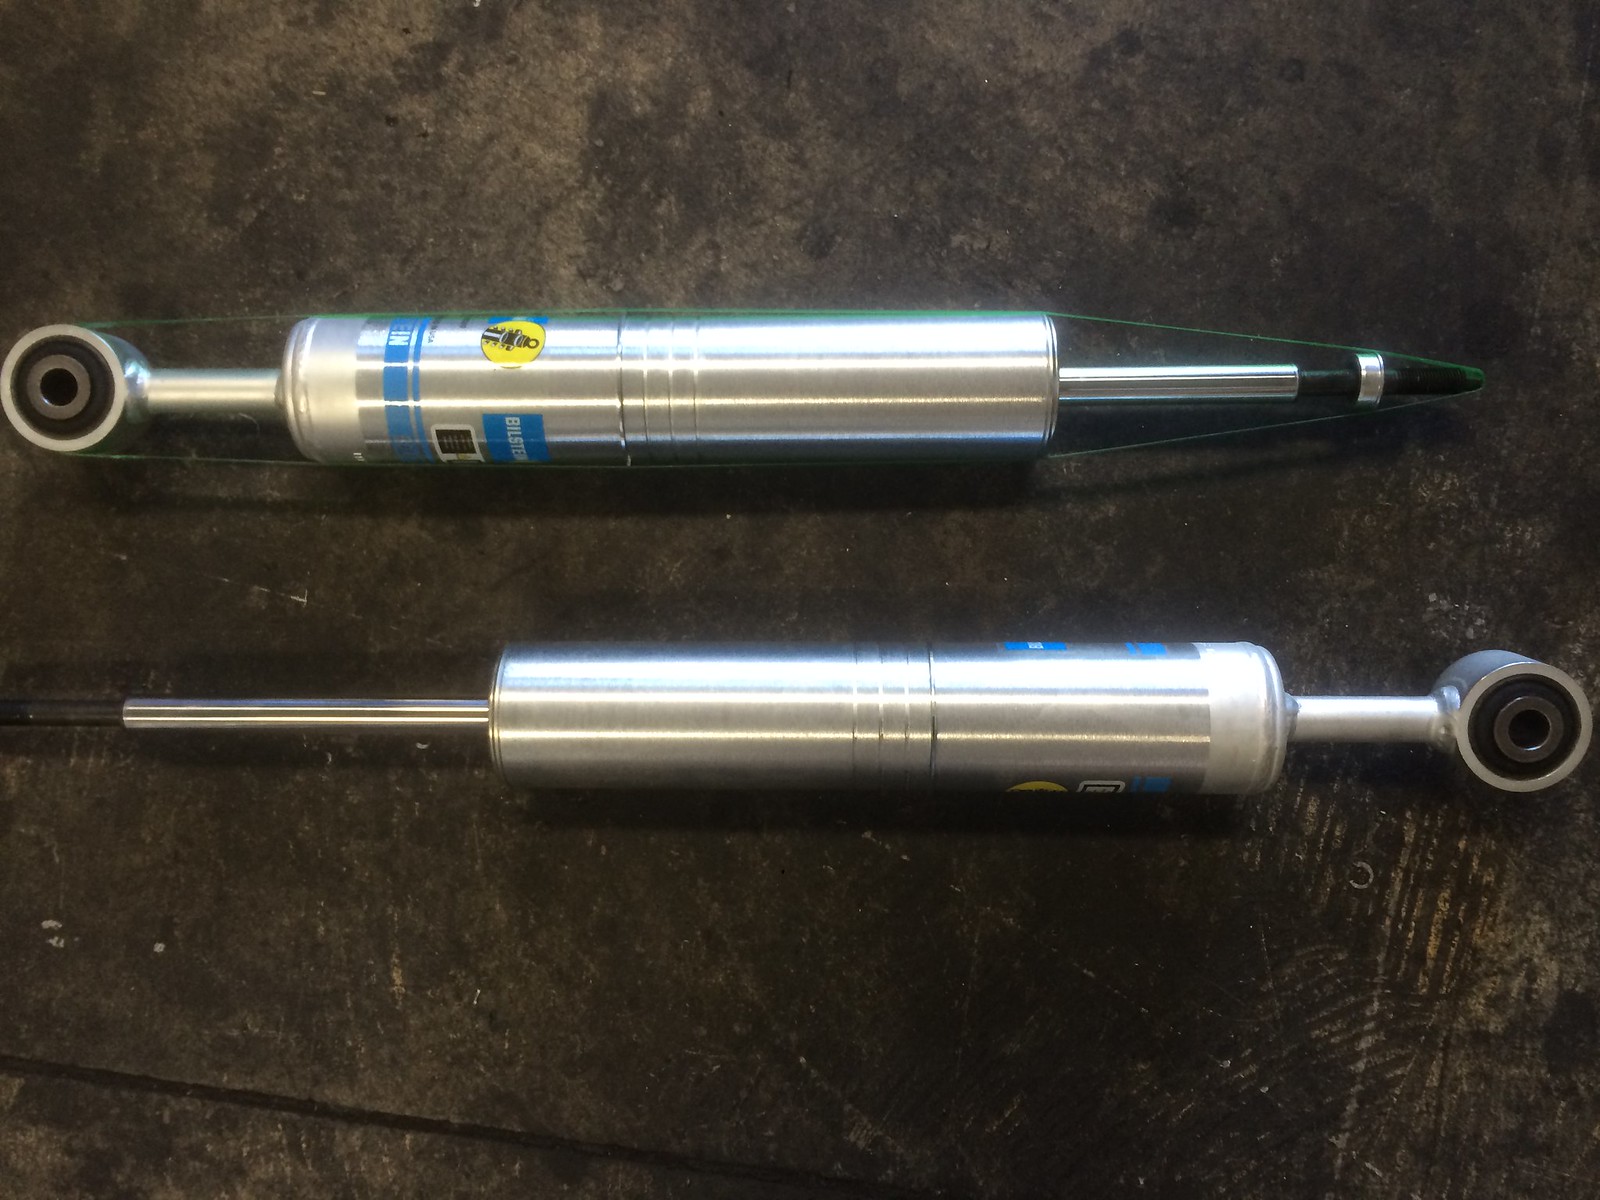
Here's a brand new 6112 just out of the box. Notice how there is a strap holding down the shaft.
 Bilstein 6112's and DirtyDeedsIndustries upper arms. by Keith Carty, on Flickr
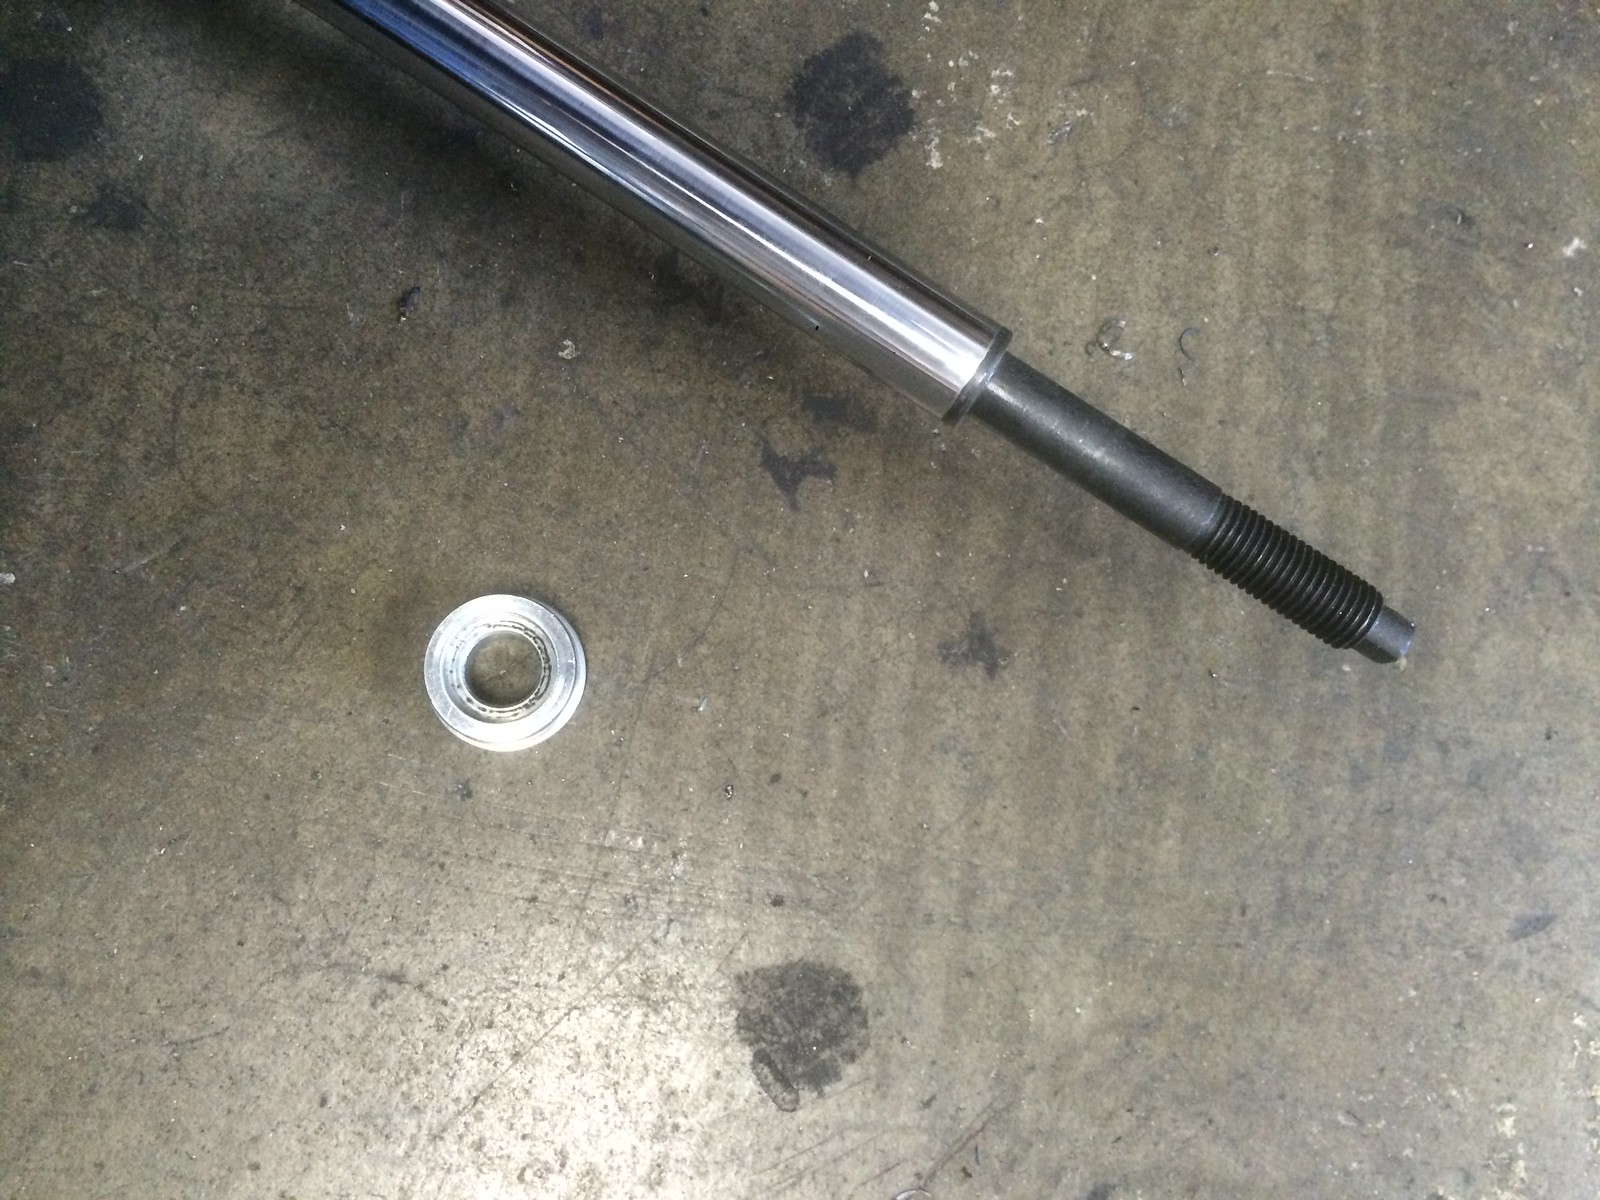
Another point worth mentioning from the last sentence, that strap not only holds the shaft from extending all the way, there is also a small aluminum bushing on the end of the shaft. Don't lose it. These coilovers CANNOT be assembled without the bushing.
 Bilstein 6112's and DirtyDeedsIndustries upper arms. by Keith Carty, on Flickr
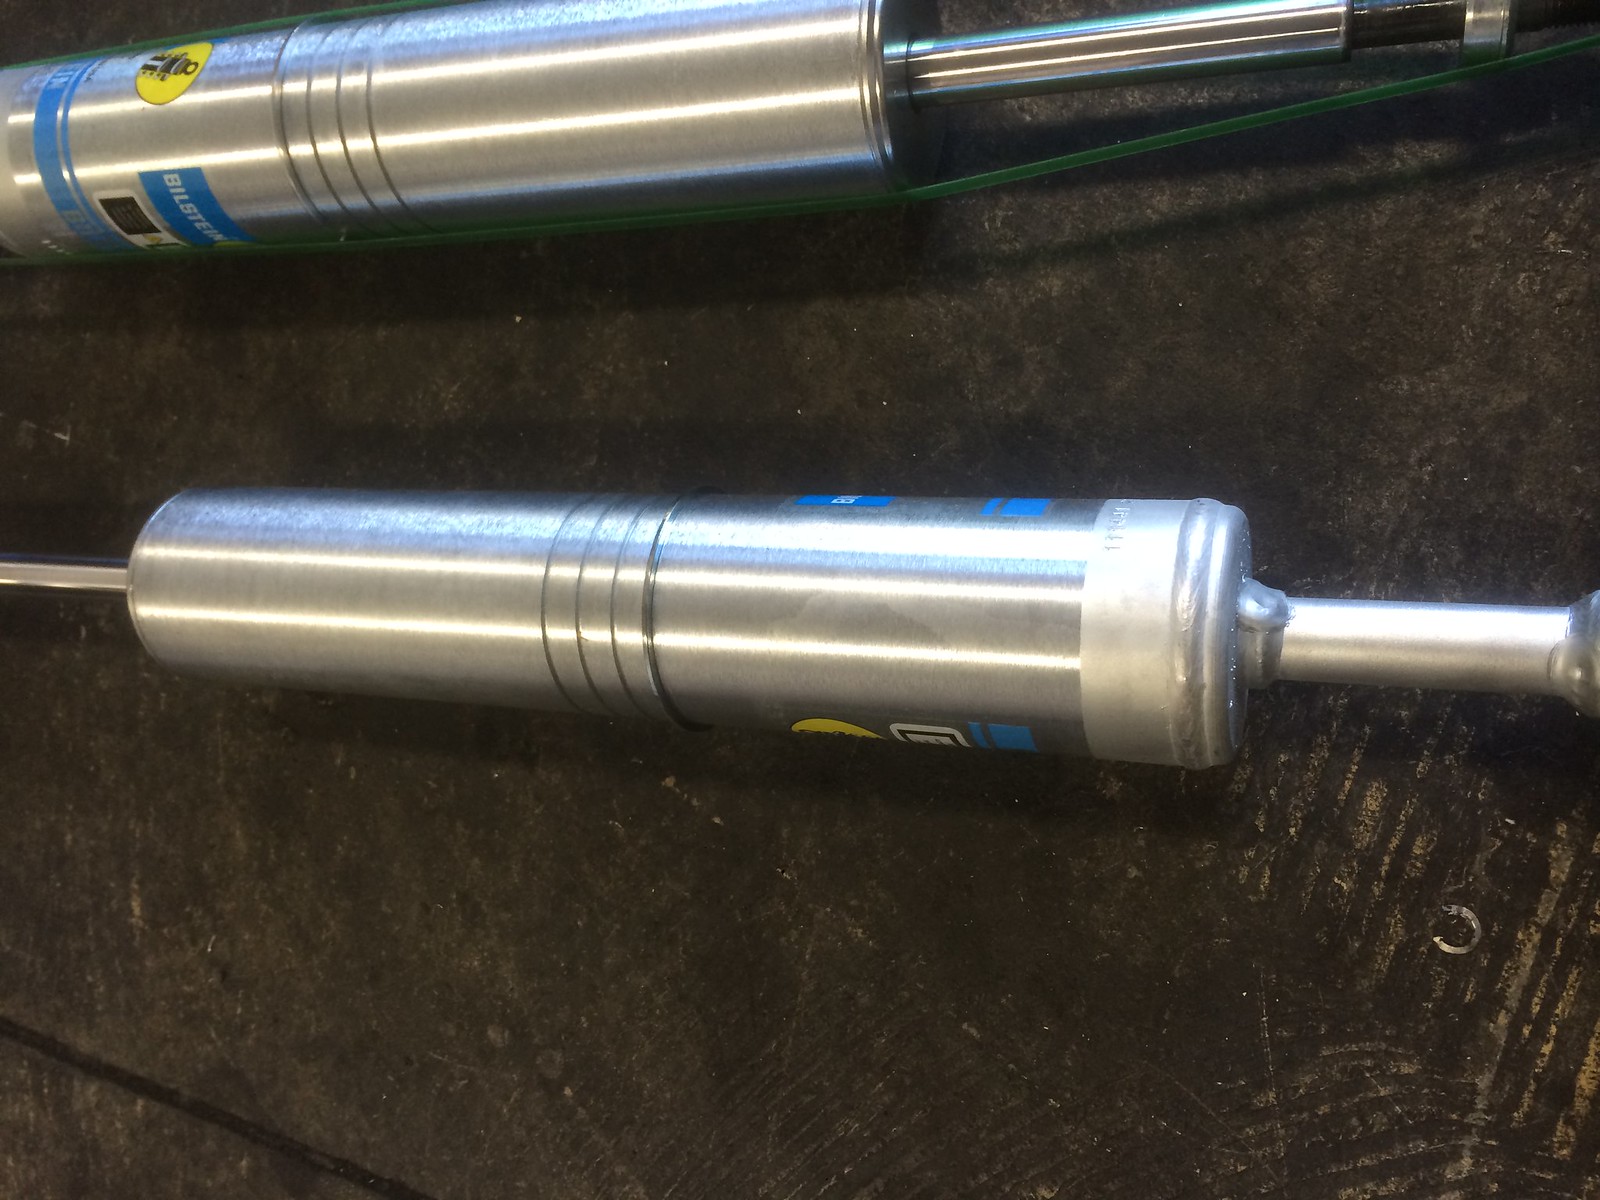
The top shock still has it's strap on with bushing while lower shock does not.
 Bilstein 6112's and DirtyDeedsIndustries upper arms. by Keith Carty, on Flickr
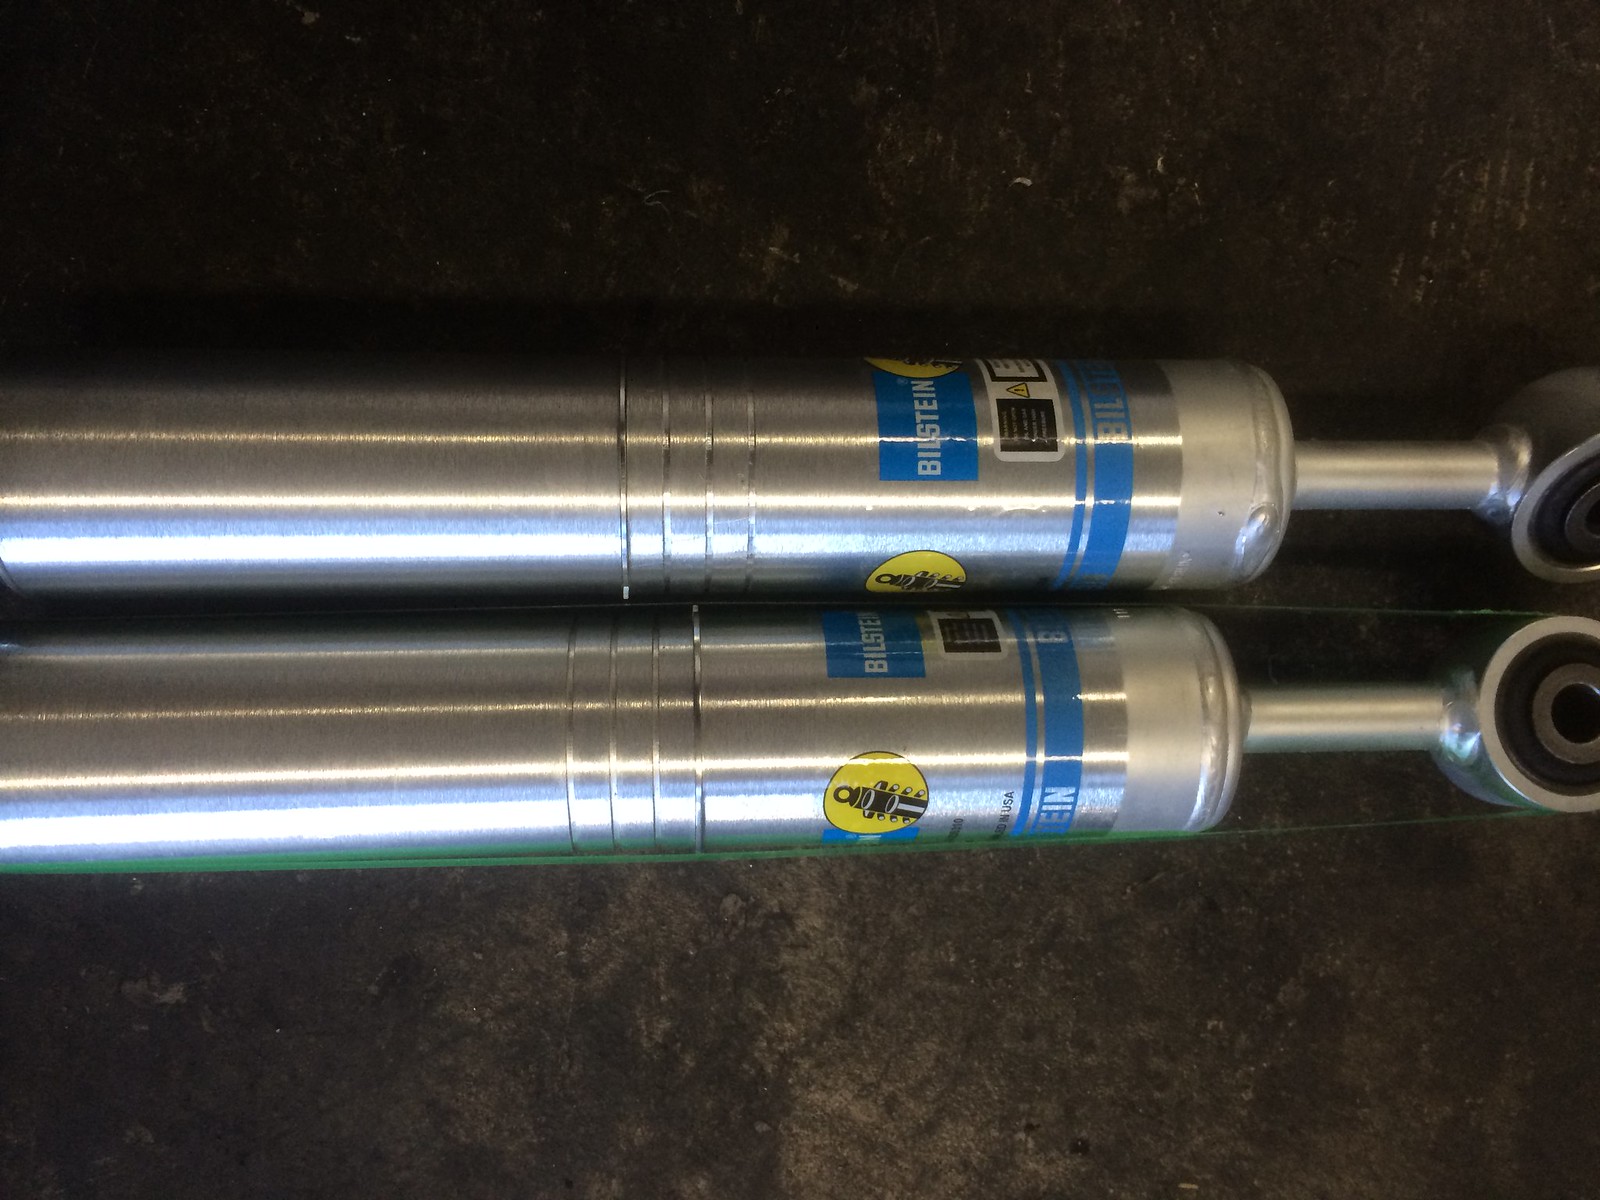
There are 4 grooves that you can put the clip into. If you want the shocks purely for street performance and smooth ride choose the bottom setting (closest to the lower eyelet of the shock) But for best handling on and off road choose the top setting (closest to the shock shaft)
 Bilstein 6112's and DirtyDeedsIndustries upper arms. by Keith Carty, on Flickr
The shock on top is set to the highest setting while the shock on the bottom is still set to the lowest setting. The shocks are shipped with the clip set to the lowest setting. I will shoot a video showing a very simple way to move the clip and email it to those whom request it.
 Bilstein 6112's and DirtyDeedsIndustries upper arms. by Keith Carty, on Flickr
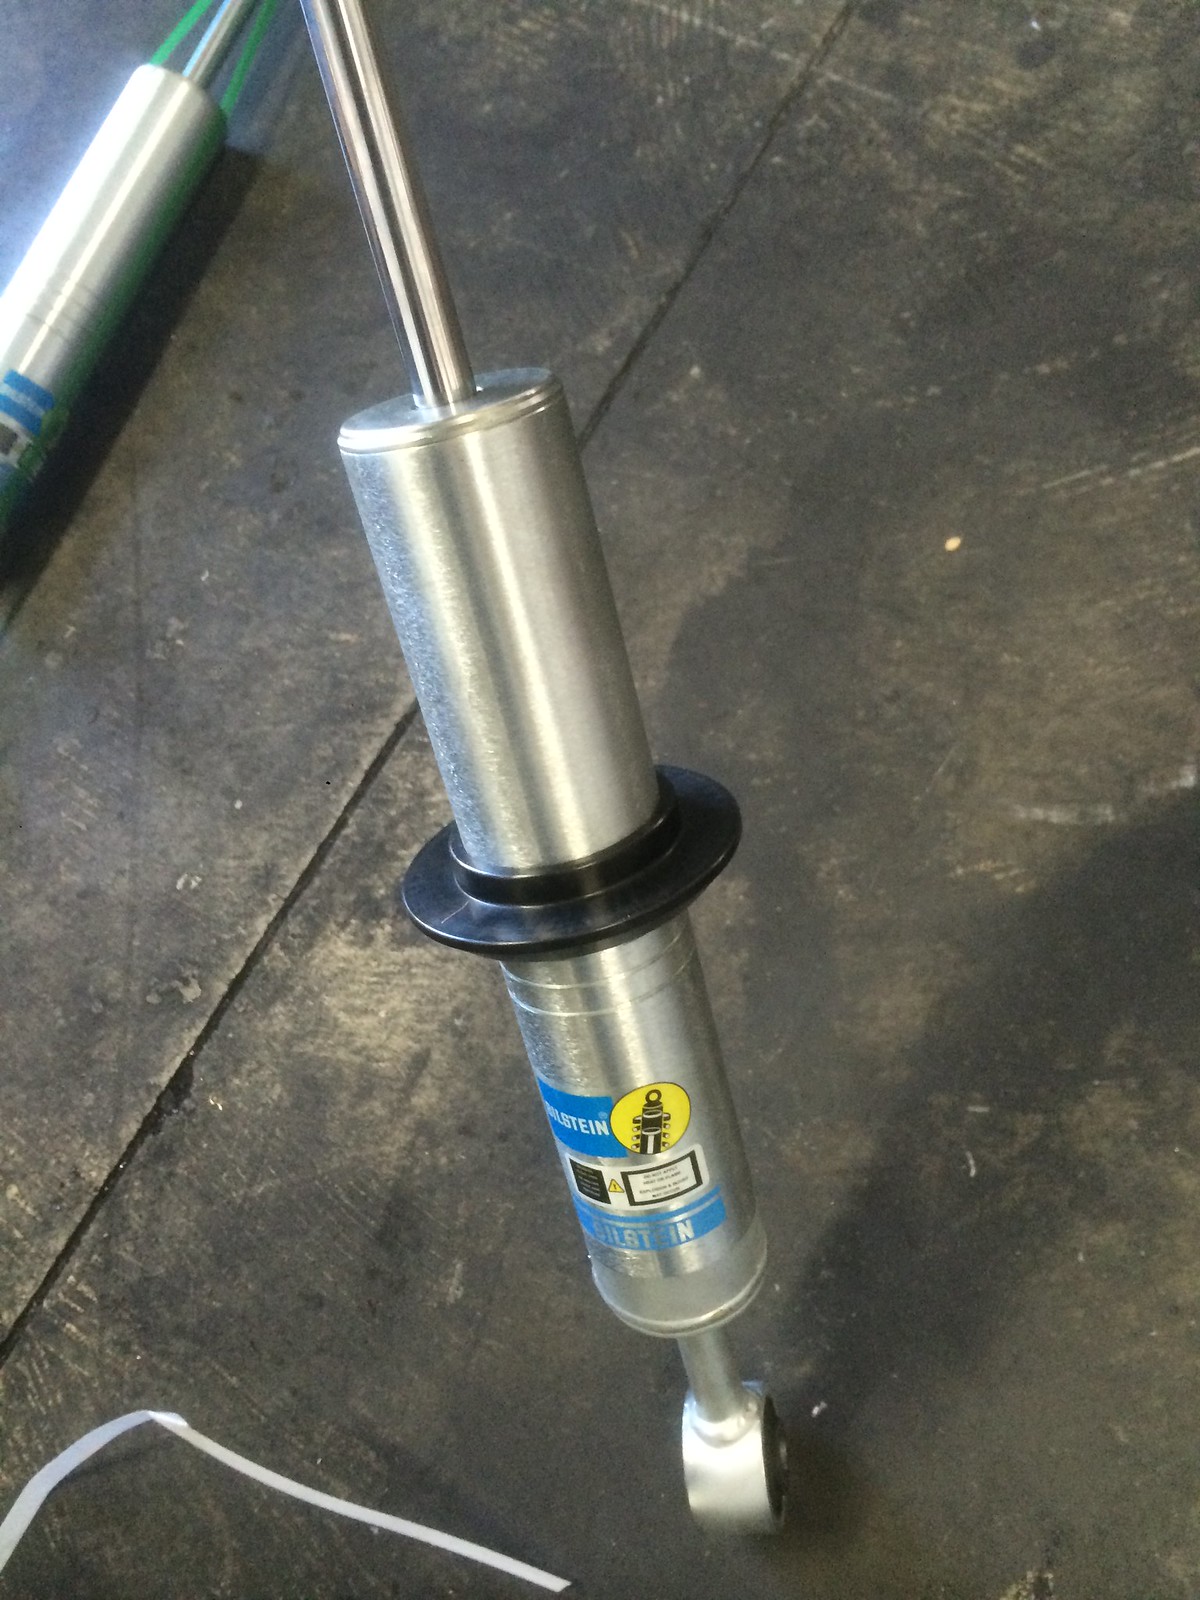
Once the clip is in the groove that it needs to be in you can install the spring saddle and compress the spring.
 Bilstein 6112's and DirtyDeedsIndustries upper arms. by Keith Carty, on Flickr
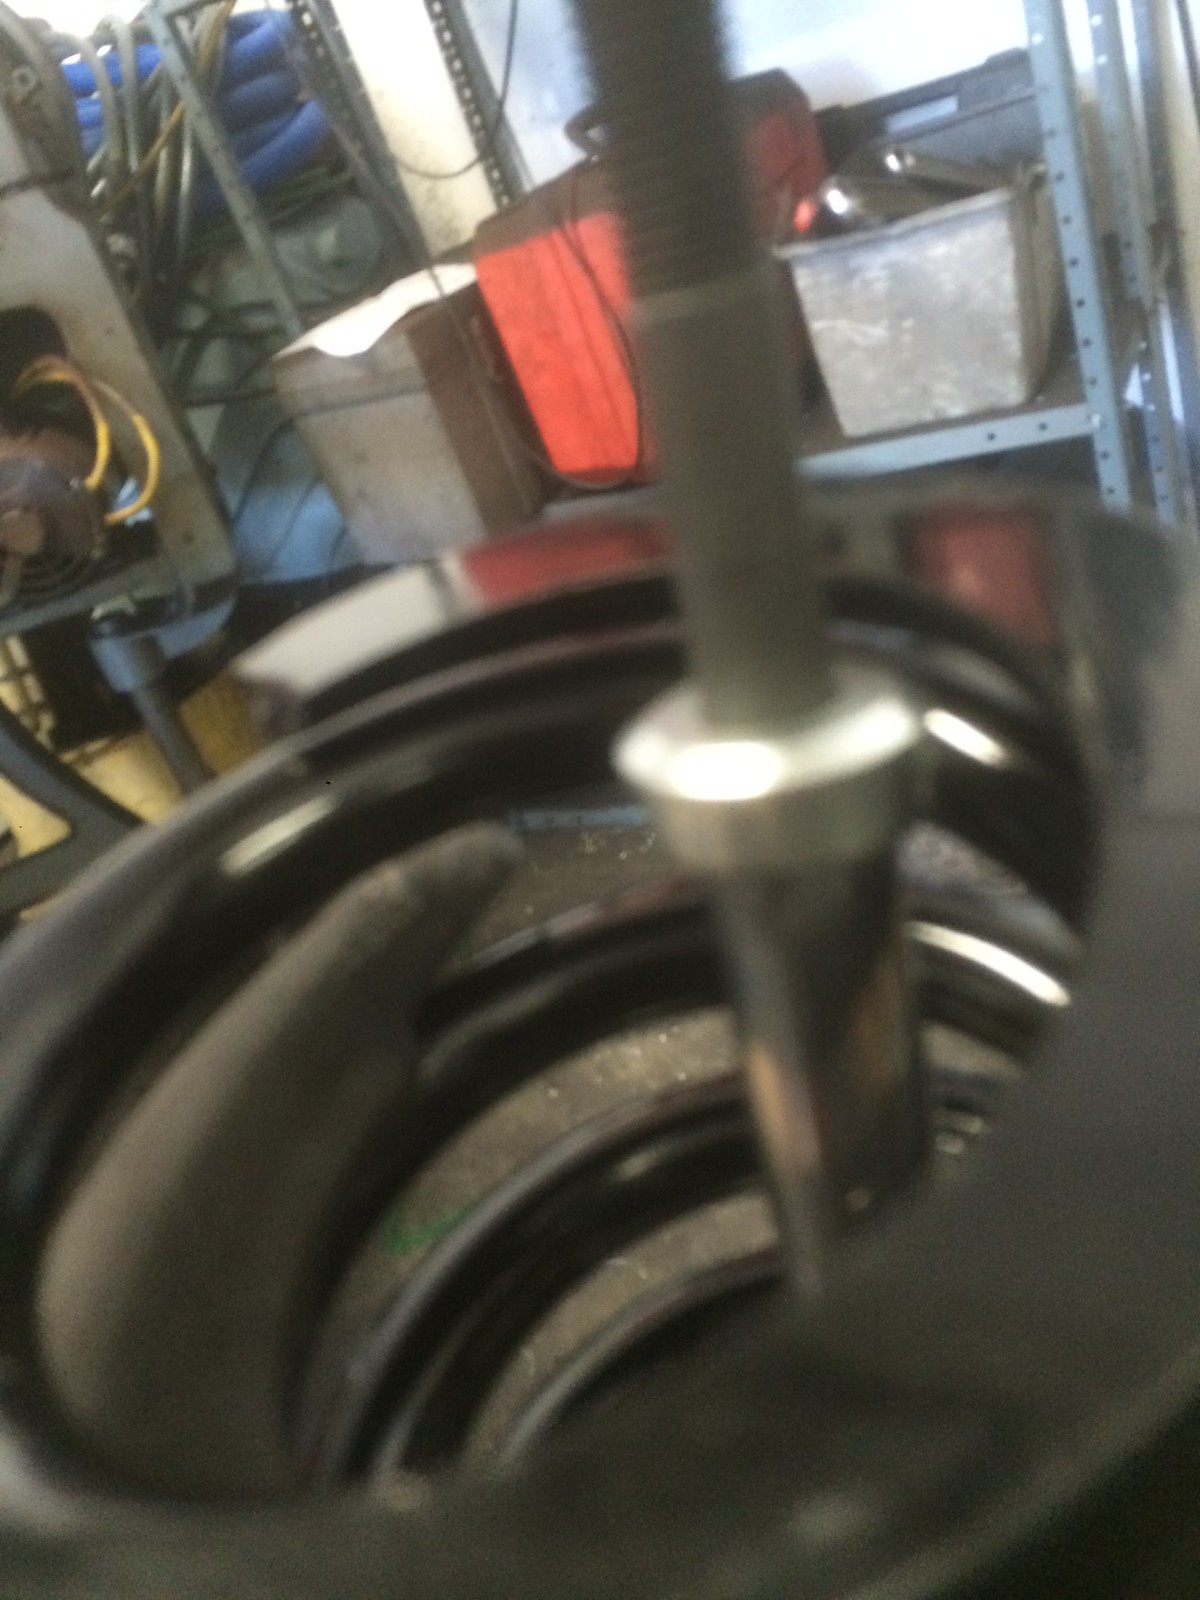
I always compress the spring far enough that all the threads and the aluminum bushing on the shaft are fully protruding from the top of the spring. You need to make sure that the spring is in the compressor with the word/label right side up. If you put the spring in up side down the spring hat grommet won't fit inside the spring and the spring won't seat right.
 Bilstein 6112's and DirtyDeedsIndustries upper arms. by Keith Carty, on Flickr
 Bilstein 6112's and DirtyDeedsIndustries upper arms. by Keith Carty, on Flickr
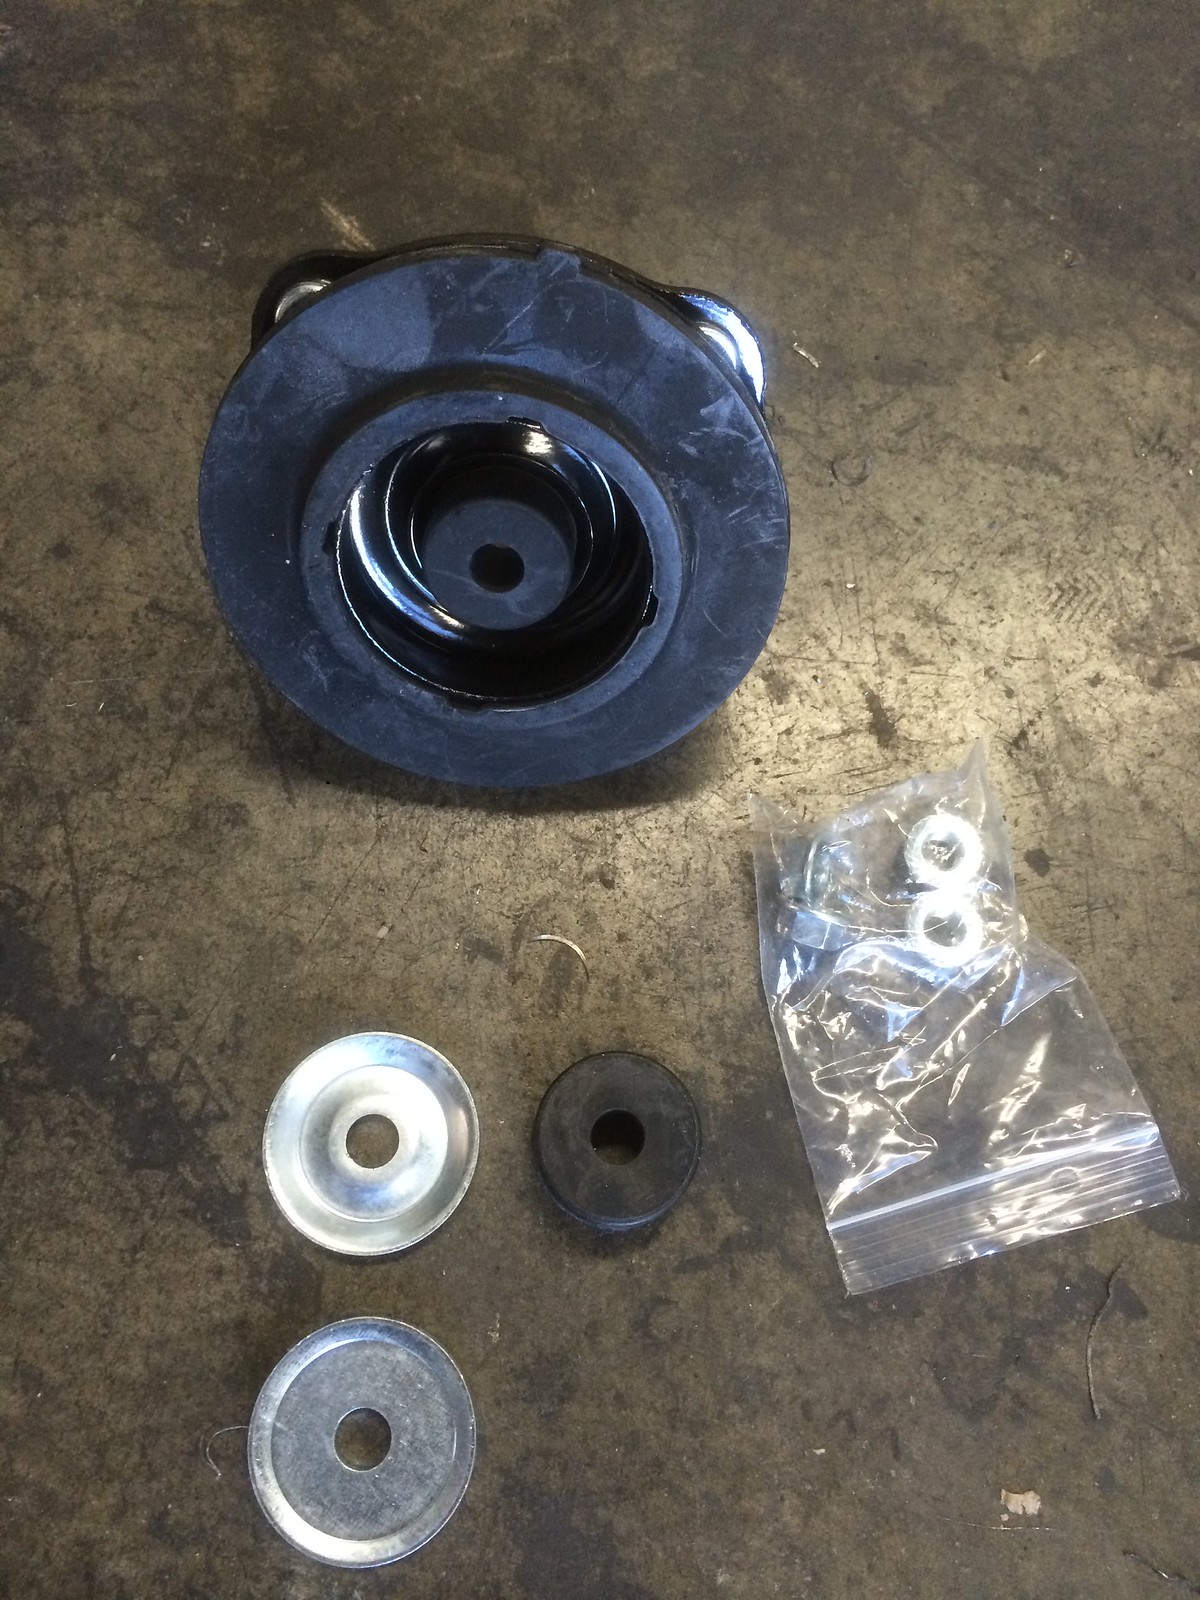
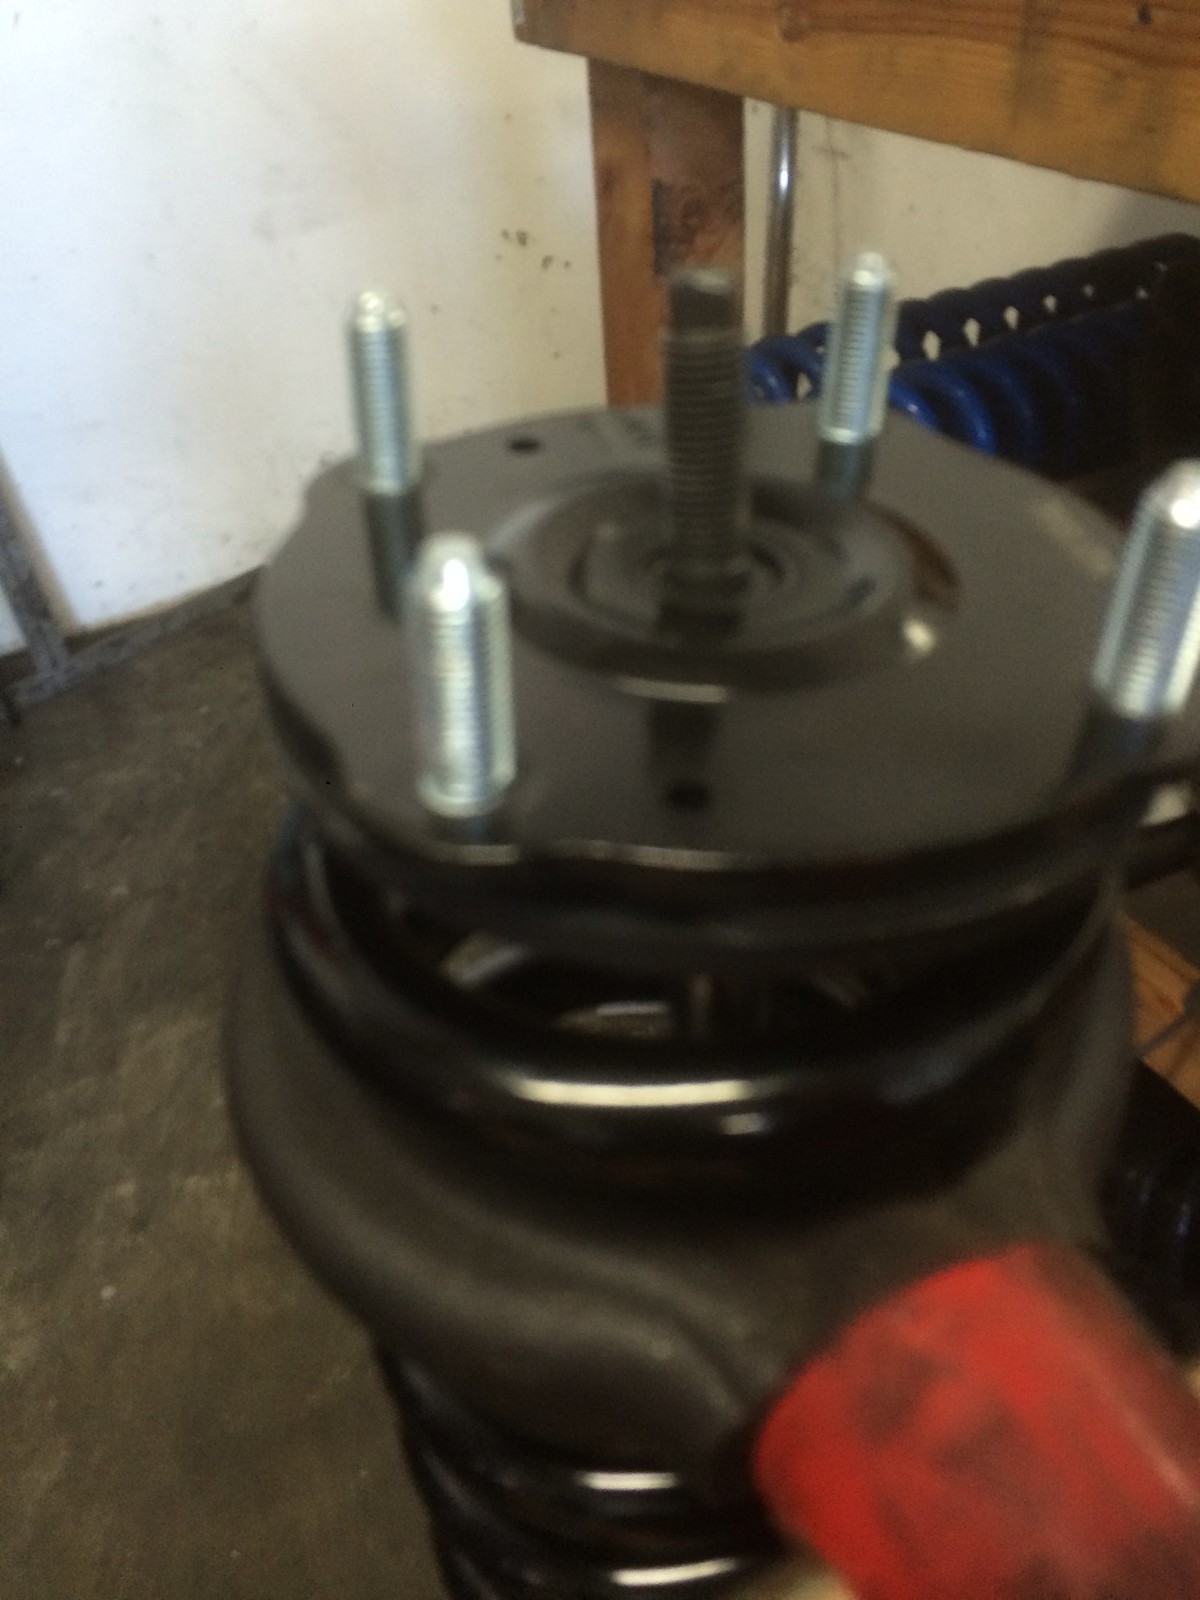
Next install the washer that contains the spring hats rubber bushing
 Bilstein 6112's and DirtyDeedsIndustries upper arms. by Keith Carty, on Flickr
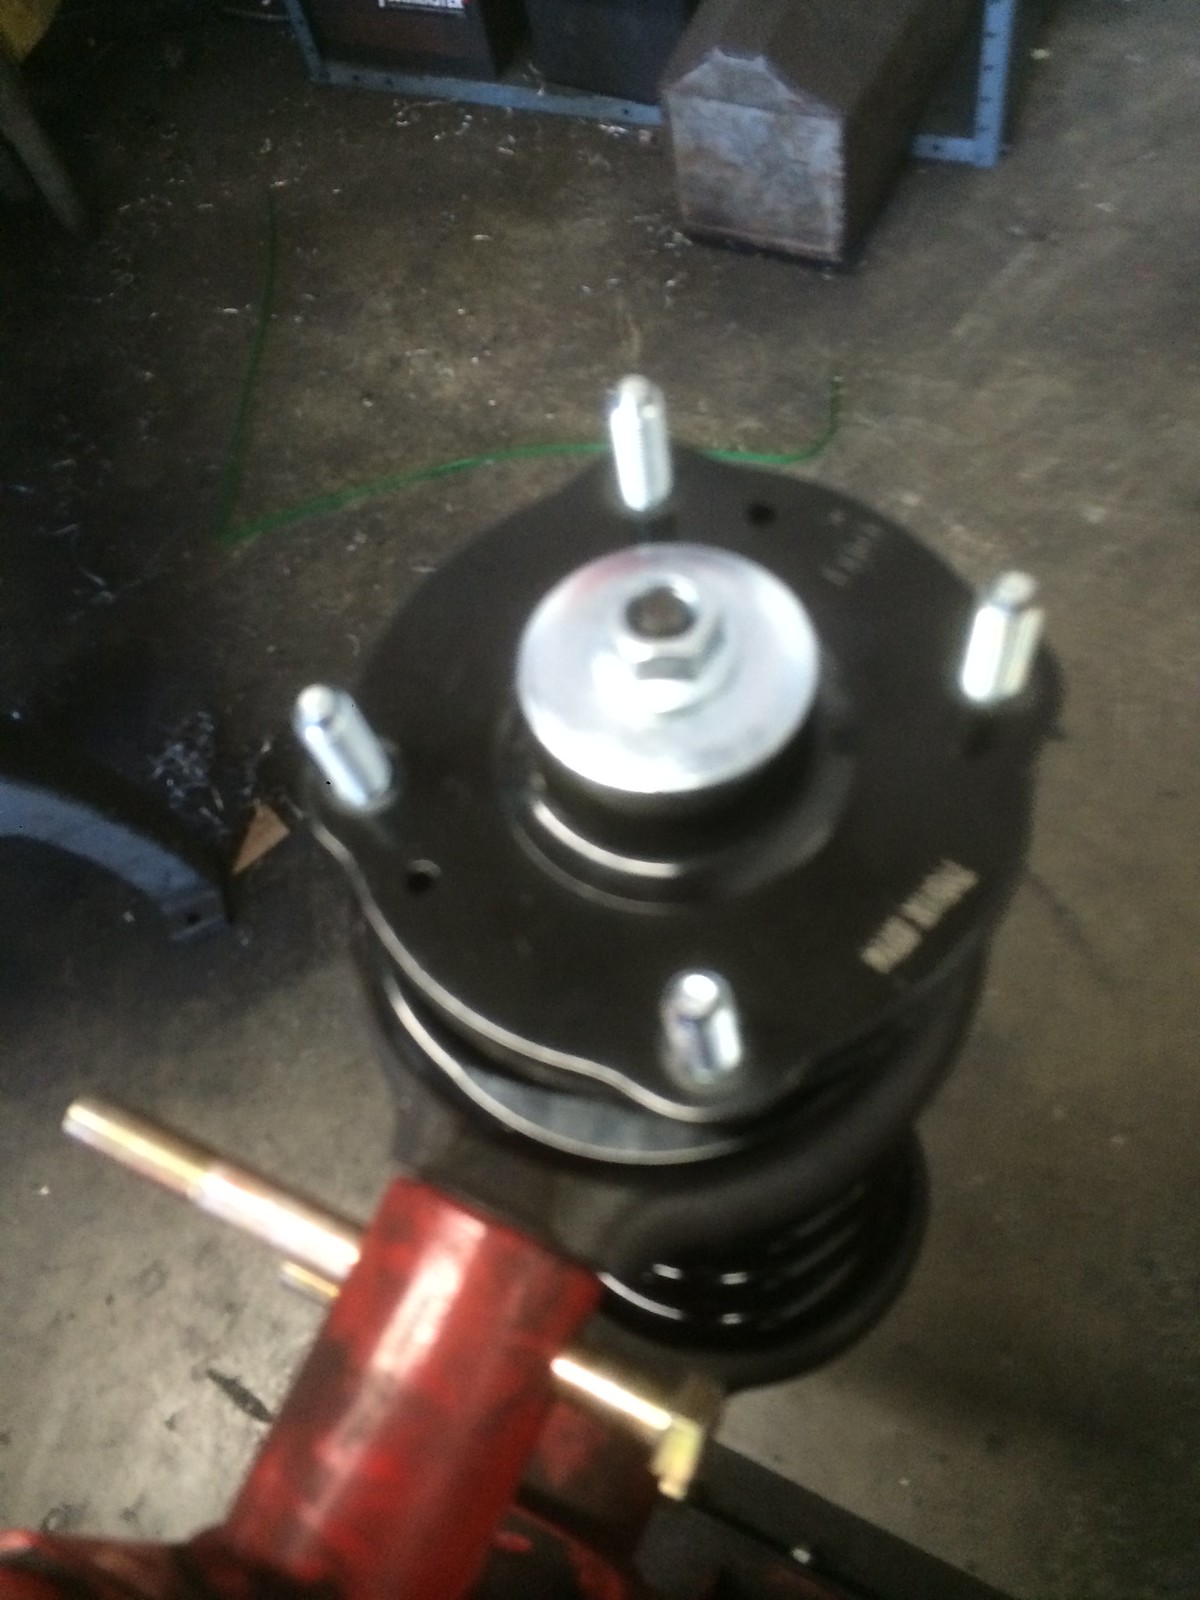
Then the spring hat.
 Bilstein 6112's and DirtyDeedsIndustries upper arms. by Keith Carty, on Flickr
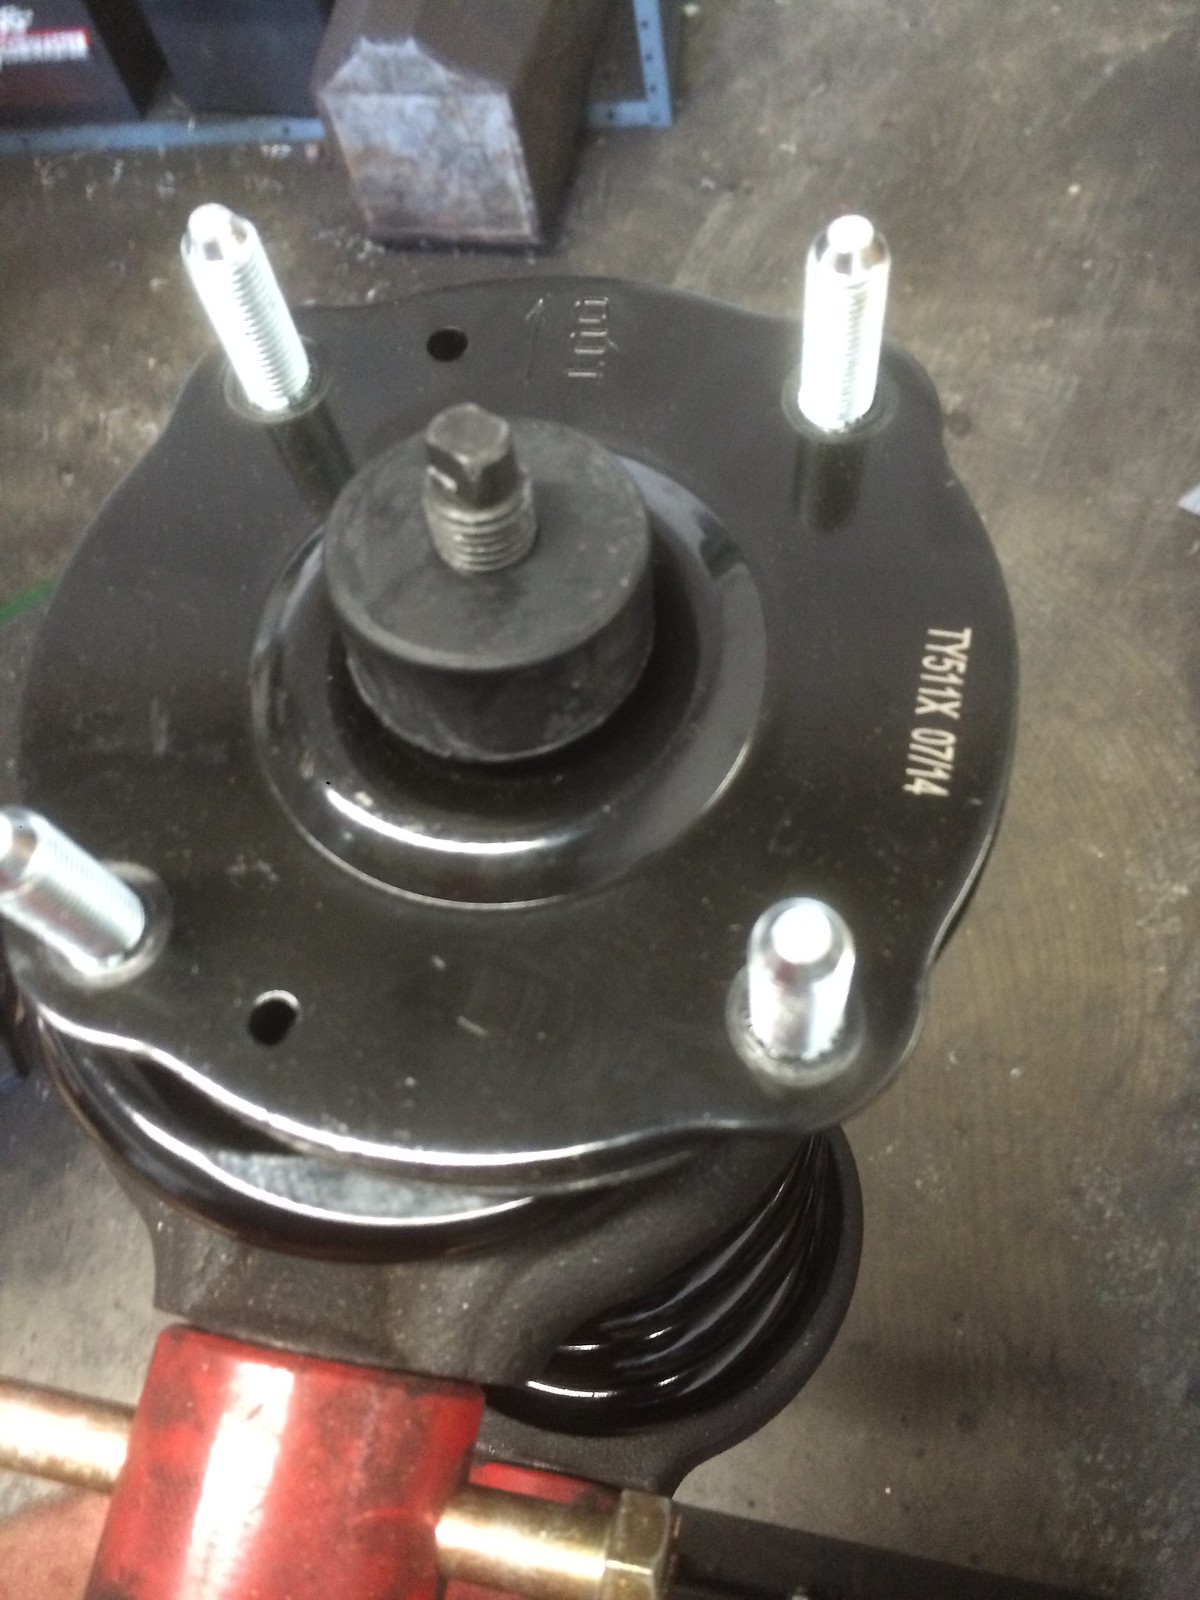
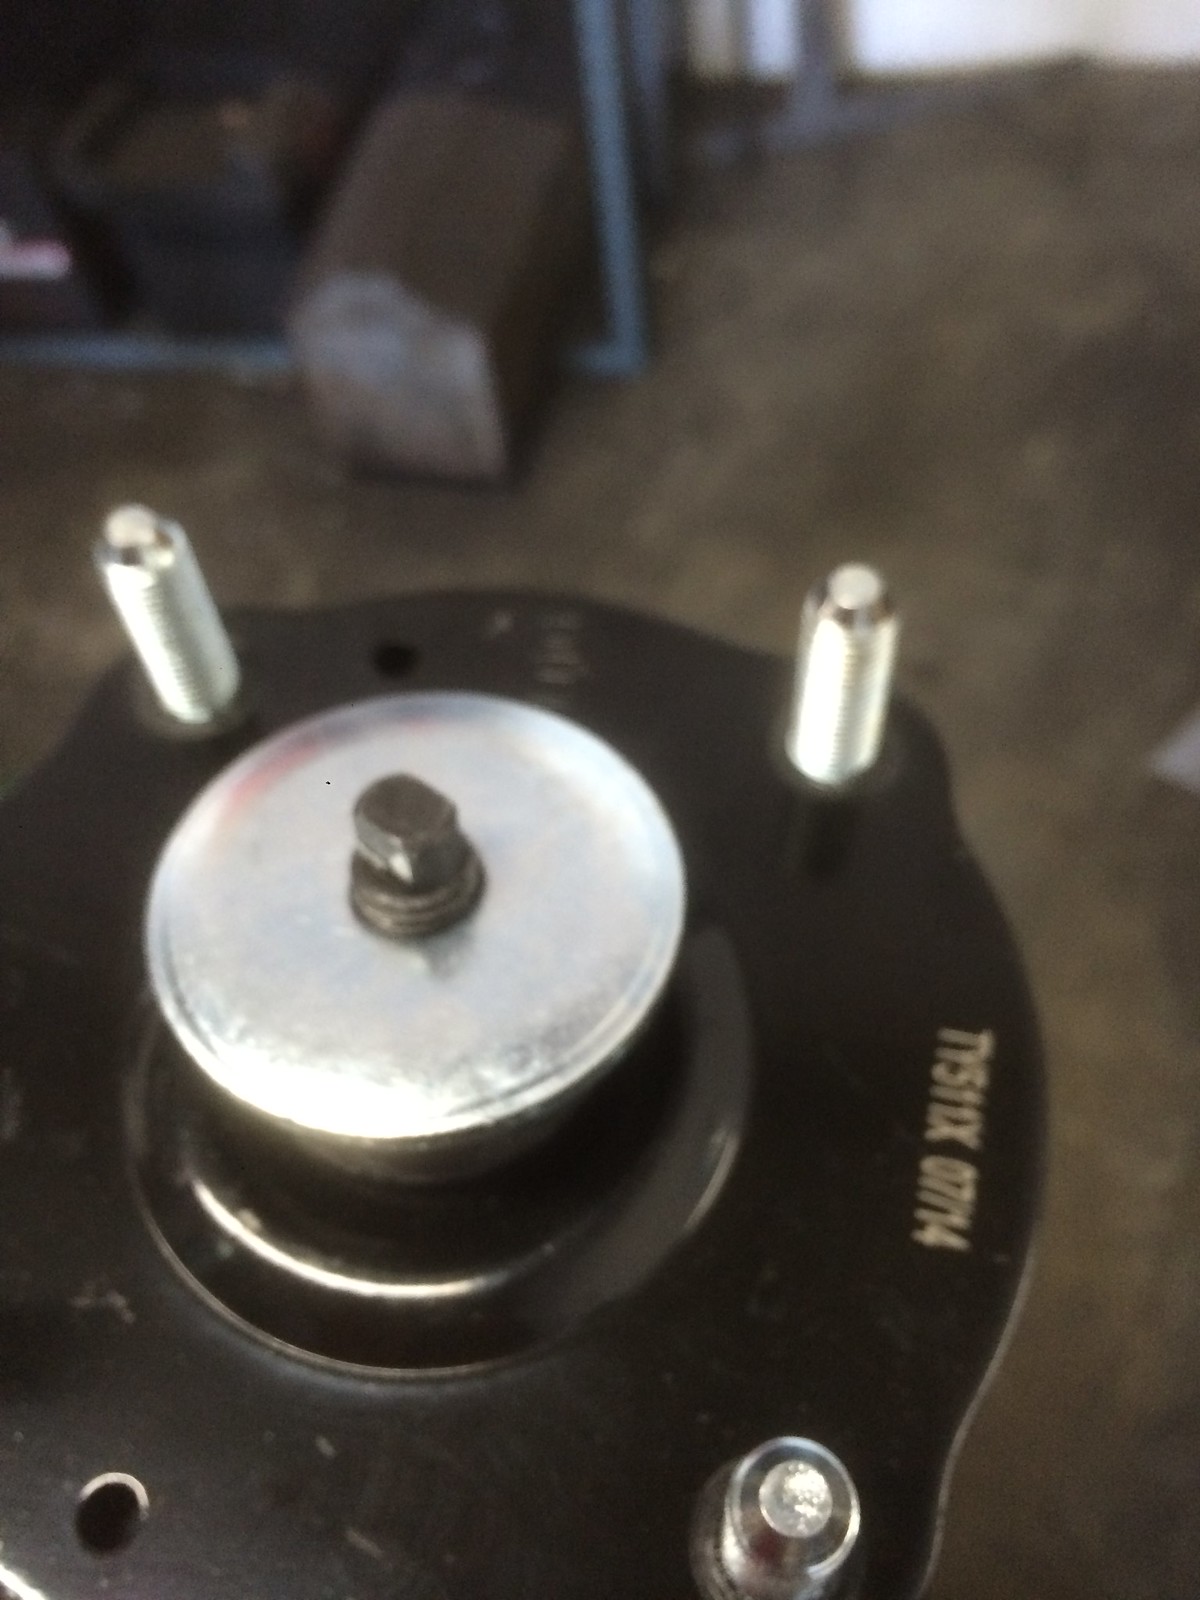
Then the upper bushing.
 Bilstein 6112's and DirtyDeedsIndustries upper arms. by Keith Carty, on Flickr
upper washer
 Bilstein 6112's and DirtyDeedsIndustries upper arms. by Keith Carty, on Flickr
and nut
 Bilstein 6112's and DirtyDeedsIndustries upper arms. by Keith Carty, on Flickr
I don't use the word 'ultimate' lightly either
I have been in this business for over a decade. And have been tuning suspension on Tundra's since they first came out. Here's my 1st gen. Tundra in Pismo Beach .It takes a lot of compression valving to make a 5000 truck jump over 10' into the air and not have to tow it home
I also own a second generation Tundra:
BAmufflers 2gen Tundra by Keith Carty, on FlickrGiven the fact that Bilstein was gracious enough to build us the ultimate production line front coilovers I figure we need to explore the ultimate way to set em up on a 2gen Tundra. There are several reasons I'm using a word as strong as 'ultimate'. But the main reason worth mentioning is their sheer size. These things are MASSIVE for a production line type of shock. They're bigger than bolt on King Shocks which are considered the best in the business when it comes to desert racing off road shocks.
Being in the business of 'hot rodding' Tundras for over a decade I can tell you that when it comes to shocks, whether it be for the street or dirt, bigger is better and you will want to purchase the most shock that you can afford, or justify (get the wife to agree with, haha)
King shocks have a massive 2.5" fully machined and anodized shock body. But the Bilstein 6112's have a 2.6" diameter body!!!! Most production line shocks only get a 2" body, same as stock.
Having a bigger body means you can have bigger valving. Bigger valving means more surface area to slow the piston. More surface area has several advantages, but the most important one (to my old spinal cord) is the capability to hit large holes, bumps, dips, etc. Yet still be smooth over the little imperfections in the road. All that surface area provides more friction as the shaft speed increase so you don't need shims as thick to slow the oil thru the valving. Thicker shims make for a stiffer ride. In other words you can have your cake and eat it too!!!!
Another benefit to larger shock bodies is more oil capacity. If you think about it, what takes less time to boil, 1 gallon of water, or 2? More oil takes longer to get hot and thin out than less oil does
And, more oil allows for more energy to be absorbed in less shock stroke, our trucks have relatively low wheel travel for how heavy they are.Think about the guy whom dives off a 35' platform into the kiddie swimming pool:
Imagine how much more comfortable it would be for him to jump into a much larger swimming pool. Even if it was slightly larger diameter and slightly deeper. His landing would be a lot smoother. haha.
The Bilsteins are a racing shock size at a production (high end) line quality and price. You get the same thing as Bilstein 5100's, only they're massive!!!!
The Bilstein 6112's are available in 4 ride height's. With the highest setting being about 2.5". This allows for a much more aggressive wheel and tire combination. A better ride. And a much better handling truck, if everything else is properly set up.
You will need a talented alignment technician and a little know how. That's where Dirty'DeedsIndustries comes into the picture. Our R&D on these shocks has been pretty extensive over the past few months!!!
You will need to correct for the geometry change that lifting the truck causes. Have a look at your upper control arms. Particularly notice where the upper pivots off the frame/coil bucket. See how the front pivot point if further from the frame rail than the rear pivot point? This is called 'anti dive'. And most modern day vehicles have it built into the front end geometry. Corvettes were the first American sports cars that used this technique to make their cars perform and handle best.
Anti Dive has it's advantages at stock height, but what about when you lift the front of your truck??? Consider what happens to your upper ball joint. Not only does it go down in it's travel, it also goes forward due to the angle of the upper arms pivot points off the frame.
By moving the upper ball joint forward you are causing less positive caster which is bad for handling. If you drive the truck around without enough positive caster you will notice that the truck wanders, drifts, feels darty, changes lanes on it's own when you aren't paying close attention. It is literally a hand full to drive the truck down the highway.
To correct for the geometry change you have to use the lower alignment cam adjusters that are in the crossmember of the truck and allow you to adjust the 'length' of the lower arm. You have to 'lengthen' the rear pivot points and maybe 'shorten' the front pivot points. Another way to put it is you bring the rear cams out and the front cams in. This adjustment brings the lower ball joint forward some to compensate for the upper ball joint being moved forward some.
Adjusting the lower arms allows just about as much positive caster at ride height after the lift as you had before. But what about when you turn the wheels some in order to change lanes, or take a curve in the road? Or go around a corner? In most of these situations you no longer have enough positive caster and the truck feels unstable.
Here at DirtyDeedsIndustries we have come up with a solution to this problem
We build an upper arm with the proper geometry correction!! It's that simple. We actually have 2 versions of upper arms. We can move the upper ball joint back (we actually convert to uniball which is stronger) 2" if your truck is lifted 3" over stock. And we can move the upper back 1" if your truck is lifter 2-2.5"These are literally the magic numbers
With these lift height and correction numbers you can set your lower alignment cams at their stock location, set toe, and your alignment ends up being perfect. Camber and Caster literally falls into place.Another benefit to purchasing your Bilstein 6112's thru DirtyDeedsIndustries is that if you're a do it yourselfer we can assemble the coilovers yourself so you don't have to rent a dangerous spring compressor. You can just take the shocks out of the box and install them onto your truck!!!
We offer the package with the arms fully assembled as well. We press in the uniballs and we press in the Polyurethane bushings. But we don't stop there. We 'wax' the bushings for a infinitely squeek free service life.
Here's some pictures with explanations:
We purchase only the finest poly bushings, sometimes they're black and sometimes they're red. Depends on availability.
DirtyDeedsIndustries upper arms. by Keith Carty, on FlickrWe then coat them with a healthy coating of wax.
DirtyDeedsIndustries upper arms. by Keith Carty, on FlickrHere's the arms with bushings pressed in and the rest of the hardware
Bilstein 6112's and DirtyDeedsIndustries upper arms. by Keith Carty, on FlickrBilstein 6112's and DirtyDeedsIndustries upper arms. by Keith Carty, on FlickrWe then assemble the Bilstein 6112's using brand new spring hats (If you choose not to have us assemble them for you then you have to use a spring compressor and reuse your stock spring hats)
Bilstein 6112's and DirtyDeedsIndustries upper arms. by Keith Carty, on FlickrBilstein 6112's and DirtyDeedsIndustries upper arms. by Keith Carty, on FlickrHere's a brand new 6112 just out of the box. Notice how there is a strap holding down the shaft.
Bilstein 6112's and DirtyDeedsIndustries upper arms. by Keith Carty, on FlickrAnother point worth mentioning from the last sentence, that strap not only holds the shaft from extending all the way, there is also a small aluminum bushing on the end of the shaft. Don't lose it. These coilovers CANNOT be assembled without the bushing.
Bilstein 6112's and DirtyDeedsIndustries upper arms. by Keith Carty, on FlickrThe top shock still has it's strap on with bushing while lower shock does not.
Bilstein 6112's and DirtyDeedsIndustries upper arms. by Keith Carty, on FlickrThere are 4 grooves that you can put the clip into. If you want the shocks purely for street performance and smooth ride choose the bottom setting (closest to the lower eyelet of the shock) But for best handling on and off road choose the top setting (closest to the shock shaft)
Bilstein 6112's and DirtyDeedsIndustries upper arms. by Keith Carty, on FlickrThe shock on top is set to the highest setting while the shock on the bottom is still set to the lowest setting. The shocks are shipped with the clip set to the lowest setting. I will shoot a video showing a very simple way to move the clip and email it to those whom request it.
Bilstein 6112's and DirtyDeedsIndustries upper arms. by Keith Carty, on FlickrOnce the clip is in the groove that it needs to be in you can install the spring saddle and compress the spring.
Bilstein 6112's and DirtyDeedsIndustries upper arms. by Keith Carty, on FlickrI always compress the spring far enough that all the threads and the aluminum bushing on the shaft are fully protruding from the top of the spring. You need to make sure that the spring is in the compressor with the word/label right side up. If you put the spring in up side down the spring hat grommet won't fit inside the spring and the spring won't seat right.
Bilstein 6112's and DirtyDeedsIndustries upper arms. by Keith Carty, on FlickrBilstein 6112's and DirtyDeedsIndustries upper arms. by Keith Carty, on FlickrNext install the washer that contains the spring hats rubber bushing
Bilstein 6112's and DirtyDeedsIndustries upper arms. by Keith Carty, on FlickrThen the spring hat.
Bilstein 6112's and DirtyDeedsIndustries upper arms. by Keith Carty, on FlickrThen the upper bushing.
Bilstein 6112's and DirtyDeedsIndustries upper arms. by Keith Carty, on Flickrupper washer
Bilstein 6112's and DirtyDeedsIndustries upper arms. by Keith Carty, on Flickrand nut
Bilstein 6112's and DirtyDeedsIndustries upper arms. by Keith Carty, on Flickr Bilstein 6112's and DirtyDeedsIndustries upper arms.
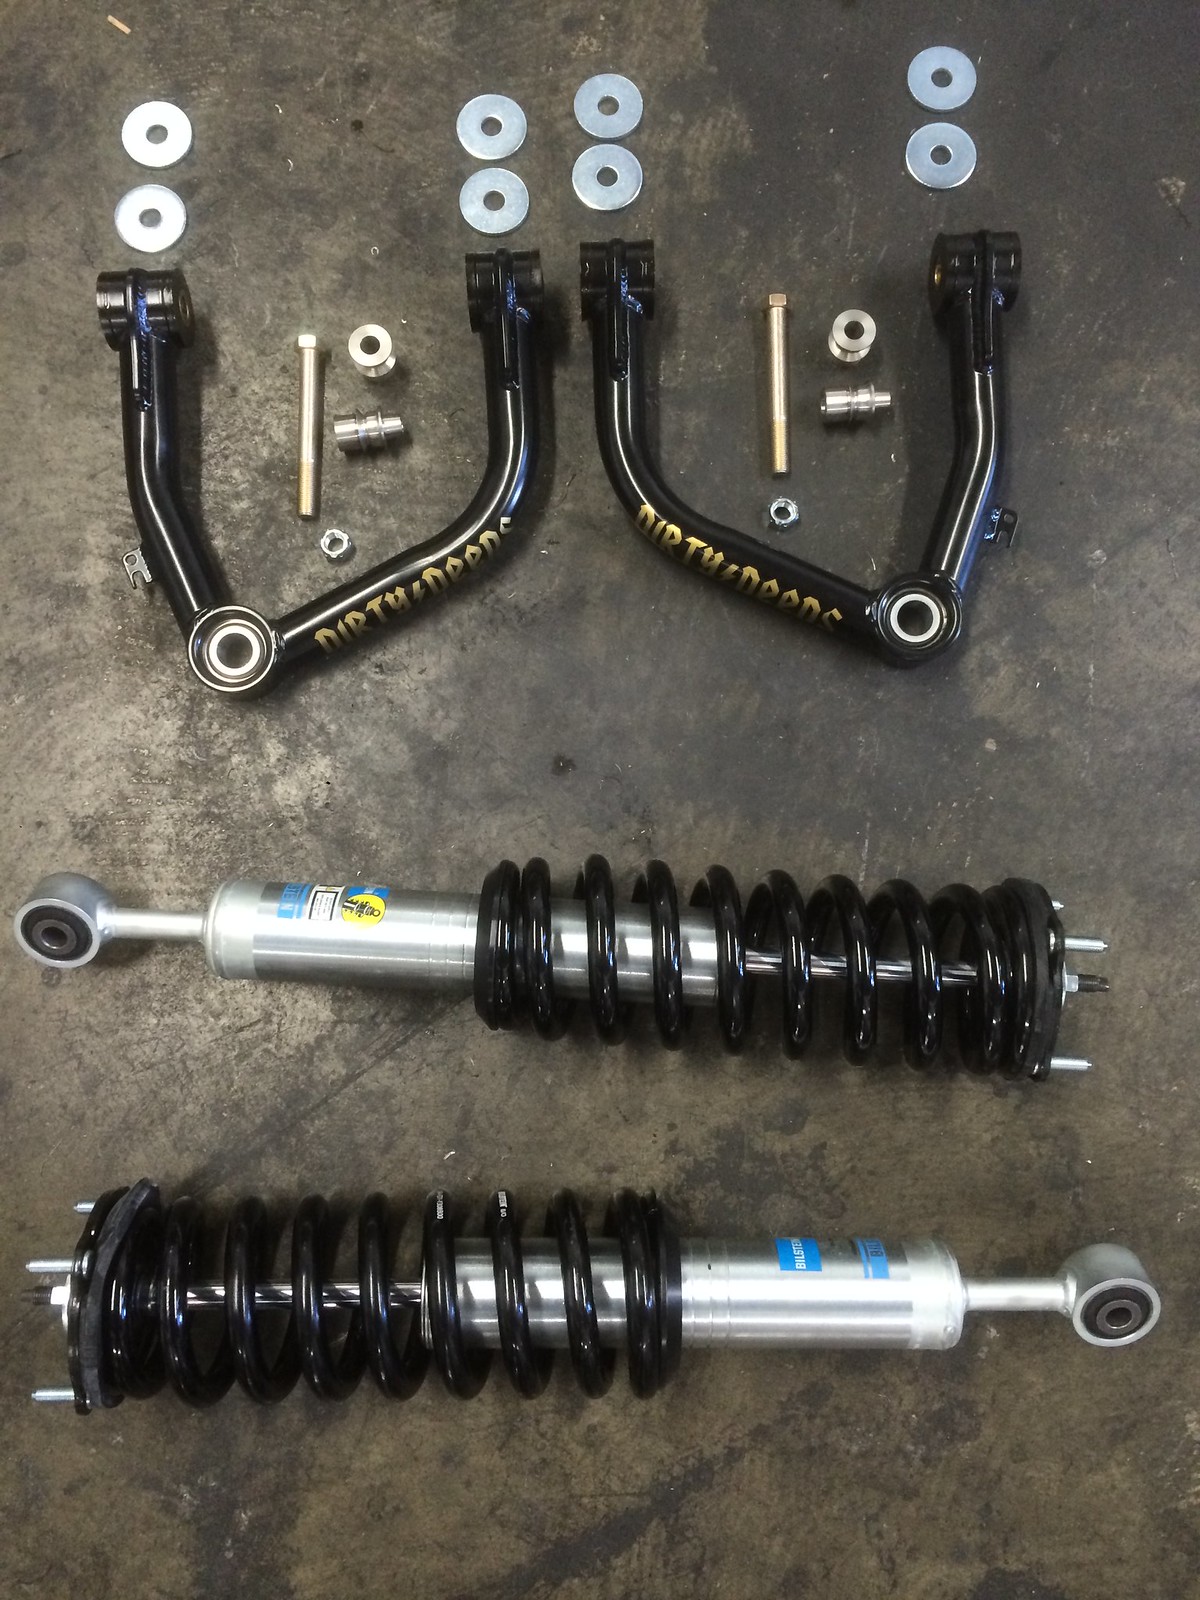 Bilstein 6112's and DirtyDeedsIndustries upper arms.